Sign In
Upload
Download
Table of Contents
Contents
Add to my manuals
Delete from my manuals
Share
URL of this page:
HTML Link:
Bookmark this page
Add
Manual will be automatically added to "My Manuals"
Print this page
×
Bookmark added
×
Added to my manuals
Manuals
Brands
GASLAND chef Manuals
Cooktop
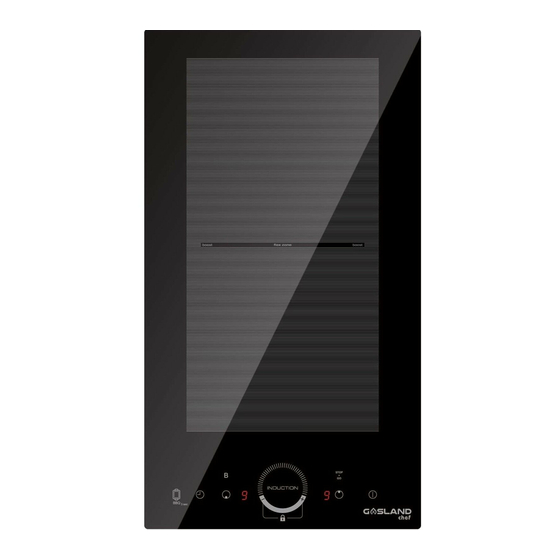
IH30BFH
Instructions for installation and use manual
GASLAND chef IH30BFH Instructions For Installation And Use Manual
Electric induction cooktop
Hide thumbs
1
2
3
4
5
6
7
8
9
10
11
12
13
14
15
16
17
18
19
20
21
22
23
24
25
26
27
28
Table Of Contents
29
page
of
29
Go
/
29
Contents
Table of Contents
Bookmarks
Table of Contents
Safety Warning
Cut Hazard
Important Safety Instructions
Connecting the Cooktop to the Mains Power Supply
Health Hazard
Hot Surface Hazard
Before Locating the Fixing Brackets
Product Overview
Failure Display and Inspection
Technical Specifications
Hints and Tips
Using the Touch Controls
Choosing the Right Cookware
Maintenance and Cleaning
For Stir-Frying
Heat Setting
Using Your Induction Cooktop
Cooking Instructions
Advice on Cooking
Protection against Overheating
Using the Timer
Locking the Controls
Advertisement
Quick Links
1
Using the Touch Controls
Download this manual
Table of
Contents
Previous
Page
Next
Page
1
2
3
4
5
Advertisement
Table of Contents
Need help?
Do you have a question about the IH30BFH and is the answer not in the manual?
Ask a question
Questions and answers
Related Manuals for GASLAND chef IH30BFH
Cooktop GASLAND chef IH77BFH Instructions For Installation And Use Manual
Electric induction cooktop (29 pages)
Cooktop GASLAND chef IH12BF Instructions For Installation And Use Manual
Electric induction cooktop (37 pages)
Cooktop GASLAND chef IH30BF Instructions For Installation And Use Manual
Electric induction cooktop (37 pages)
Cooktop GASLAND chef IH60BF Instructions For Installation And Use Manual
Electric induction cooktop (37 pages)
Cooktop GASLAND chef IH77BF Instructions For Installation And Use Manual
Electric induction cooktop (37 pages)
Cooktop GASLAND chef IH90BF Instructions For Installation And Use Manual
Electric induction cooktop (37 pages)
Cooktop GASLAND chef Pro CH77BS Installation Instructions Manual
Electric ceramic cooktop (21 pages)
Cooktop GASLAND chef Pro Series Installation Instructions Manual
Built-in gas cooktop (56 pages)
Cooktop GASLAND chef Pro Series Installation Instruction
Electric ceramic cooktop (49 pages)
Cooktop GASLAND chef GH1304SS Installation Instructions Manual
Built-in gas cooktop (56 pages)
Cooktop GASLAND chef GH12SF Instruction Manual
Built-in gas cooktop (36 pages)
This manual is also suitable for:
Ih77bfh
Table of Contents
Print
Rename the bookmark
Delete bookmark?
Delete from my manuals?
Login
Sign In
OR
Sign in with Facebook
Sign in with Google
Upload manual
Upload from disk
Upload from URL


Need help?
Do you have a question about the IH30BFH and is the answer not in the manual?
Questions and answers