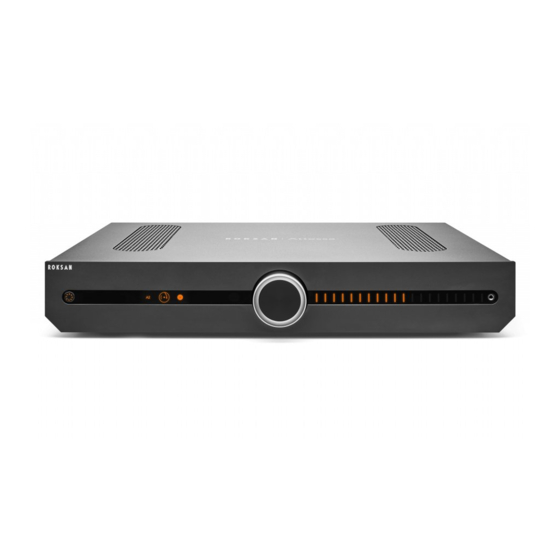
Roksan Audio Attessa Owner's Manual
Cd transport
Hide thumbs
Also See for Attessa:
- Owner's manual (22 pages) ,
- Set up manual and product manual (14 pages) ,
- Quick start manual (2 pages)
Table of Contents
Advertisement
Quick Links
Advertisement
Table of Contents

Subscribe to Our Youtube Channel
Summary of Contents for Roksan Audio Attessa
- Page 1 Owners Manual...
-
Page 3: Table Of Contents
Your Attessa CD Transport is an integral part of your Hi-Fi system. Its correct installation, set-up and operation will have a significant influence on the performance of the entire Hi-Fi installation. Please read the contents of this manual thoroughly. -
Page 4: Eu Directives
AC MAINS SUPPLY Your Attessa CD Transport is set to operate from a fixed supply voltage which is marked on a label next to the mains input plug. The mains lead supplied with this product has an IEC C13 mains plug which is inserted into the Mains Input Socket on the unit’s rear panel. -
Page 5: Front Controls
Remote Settings Menu Standby Mute Repeat All/ Repeat Track/ Shuffle Play/ Pause Previous/ Scan backwards Next/ Scan forwards Stop/ Open/ Close Volume Down (Amplifiers only) 10. Volume Up (Amplifiers only) Source Scroll Left & Right (Amplifiers only) Attessa CD Transport... -
Page 6: Connections
Signal Connect the supplied digital coaxial cable to the output of the CD Transport and the other end to the digital coaxial input of your amplifier - D1 on the Attessa Integrated/ Streaming Amplifier is the default CD Transport Input. -
Page 7: Playing A Disc
When Standby Plus is off, the BLE communication with the MaestroUnite App and the other units in the system will not work. It is toggled on and off by pressing the Play/ Pause button on the remote. MAC Addresses Here you will find the MAC addresses for the bluetooth module. Attessa CD Transport... - Page 8 Here the serial number of the product will be displayed. MaestroUnite App The Attessa range is accompanied by the MaestroUnite app. This app is used to create systems of CD Transports, Integrated and Streaming Amplifiers. It will also be the home to all user manuals, OTA (Over The Air) updates and connecting the devices to the Wi-Fi network.
-
Page 9: Updates
Factory Reset Should the need arise to carry out a factory reset on your Attessa Streaming/ Integrated Amplifier, please follow these simple steps. Hold the standby button down for about 20 seconds. During this period, the Power Button LED will turn blue, keep the button pressed. -
Page 10: Troubleshooting
Troubleshooting There may be instances where error messages appear on the screen of the CD Transport. Here are some examples and their descriptions. Read Error This error will be displayed if there is an error reading the disc. Try removing the disc, inspect it for scratches and clean with a dry cloth. -
Page 11: Specifications
3 x 17 x 13 Inches Weight 6.1 Kgs 13 lb 6 Oz Mains input 100-130 VAC 50/60 Hz (Auto Selecting) 210-240 VAC 50/60 Hz Power consumption Max: 20 W Standby: <0.5 W Standby Plus Enabled: 0.5 - 1 W Attessa CD Transport... - Page 12 Monitor Audio Group 24 Brook Road, Rayleigh, Essex SS6 7XJ England Tel: +44 (0)1268 740580 Email: info@roksan.com roksan.com ©Monitor Audio Ltd. V1-2021 Tested against version 3.0.0 Chassis Firmware Designed and engineered in Great Britain, made in China Read me, keep me or recycle me...


Need help?
Do you have a question about the Attessa and is the answer not in the manual?
Questions and answers