Table of Contents
Advertisement
Quick Links
Getting started
START
DELAY
RESET
HOURS
Load Dishwasher
1
For best dishwashing results, follow the loading guidelines found in the Loading section. Scrape off hard soils, including
bones, toothpicks, skins, and seeds. Remove leafy vegetables, meat trimmings, and excessive amounts of grease or oil.
Add Detergent
2
Add needed amount of detergent to the detergent dispenser. Use detergent such as Cascade
Dispensers section.
Add Rinse Agent
3
Add rinse agent such as Cascade
Select Cycle
4
Open the door and press the Select button for the desired wash cycle. The LED below the cycle name will be lit to indicate
HEAVY
This cycle is meant for heavily soiled dishes or cookware with dried-on or baked-on soils. This
cycle may not remove burned-on foods. Everyday dishes are safe to be used in this cycle.
NORMAL
This cycle is for medium to heavily soiled dishes and glassware. This cycle includes heated dry.
NOTE: NORMAL was used to rate the energy efficiency of this dishwasher.
LIGHT
This cycle is for lightly soiled dishes and glassware. Cycle includes heated dry.
GLASSES
This cycle is for lightly soiled glassware. This cycle has a lower temperature heated dry.
AIR-DRY
This cycle is for loads of everyday dishes, glasses and cookware with light soils that have been
pre-rinsed and should dry naturally. This cycle does not include heated dry.
SPEED
This cycle is for loads of everyday dishes, glasses and cookware with medium soils. This cycle features
reduced wash times to allow for faster cycle completion. This cycle also has reduced heated dry.
RINSE
This cycle is for rinsing partial loads that will be washed later. This cycle does not include heated
dry. DO NOT use detergent with this cycle.
Select Option
5
DELAY
This option allows you to delay the start of a wash cycle for up to 24 hours.
HOURS
With the door open and a cycle selected, press the DELAY HOURS button to choose the number
of hours you want to delay the wash cycle. The hours will show in the display window.
NOTE: To cancel the DELAY HOURS option before the start of the cycle, repeatedly press the
DELAY HOURS button until the display reads "00.".
Start Dishwasher
6
START/
RESET
DELAY HOURS start countdown. The START/RESET LED will light. The wash cycle will begin after
10 seconds and then pump out for 60 seconds prior to filling the dishwasher with water. To activate
the display, press any button with the door open.
Interrupt
To interrupt or pause a dish cycle, slowly open the door. Opening the door will cause the wash cycle
or Pause
to pause. The dishwasher will beep every minute to remind you to close the door. To restart or resume
the cycle, press START/RESET, and close the door within 4 seconds. If the door is not closed within
4 seconds, the START/RESET LED will start blinking and the dishwasher will beep once every minute
to signal that the cycle did not restart. If the the START/RESET LED is blinking, the dishwasher is
waiting for input.
Cancel
To cancel a wash cycle, press and hold the START/RESET button for 3 seconds with the door open,
and then close the door. This dishwasher will drain and the wash cycle lights will turn off.
Indicator Lights
7
CLEAN
The green light will display and a beep will sound to alert you that the wash cycle is complete. If
the door is NOT opened, the beep will sound four times.
LOW
On some models, indicator would be displayed when rinse agent is low or empty. See
RINSE AID
Dispensers section.
Display
8
Time
During operation, the display shows the total number of minutes remaining in the cycle (up to 99
Remaining
minutes). For cycle times above 99 minutes the display will read "99". During a delay start, the
display will show hours of time remaining until the cycle starts.
10
LOW RINSE AID
1 - 24 HR.
Platinum Rinse Aid
®
START/RESET button and close the door within 4 seconds to start the cycle or begin the
HEAVY NORMAL LIGHT GLASSES AIR-DRY SPEED
to the rinse agent dispenser. See Dispensers section.
™
RINSE
CYCLE
SELECT
®
Platinum ActionPacs
™
CLEAN
. See
49-55105
Advertisement
Table of Contents

Related Manuals for GE PDW1860KSS


Summary of Contents for GE PDW1860KSS
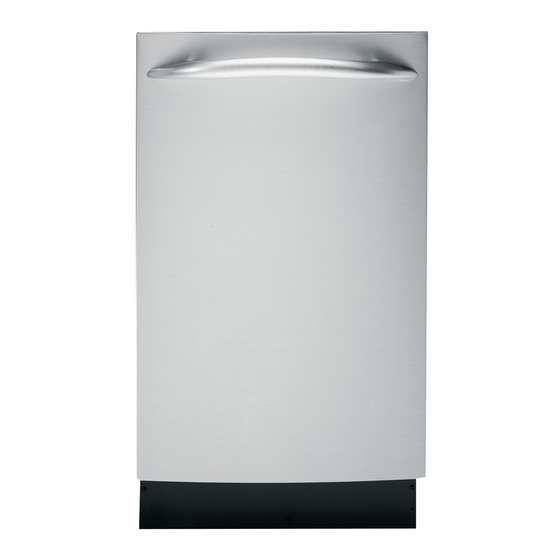
- Page 1 Getting started HEAVY NORMAL LIGHT GLASSES AIR-DRY SPEED RINSE START DELAY CYCLE SELECT RESET HOURS LOW RINSE AID CLEAN 1 - 24 HR. Load Dishwasher For best dishwashing results, follow the loading guidelines found in the Loading section. Scrape off hard soils, including bones, toothpicks, skins, and seeds.
-
Page 2: Upper Rack
Loading For best dishwashing results, follow these loading guidelines. Upper Rack The upper rack is for glasses, cups and saucers. This is also a secure place for dishwasher-safe plastics. A cup shelf may be placed in the up or down position to add flexibility. - Page 3 Dispensers Check the Water Temperature The entering water should be at least 120°F (49°C) and Turn on the hot water faucet nearest the dishwasher, not more than 150°F (66°C) for effective cleaning and to place the thermometer in a glass and let the water run prevent dish damage.
-
Page 4: Filling The Detergent Dispenser
Filling the Detergent Dispenser detergent will provide great wash performance without wasting detergent or etching glassware. GE Appliances recommends using detergent in tablet or packet form. Independent testing has shown this form of DO NOT USE HAND DISH DETERGENT ®... -
Page 5: Care And Cleaning
You can order citric acid GE Appliances kit 877-959-8688 or visiting GEApplianceparts.com. In Canada, call 1-800-661-1616. You can purchase Lemi Shine at your local grocery store or by calling GE WX10X10019. * Lemi Shine® is a registered trademark of Envirocon Technologies, Inc. -
Page 6: Cleaning The Filters
Care and cleaning Cleaning the Filters Inspect and clean the filters periodically. This should Main filter be done every month. If there is a decrease in wash performance or dishes feel gritty, this is also an indication the filters need to be cleaned. To clean the filters, remove the bottom rack.
Need help?
Do you have a question about the PDW1860KSS and is the answer not in the manual?
Questions and answers