Advertisement
Quick Links
Advertisement

Related Manuals for John Lewis Liv 413 92421


Summary of Contents for John Lewis Liv 413 92421
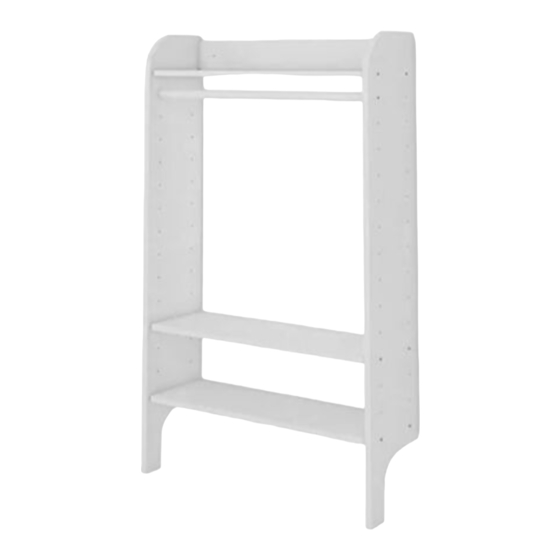
- Page 1 Liv Clothes Rail Stock number: 413 92421 H131 W80 D26cm...
-
Page 2: Tools Required
Thank you for purchasing the Liv clothes rail. Please read the instructions and warnings carefully before use, to ensure safe and satisfactory operation of this product. At John Lewis, we are committed to making great products possible. From our in-house Design Team to our Buyers, we work together to bring great designs to life. - Page 4 Your clothes rail Description Dimensions Left side panel 1310x260x18mm Right side panel 1310x260x18mm Top back panel 764x91x18mm Shelf 764x260x18mm Hanging rail Ø25x764mm...
-
Page 5: Fixtures And Fittings
Fixtures and fittings Fixtures and fittings supplied (actual size) CO CO Description Dimension Confirmat screw 7x45mm 15x11mm Cam Stud M6x34mm Dowel Ø8x30mm Female connector M4x14mm Male connector M4x35mm Felt pad 60x15x3mm Fixtures and fittings supplied (Not actual size) Large allen key 4x65mm Small allen key 3x45mm... -
Page 6: Product Assembly
Product assembly Liv Clothes Rail 413 92421 Step 1 Parts, fittings and tools Insert cam studs C into the allocated holes in the side panels and tighten clockwise. Please do not overturn! Then gently insert dowels D as shown. Step 2 Parts, fittings and tools Join the two side panels 1 and 2 with all shelves 4 and top rail part 3. - Page 7 Step 3 Parts, fitting and tools Mount the hanging rail using two confirmat screws A as shown. Step 4 Fittings...
-
Page 8: Step 6 - Wall Fixing
Step 5 Fittings and tools Insert cams B as shown and gently tighten clockwise. Please do not overturn, as this will damage your fittings. Step 6 – wall fixing This unit has been designed to be permanently fixed to the wall. Please see page 10 for guidance. - Page 9 Step 7 – Connecting with other Liv wall units Parts, fittings and tools Connectors E&F supplied with this unit can be used for connecting to other Liv units as shown.
- Page 10 A guide to wall mounting and fixings Warning In order to prevent overturning this product must be permanently fixed to the wall. Wall fixing screws are normally not included, since different wall materials require different types of screws / fixings. Please ensure you use the correct screws / fixings for your type of walls and seek professional advice if you are not sure.
- Page 11 Retain these instructions for future reference. Your feedback is very important to us and we would love to hear your comments on your new furniture. Please visit our website to leave a review. Thank you. John Lewis Partnership 171 Victoria Street London SW1E 5NN...