Table of Contents
Advertisement
Quick Links
Advertisement
Table of Contents

Related Manuals for T-Mobile SDA II


Summary of Contents for T-Mobile SDA II
- Page 2 Quick Start Guide...
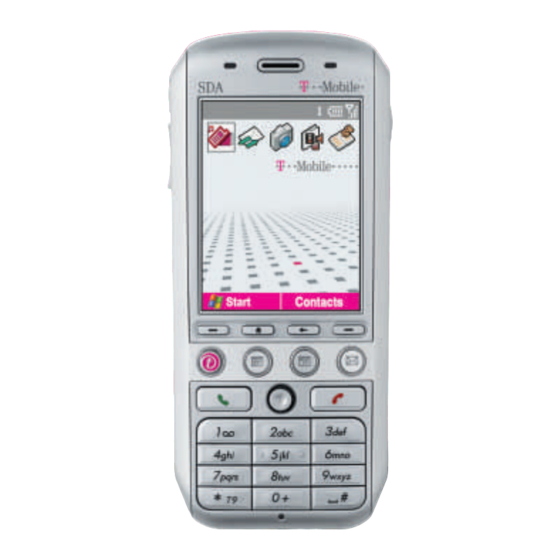
- Page 3 What's in the Box? Battery Companion CD AC Adapter Carrying pouch Sync Cable User Manual and Quick User Guide Headset...
- Page 4 Press for quick label above the button. access to your contacts. t-zone - Goes to the T-Mobile M e s s a g i n g - P r e s s f o r website. quick access to E-mail or SMS TALK - Dials a phone number;...
-
Page 5: Sim Card And Battery
1. SIM Card and Battery Inserting the SIM card Press and move the backside cover downward to open, and the remove the battery by lifting it up from both sides of the bottom end. Lift up the SIM metal socket. Insert SIM card with the gold-plated contact area on the card facing down. - Page 6 2. Turning On Your SDA and Making a Call Turning on your SDA Press and hold the POWER for about 2~3 seconds to turn your SDA on (or off). Your mobile operator's screen and your SDA’s Home screen will Power Button appear, prompting you to enter a PIN.
- Page 7 3. Synchronising with ActiveSync If you use Outlook on your desktop or notebook PC, you can synchronise E-mail, Contacts, Calendar, and other data with your SDA. Installing ActiveSync on your PC Insert the ActiveSync CD into the CD drive of your PC. Follow the instructions on the screen. Once installation is completed, connect the Sync cable to your SDA, and plug it into your PC's USB port...
-
Page 8: Surfing The Internet
Then, press the Left SOFT KEY (Go). Connecting to T-Mobile Favourites Opera browser allows you to connect to T-Mobile Favourites website quickly and conveniently. To launch the Opera browser, simply select the Internet icon when in the Home screen. -
Page 9: Using The Camera
5. Using the Camera Your SDA is equipped with a camera (the lens is on the back of the device). You can capture photos and short videos; then view, manage, and manipulate them using the Album utility, as explained in Chapter 3 of the User’s Manual. -
Page 10: Entering Text, Numbers, And Symbols
6. Entering Text, Numbers, and Symbols To start a new line: Press ENTER. To delete one character: Press BACK once. To delete all characters in a field: Press and hold BACK. To enter a symbol: Press and hold the key, select the symbol you want, and then select Done. Input Modes To choose or change the input mode: Press and hold the... - Page 11 7. Setting Up E-Mail and MMS Messaging Setting Up E-Mail Service You won’t miss your e-mail while on the road; you can check your important e-mail easily using your SDA. EmailWiz allows you to set up your POP3 or IMAP4 e-mail account in just a few steps, and immediately start checking and editing e-mail.
- Page 12 Your E-mail service is now set up completely. MMS Multimedia Messaging With MMS of T-Mobile, you can take photos and videos using your SDA and then send them directly to a mobile phone number or an E-mail address complete with text and sound.
-
Page 13: Program Icons
8. Program Icons Some of the applications available on your SDA’s Start menu/submenus are listed below. To start one, highlight it on the menu and then press the Action button, or on the keypad press the number shown to the left of the program name. Some of them also have dedicated hardware buttons. Messages ActiveSync Lets you read received E-Mail, MMS, or SMS... - Page 14 Camera t-zones This application launches the Camera mode, which Goes to the T-Mobile web site, where you can lets you take pictures and shoot video clips using access your E-mail, t-news, t-sports, t-music, t- any of five capture modes. games, and more.
-
Page 15: Status Indicators
9. Status Indicators Status indicators are displayed in the Title Bar at the top of your SDA’s screen. New message Signal strength New voice mail Radio off New instant message (MSN) GPRS available GPRS in use Voice call active Ringer off Data call active Multipress input lower Call forwarding...
Need help?
Do you have a question about the SDA II and is the answer not in the manual?
Questions and answers