
Related Manuals for PowerMax EH-760


Summary of Contents for PowerMax EH-760
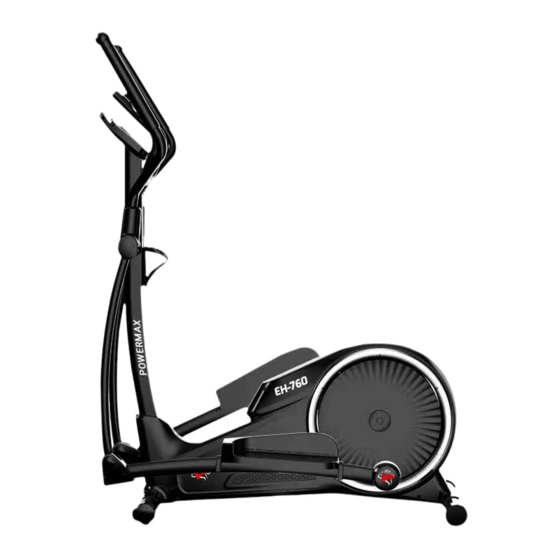
- Page 1 EH-760 Elliptical Cross Trainer OWNER’S MANUAL Retain this owner’s manual for future reference. Read and follow all Instructions in this owner are manual.
-
Page 2: Table Of Contents
OPERATING INSTRUCTIONS AND DAILY MAINTENANCE TROUBLESHOOTING 1 YEAR LIMITED WARRANTY PowerMax Fitness warrants to the original purchaser that this product is free from defects in material and workmanship when used for the purpose intended, under the conditions that it has been installed and operated in accordance with PowerMax Fitness's Owner's Manual. -
Page 3: Warranty
WARNING AND SAFETY This icon indicates a potentially dangerous situation, which, if not avoided, may result in death, death, or serious injury. Please observe the following warnings! : Read and understand all warnings on this machine. Read and understand the assembly instructions carefully. •... - Page 4 Before each use, please check the machine for loose parts or signs of wear. If found in this situation. Closely monitor the seats, pedals and crank arms. Contact customer maintenance information service. • Maximum user weight limit: 263 pounds. (110 kg). If you exceed this weight, do not use it. •...
-
Page 5: Basic Parameter
BASIC PARAMETER PRECAUTIONS BEFORE INSTALLATION 1. Choose the area where you want to set up and operate the machine before assembling. For safe operation, the setting must be on a hard, level surface. The minimum allowed exercise area is 82*61 (2.1m*1.5m). 2. -
Page 6: Main Spares
MAIN SPARES Series Description Series Description Console Left upper handle Handle cover Bottle holder Console support Right upper handle Front handle Rubber spacer Console support cover Front cover for foot tube Front stabilizer Frame Rear cover for foot tube Left pedal Right pedal Left foot tube Right foot tube... -
Page 7: Standard Component / Tools
STANDARD COMPONENT / TOOLS Series Description Curved flat washer Ф10 Nut M10 Screw 4*20 Screw 3*20 Bolt M6*20 Nut M6 Spring washer Ф6 Flat washer Ф6*Ф13*2 Spring washer Ф8 Flat washerФ8*φ20*2 Bolt M8*20 Bolt M8*40 Curved flat washer Ф8 Nut M8 INCLUDED EXCLUDED www.powermaxfitness .net... - Page 8 ASSEMBLY 1 Take the front and rear legs out and put them into the strip holes in the front of the frame, and put the arc flat washer Ф10 on the bolts, then put on the cap nut M10, and lock it with an open- end wrench.
- Page 9 ASSEMBLY 3 Install the left foot tube and pedal: Take out the left foot tube and the left pedal and the decorative cover, remove the screws and flat pads pre-installed on the lower armrest, align the U-shaped seat of the left foot tube with the lower armrest and just take it off Use 2 6# Allen wrenches to lock the screw flat washer, take out the flat washer and nut pre-installed on the universal seat, and align the U-shaped seat behind the left foot tube with the universal seat with a 17-19 wrench Tighten it, align the left pedal with the hole on the tread tube, and insert the...
- Page 10 Take out the front armrest, pass the handle wire of the front armrest out of the table board through the armrest riser hole, and lock it with M8 screws, flat washers, and spring washers with an Allen key 6#. ASSEMBLY 5 Take out the left and right sides of the upper armrest, put the upper armrest on the shrink tube on the lower armrest, lock it with carriage bolt M8*40, arc washer 8, outer hexagonal lock nut M8 and open-end wrench, take out the pre-installed M5 on the lower armrest *14 screw 4PCS,...
-
Page 11: Main Parts Description
Take out the electronic watch and remove the screws pre-installed on the back of the electronic watch, connect the upper line of the electronic watch to the upper line of the armrest riser, and lock it with a 6# Allen key. 7. - Page 12 MAIN PARTS DESCRIPTION Console Front handle Right upper handle Bottle holder Right bottom handle Console support Cover for console support Right foot tube Right pedal Shell Cross Rear stabilizer Rear cover for foot tube Left pedal Front stabilizer Front stabilizer plug Left foot tube Console support cover Left upper handle...
-
Page 13: P102 Instruction Manual
P102 INSTRUCTION MANUAL I. Button function In Setting mode, press this button to set target TIME/DISTANCE /CALORIES/HEART RATE. MODE Press this button to confirm the setting value. 1. Hold on this button for 2 seconds in any mode, the console will reboot. RESET 2. -
Page 14: Operating Instructions And Daily Maintenance Troubleshooting
IV. Function 1. TIME To display working time when there is signal (in Min: Sec). Range 00:00 to 99:59. Press SET button to set count down time, when counts down to 0:00, buzzer will alarm, screen will display original setting time. 2. - Page 15 5. Any problems involving the main body of the body, bearings, belts, and rotating vulnerable parts, please do not repair it yourself, and report back to the dealer and after-sales organization in time. 6. Avoid direct sunlight; especially the electronic watch will be easily damaged. Please put the exercise bike in a clean and dry environment, away from children.
Need help?
Do you have a question about the EH-760 and is the answer not in the manual?
Questions and answers