Advertisement
Quick Links
For quick set-up, follow the instructions shown below. Note that malfunction may occur if
you do not follow the steps. For further information, please read the instruction manual.
Before setting up your cash register, prepare three new R6 or LR6 batteries ("AA" size),
which are necessary for memory backup, and find a stable surface near an AC outlet
where the cash register is not subject to water sources or direct sunlight.
1
Installing The Cash Register
Install the cash register using the fixing
angle bracket provided with the register.
• Thoroughly clean the location where the
fixing angle bracket (B) is to be placed.
• Peel off the adhesive tape on the fixing
angle bracket.
• Hook the angle bracket onto the hook
(A) that is located at the bottom rear of
the register.
• Firmly stick the fixing angle bracket to
the table surface that you cleaned above.
To remove the register from the fixing
angle bracket.
• Lift up the front of the register and pull
the register towards you.
2
Preparing The Cash Register
Initialising The Cash Register
To ensure the cash register operates correctly, initialize it using the following
procedure.
• Make sure the AC power cord is unplugged and batteries are not installed
in the register.
• Insert the manager (MA) key into the mode switch and turn to the REG position.
• Insert the plug of the AC power cord into the AC outlet. The buzzer will
sound 3 times.
IMPORTANT: This operation must be performed without batteries installed.
• The register display should now show "NO BATTERY".
NOTE: If the buzzer does not sound when the plug is inserted, the
initialization has not been done successfully. Wait at least one minute
after pulling out the plug, and insert the plug again.
Installing the Batteries
Install three new R6 or LR6 batteries ("AA" size) according to the procedure
shown below with the power cord connected and set the mode switch to
REG position.
• Lift the rear of the printer cover and detach it.
• Open the battery compartment cover.
• Install three new R6 or LR6 batteries ("AA"size) as per the diagram.
When the batteries are properly installed "NO BATTERY" on the display
will disappear.
• Close the battery compartment cover.
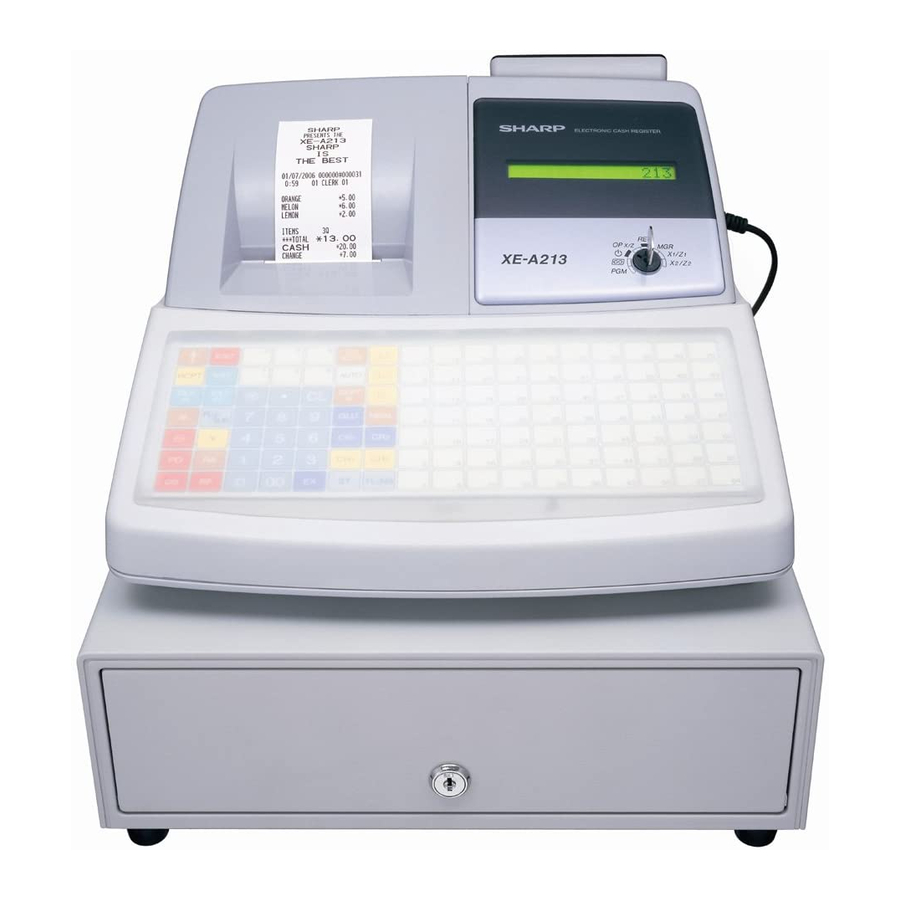
Model XE-A213
Model XE-A213
Important Notice
The cash register will
operate correctly only
after the following steps
have been carried out:
REG
OPX/Z
MGR
X1/Z1
X2/Z2
PGM
Mode Lock
REG
OPX/Z
MGR
X1/Z1
X2/Z2
PGM
Mode Lock
Advertisement

Related Manuals for Sharp XE-A213


Summary of Contents for Sharp XE-A213
- Page 1 Model XE-A213 Model XE-A213 For quick set-up, follow the instructions shown below. Note that malfunction may occur if you do not follow the steps. For further information, please read the instruction manual. Before setting up your cash register, prepare three new R6 or LR6 batteries ("AA" size), which are necessary for memory backup, and find a stable surface near an AC outlet where the cash register is not subject to water sources or direct sunlight.
- Page 2 Install the Paper Roll Receipt • Lift up the print roller release lever to unlock and open the print roller arm. • Set a paper roll in the paper roll cradle as per the diagram. • Feed the end of the paper along with the paper positioning guides as per the diagram.
- Page 3 Changing The Printing Style OPX/Z X1/Z1 The printer can either issue a customer receipt or provide a journal. X2/Z2 • Insert the manager (MA) key into the Mode Lock and turn to the PGM position. • Press the key. Mode Lock •...
- Page 4 Reporting OPX/Z X1/Z1 The cash register has two reporting types. X2/Z2 Use the reading function (X) when you need to take a reading of sales information Mode Lock entered since the last reset. This reading can be taken any number of times without clearing totals.
Need help?
Do you have a question about the XE-A213 and is the answer not in the manual?
Questions and answers