Table of Contents
Advertisement
Quick Links
Advertisement
Table of Contents

Subscribe to Our Youtube Channel
Related Manuals for ILVE 600SVGI


Summary of Contents for ILVE 600SVGI
- Page 1 INSTRUCTION MANUAL FOR 60 SERIES BUILT-IN GAS OVEN 600SVG...
- Page 2 Dear Customer, We thank you and congratulate you on your choice of ILVE. IMPORTANT The appliance must be connected by qualified technician in accordance with the applicable regulations. The data plate (a) of the oven is still visible after the appliance has been installed.
-
Page 3: Table Of Contents
CONTENTS INSTRUCTIONS FOR THE INSTALLER INSTRUCTIONS FOR INSTALLATION OF THE APPLIANCE POSITIONING VENTILATION GAS CONNECTION RIGID PIPE CONNECTION CONVERSION TO A DIFFERENT TYPE OF GAS NOZZLE TABLE ADJUSTMENT OF THE MINIMUM SETTING FOLLOWING CONVERSION TO A DIFFERENT GAS TYPE FLUSH FITTING ELECTRICAL CONNECTIONS INSTRUCTIONS FOR THE USER THE FIRST TIME YOU USE THE OVEN... -
Page 4: Instructions For The Installer
INSTRUCTIONS FOR THE INSTALLER INSTRUCTIONS FOR INSTALLATION OF THE APPLIANCE (positioning and ventilation requirements) The regulations covering the installation, maintenance and operation of gas appliances for domestic use are applicable regulations. An extract of these regulations appears below. For all indications not covered, refer to the above mentioned regulations. -
Page 5: Conversion To A Different Type Of Gas
Important:Use two wrenches to turn the fitting “G” to the required position. When the fitting is in the desired position, firmly tighten nut “A” (Fig. 3). WARNING - IMPORTANT: after connecting the appliance to the gas supply (or to the liquid gas bottles) CHECK FOR LEAKS at the union using a solution of soapy water(never use a naked flame). -
Page 6: Adjustment Of The Minimum Setting Following Conversion To A Different Gas Type
Injectors Table The diameters in hundredths of millimetre are stamped on the nozzle. Adjustment of the Minimum Setting Following Conversion to a different Gas Type Proceed to disassemble the front panel: - for the front panel, unscrew the two rear fixing screws- for glass fronts, unscrew the two lock rings under the knob. -
Page 7: Flush Fitting
FLUSH FITTING The oven can be installed under a work top or in a cooking column. The dimensions of the housing for the oven are given in figure 7.Make sure that surrounding materials are heat resistant. Align the oven centrally with respect to the side walls of the units surrounding it and fix it in place with the screws and Allen screws provided.If a gas hob is to installed in combination with the oven refer to the instructions supplied with the hob (figure8). -
Page 8: Electrical Connections
ELECTRICAL CONNECTIONS Before connecting the oven to the mains power supply,make sure that: 1) The supply voltage corresponds to the specifications on the data plate on the front of the oven. 2) The mains supply has an efficient earth (ground) connection complying with all applicable laws and regulations. -
Page 9: Instructions For The User
INSTRUCTIONS FOR THE USER THE FIRST TIME YOU USETHE OVEN Clean the oven thoroughly with soapy water and rinse well. To remove the lateral frames from smooth walled ovens, proceed as shown in the figure.Operate the oven for about 20 minutes at maximum temperature to burn off all traces of grease which might otherwise create unpleasant smells when cooking. - Page 10 TIMER 3 BUTTONS Setting the clock Figure 1 appears, press “+” or “-“ to set as described above. Minute counter Figure 2 described above. button.
-
Page 11: Description Of The Front Control Panel-Gas Oven With Electric Grill
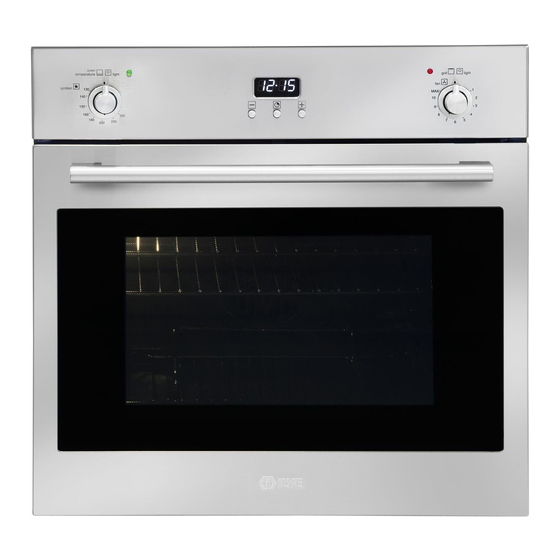
DESCRIPTION OF THE FRONT CONTROL PANEL GAS OVEN WITH ELECTRIC GRILL CONTROLS (Fig. 12) 1.Gas oven temperature control 2. Grill, spit roaster and oven light knob 3.Gas oven indicator light 4.Mechanical timer 5.Grill indicator light OVEN TEMPERATURE CONTROL The temperature control knob serves to set the desired oven temperature and is equipped with a safety valve. -
Page 12: Electric Grill
ELECTRIC GRILL Infrared Grill: Equipped with an energy regulator. The heat intensity of the grill can be set from 1 to MAX using the relative control knob (Fig. 14). When the grill is in operation, the grill indicator light will be illuminated. To operate the spit roaster motor, turn the knob to the symbol until you feel a click. -
Page 13: Oven Temperature Control
OVEN TEMPERATURE CONTROL The temperature control knob serves to set the desired oven temperature and is equipped with a safety valve. When the oven is in operation the green light is illuminated.To turn on the bottom burner,push in the temperature control knob and turn it anti-clockwise to the desired temperature.The minimum position corresponds to an oven temperature of 130°C. -
Page 14: Cooking In The Oven
VENTILATED VERSION Our 60cm gas ovens, also have the various functions in the ventilated version. By turning on the ventilator alone, cold air (room temperature) circulates inside the oven thus helping to rapidly thaw frozen foods. The ventilator function turned on together with the strong heat coming from the bottom burner makes it possible to cook foods more evenly and delicately than with the bottom burner alone. -
Page 17: Removal Of The Burner Cover Plate
Guideline values for cooking with the grill: REMOVAL OF THE BURNER COVER PLATE: (see fig. 20) The burner cover plate is secured at the front by two tabs inserted in two slots; to remove the cover plate, raise the rear of the plate so that it pivots at the front and withdraw the tabs form the slots. -
Page 18: Removing The Oven Door
REMOVING THE OVEN DOOR The oven door can be removed quickly and easily.To do so, proceed as follows: -Open the door fully. -Lift the two levers shown in fig. 21. -Close the door as far as the first stop (caused by the raised levers). -Lift the door upwards and outwards to remove it from its mountings. - Page 19 Warranty Card Eurolinx Pty Limited A.B.N. 50 001 473 347 trading as ILVE (“ILVE”) WARRANTY REGISTRATION PRIVACY Registration Card (“Personal Information”) Personal Information is display. WARRANTY 1. Warranty...
- Page 20 Warranty Card IMPORTANT! Warranty Card tear off ILVE Operating Manual...
- Page 21 Australia National Telephone Number 1300 MYILVE (694 583) New Zealand Telephone Number 0508 458 369 ilve.com.au ILVE showrooms are open daily from 9am-5pm and Saturdays 10am-4pm VIC & SA WA & NT New Zealand 48-50 Moore Street 1211 Toorak Road...
Need help?
Do you have a question about the 600SVGI and is the answer not in the manual?
Questions and answers