Sign In
Upload
Download
Table of Contents
Contents
Add to my manuals
Delete from my manuals
Share
URL of this page:
HTML Link:
Bookmark this page
Add
Manual will be automatically added to "My Manuals"
Print this page
×
Bookmark added
×
Added to my manuals
Manuals
Brands
klover Manuals
Boiler
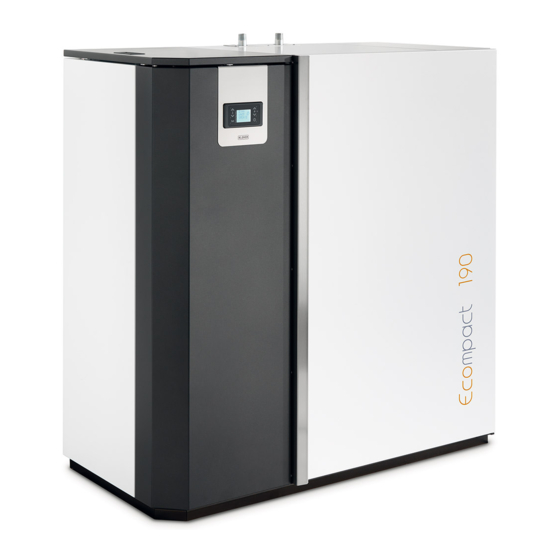
ECOMPACT 190
Instructions for use manual
klover ECOMPACT 190 Instructions For Use Manual
Hide thumbs
Also See for ECOMPACT 190
:
Installation, use, maintenance and helpful tips
(56 pages)
1
Table Of Contents
2
3
4
5
6
7
8
9
10
11
12
13
14
15
16
17
18
19
20
21
22
23
24
25
26
27
28
29
30
31
32
33
34
35
36
page
of
36
Go
/
36
Contents
Table of Contents
Bookmarks
Table of Contents
Table of Contents
Contents
Introduction
Important Safety Instructions
The Machine and the Pellets
Components of the Appliance
Technical Specifications
Technical Sheets for Dimensions and Connections
Pellet Properties
Requirements of the Place of Installation
Positioning
Spaces Around and above the Appliance
External Air Intake
Smoke Ducts and Connection to the Flue
Chimney
Electrical Connection
Control of a Possible Three-Way Motorized Valve for DHW System Management
Connection to the Room Thermostat
Hydraulic Connection
The Tft Display
The Menu - Tft Display
Initial Start-Up
System Configuration
Initial Filling of the System
Pellet Loading and Connection to the Mains Power Supply
Ignition Cycle
Switch-Off Cycle
Modifying the Working Power and the Temperatures of the Room, Boiler Water, Water Heater or Puffer - TFT Display
Problems, Alarms, Useful Tips
Useful Info
What Happens if
Alarm Signals
Cleaning and Maintenance
Precautions before Cleaning
Routine Cleaning
Non-Routine Cleaning
Cleaning the Ceramic Glass
Cleaning the Flue
Maintenance
Wiring Diagrams and Parameter Tables
Boiler Wiring Diagram
Wiring Diagram for Connecting Plant Type 5 (Hybrid)
Standard Warranty Conditions
Advertisement
Quick Links
1
Table of Contents
2
Components of the Appliance
3
The Menu - Tft Display
4
Problems, Alarms, Useful Tips
5
Alarm Signals
Download this manual
ECOMPACT 190
ECOMPACT 250
ECOMPACT 270
ECOMPACT 290
ECOMPACT 320
EN
INSTRUCTIONS FOR USE
CS.ECO-TFT.IST-1-EN / Rev 1.0
Table of
Contents
Previous
Page
Next
Page
1
2
3
4
5
Advertisement
Table of Contents
Need help?
Do you have a question about the ECOMPACT 190 and is the answer not in the manual?
Ask a question
Questions and answers
Related Manuals for klover ECOMPACT 190
Boiler klover ECOMPACT Series Installation, Use, Maintenance And Helpful Tips
Pellet-burning boiler (56 pages)
Boiler klover ECOMPACT 270 Instructions For Use Manual
(36 pages)
Boiler klover ECOMPACT 320 Instructions For Use Manual
(36 pages)
Boiler klover DIVA SLIM Series Installation, Use And Maintenance, Useful Tips
Pellet boiler stove (44 pages)
Boiler klover pellet boiler 24 User Manual
Pellet boiler (48 pages)
Boiler Klover KL User Manual
Sicuro top system boilers serie 2000 (48 pages)
Boiler klover PB35 Operation And Maintenance
(3 pages)
Boiler klover PB24 Manual
Pellet boiler (4 pages)
This manual is also suitable for:
Ecompact 250
Ecompact 270
Ecompact 290
Ecompact 320
Table of Contents
Print
Rename the bookmark
Delete bookmark?
Delete from my manuals?
Login
Sign In
OR
Sign in with Facebook
Sign in with Google
Upload manual
Upload from disk
Upload from URL


Need help?
Do you have a question about the ECOMPACT 190 and is the answer not in the manual?
Questions and answers