
Subscribe to Our Youtube Channel
Related Manuals for Sylvania SCR1229BT


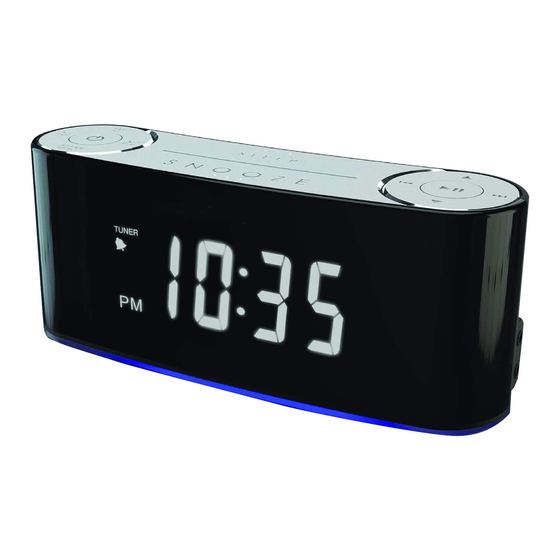
Summary of Contents for Sylvania SCR1229BT
- Page 1 MODEL NO. SCR1229BT BLUETOOTH AUTOSET CLOCK RADIO WITH USB CHARGING INSTRUCTION MANUAL PLEASE READ BEFORE OPERATING THIS EQUIPMENT Sylvania Inc. used under licenseSYLVANIA is a registered trademark of OSRAM .
-
Page 2: Warnings And Precautions
Warnings and Precautions TO PREVENT FIRE OR SHOCK HAZARDS, DO NOT EXPOSE THIS UNIT TO RAIN OR MOISTURE. This symbol, located on back or bottom of the unit, is This device complies with part 15 of the FCC Rules. intended to alert the user to the presence of uninsulated Operation is subject to the following two conditions: “dangerous voltage”... -
Page 3: Important Safety Instructions
Important Safety Instructions 1. Read Instructions - All the safety and feature. If you are unable to insert the plug receptacles as this can result in a risk of fire or operating instruction should be read before the fully into the outlet, try reversing the plug. If electric shock. -
Page 4: Location Of Controls
LOCATION OF CONTROLS... -
Page 5: Power Source
LOCATION OF CONTROLS 1. POWER / SOURCE BUTTON 2. VOLUME - DOWN / ALARM ONE BUTTON 3. DST (DAY LIGHT SAVING) / AUTO SCAN BUTTON 4. VOLUME + UP / ALARM TWO BUTTON 5. SKIP / TUNE BACKWARD BUTTON 6. NIGHT LIGHT ON/OFF /TIME ZONE BUTTON 7. -
Page 6: Setting Sleep Timer
CLOCK AND SLEEP Setting the Clock Auto Set When the clock radio is connected to an AC power outlet for the first time, the correct time for Eastern Standard Time zone will be shown. You can change to the other time zone by following the instructions in Time Zone section below. Manual Time Setup 1. -
Page 7: Setting The Alarm
ALARM Setting The Alarm 1. Press and hold the ALARM ONE BUTTON at standby mode. 2. ALARM ONE INDICATOR and the digits of time will flash. 3. Press the HOUR BUTTON or MINUTE BUTTON to increase the hour and minute. 4. -
Page 8: Radio Reception
Turning Off the Alarm: The alarm or radio will sound for 30 minutes unless interrupted by pressing the POWER / SOURCE BUTTON. It will repeat the chosen alarm again at the same time on the following day according to the weekday alarm schedule setting. -
Page 9: Pairing A Bluetooth Device For The First Time
The BLUETOOTH MODE INDICATOR will blink quickly. 3. Using the native controls on your Bluetooth device, select the Sylvania SCR1229BT in your Bluetooth settings to pair. 4. If your device requrests a password, enter the default password 0000. 5 .Refter to the use r’s manual for your specific device for instructions on pairing and connecting Bluetooth devices. -
Page 10: Usb Charge
USB CHARGE 1. Make sure the unit is plugged into the wall 2. Using the appropriate USB charging cable (not included), connect one end to the device and the other to the USB Charger on the unit. Refer to the user’s manual for your specific device for manufacturers required charging amperage as well as determining the appropriate cable for your device before charging. -
Page 11: Limited Product Warranty
LIMITED PRODUCT WARRANTY This quality product is warranted to be free from manufacturer’s defects in material and workman-ship, provided that the unit is used under the normal operating conditions intended by the manufacturer. Should you have any problem with this product, please and it is highly recommended to visit our website at www.curtisint.com before you take any other steps as we have additional copies of instruction manuals, operating manuals and trouble shooting tips on our website which gives you the answer on most of the...
Need help?
Do you have a question about the SCR1229BT and is the answer not in the manual?
Questions and answers