
Related Manuals for LG LCS311URPA


Summary of Contents for LG LCS311URPA
- Page 1 OWNER’S MANUAL CAR CD/MP3/WMA Receiver Please read this manual carefully before operating your set and retain it for future reference. LCS311UR/ LCS310UR/ LCS110AR...
- Page 2 Getting Started To reduce the risk of electric Safety Information shock, do not remove the cover or back of this product. There are CAUTION no user-serviceable parts inside. Refer servicing to qualifi ed service RISK OF ELECTRIC SHOCK personnel. DO NOT OPEN CAUTION: TO REDUCE THE RISK OF ELECTRIC To reduce the risk of fi re or electric SHOCK DO NOT REMOVE COVER (OR BACK) NO...
- Page 3 You have to set the disc format option to [Mastered] in order to make the discs compatible with the LG players when formatting rewritable discs. When setting the option to Live File System, you cannot use it on LG players.
-
Page 4: Table Of Contents
Table of Contents Operating Table of Contents Operation – Basic operations – Turning off the sound temporarily Getting Started – Using EQ (Equalizer) – Using XDSS+ (Extreme Dynamic Safety Information Sound System) Front panel – Checking the clock Remote control (OPTIONAL) –... -
Page 5: Getting Started
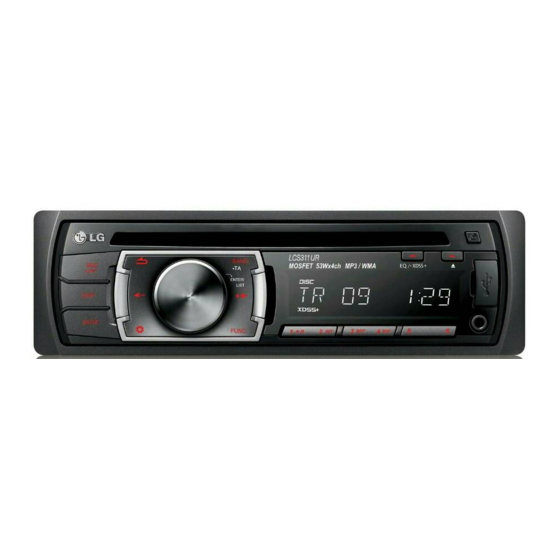
Getting Started Front panel o p q r a SRC/ • OFF j DISP • When pressed, selects function sources. • Press it, you can check the clock time. • When pressed and held, powers unit on or off . •... -
Page 6: Remote Control (Optional)
Getting Started i DISP Remote control • Press it, you can check the clock time. (OPTIONAL) • Press and hold it, you can turn on/off the display window. j RPT Repeats playback k INT Intro scan l Numeric buttons (1 - 6) Selects a numbered preset station in TUNER. -
Page 7: About Detachable Control Panel
Connecting Detaching the control panel About detachable 1. Press the 6 to open the control panel. control panel Attaching the control panel 2. Push the control panel to right. 1. Align the left side of the panel with the stopper. 2. -
Page 8: Installation
Connecting ISO-DIN Installation Installation Basic Installation Before installing, make sure that the ignition-switch is set to OFF and remove the terminal of the car battery to avoid short-circuiting. Bend the claws according to the thickness of the dashboard. Control panel 1. -
Page 9: Connection
Connecting Connection Connecting to a car Before installing, make sure that the ignition-switch is set to OFF and remove the terminal of the car battery to avoid short-circuiting. To Audio out To Audio in (OPTIONAL) (OPTIONAL) Front Left Rear Left (Sub-woofer Left) Front Right Rear Right (Sub-woofer Right) *Sub-woofer is optional. -
Page 10: Operating
Operating Using XDSS+ (Extreme Operation Dynamic Sound System) It improves the treble and bass sound. Basic operations 1. Press and hold EQ/ • XDSS+ on the unit. 1. Turn the unit on by pressing any key on the 2. To cancel it, press and hold it again. unit. -
Page 11: Adjusting The General Settings
Operating Adjusting the general settings For [LIGHT] setting You can adjust the light eff ects by adjusting DIM, or You can adjust [SOUND], [LIGHT] and [OTHER] DIM L. settings. DIM (Dimmer) OFF/ ON/ AUTO: You can change On the unit the brightness of the display window during the power-on status. -
Page 12: Listening To A Cd
Operating For [OTHER] setting Listening to a CD AUX (Auxiliary) ON/ OFF It is possible to use auxiliary equipment with this 1. Insert a CD. unit. Activate the auxiliary setting when using 2. Rotate the volume knob on the unit to adjust auxiliary equipment connected to this unit. -
Page 13: Skipping To Another Track/ Fi Le
Operating Skipping to another track/ fi le Playing back tracks/ fi les in a way you want Press on the unit. Or press c/v on remote control. For using applicable buttons 1. Press the volume knob on the unit. 1. Press INT/ RPT/ SHF. Or press ENTER on the remote control. -
Page 14: Listening To Music From An External Device
Only when you set AUX to ON as switching sources, to [Mastered] in order to make the discs you can adjust the volume level of each source to compatible with the LG players when prevent radical changes in volume by selecting formatting rewritable discs. When setting the GAIN LOW or HIGH. -
Page 15: Listening To The Radio
Operating Listening to a preset station Listening to the radio 1. Press BAND repeatedly to select a desired band. 1. Press SRC repeatedly to select a source to 2. Press the volume knob on the unit. TUNER. Or press ENTER on the remote control. 2. -
Page 16: Adjusting Tuner Settings
Operating AF (Alternative frequency) ON/ OFF Adjusting TUNER settings When the reception quality drops, the tuner automatically changes to another station in the On the unit network, broadcasting a better reception quality, 1. Press FUNC. using the PI and AF codes. 2. -
Page 17: Using An Usb Device (Optional)
Operating Playable USB device Using an USB device Requirement (OPTIONAL) Do not extract the USB device during operation (play, etc.). 1. Open the USB cover. An USB device which requires additional 2. Connect the USB device. programme installation when you have 3. -
Page 18: Troubleshooting
Troubleshooting Troubleshooting Symptoms Cause Solution Power doesn't turned on. Leads and connectors are not Confi rm once more that all connections properly. are correct. The unit doesn't operate. The fuse is blown. Rectify the problem that caused the fuse to blow, and then replace it. Be very sure to install the correct fuse with the same rate. -
Page 19: Appendix
Appendix USB (OPTIONAL) Specifi cations Version: USB 1.1 or USB 2.0 Full Speed Bus Power Supply (USB): DC 5V General Line OUT (OPTIONAL) Output Power: 53 W x 4 CH (Max.) Frequency Response: 20 Hz to 20 kHz Power Source: DC 12 V Output Voltage: 2 V (Max.) Speaker impedance: 4 Ω...
Need help?
Do you have a question about the LCS311URPA and is the answer not in the manual?
Questions and answers