Advertisement
Quick Links
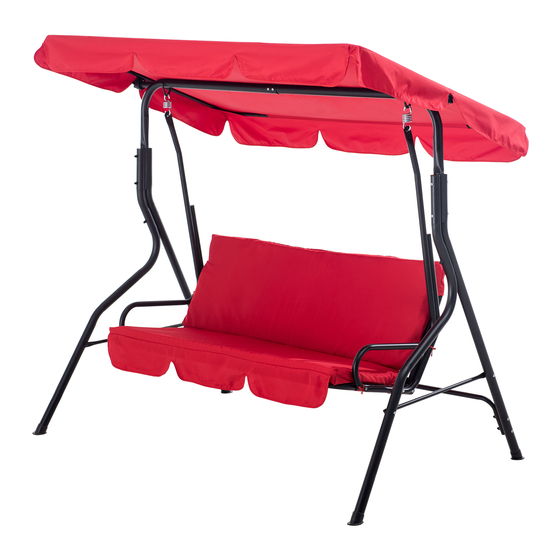
3-Seat Swing Assembly Instruction
Item# L-DNC373PST-C-RED
Warranty:
1. This swing must be assembled by two adults or more.
2. Tools are not included in packaging. The expected time required for
assembly is usually 1-2hours.
3. Before assembly, ensure all parts are present and not damaged.
4. Assemble on a flat, hard, and debris-free surface.
5. Keep canopy swing away from fire or inflammable objects.
6. There are small parts present in the packaging. Keep all small parts away
from children.
7. Children should be accompanied by an adult when using the swing.
8. Do not repack your swing until it is completely dry.
9. This swing must not be left erect in high wind conditions.
1
Advertisement

Subscribe to Our Youtube Channel
Related Manuals for Sunjoy L-DNC373PST-C-RED


Summary of Contents for Sunjoy L-DNC373PST-C-RED
- Page 1 3-Seat Swing Assembly Instruction Item# L-DNC373PST-C-RED Warranty: 1. This swing must be assembled by two adults or more. 2. Tools are not included in packaging. The expected time required for assembly is usually 1-2hours. 3. Before assembly, ensure all parts are present and not damaged.
- Page 2 Part List Part Qty. Image Part Qty. Image Handrail support 1 Top support Seat Front leg Canopy side Back leg support Bottom Canopy support support Back support Canopy Back support Cushion Hardware List Part Qty. Image Part Qty. Image M6*30 Screw M6*90 Screw M6*85 Screw screw arbor...
- Page 3 Assembly Fig.1: Insert the top support 1 (1) into the tube of the top support 2 (2) as the arrow direction by using screw (F), flat washer (J), nut (I) and ball nut (K) to connect. Fig.2: Using screw (A), flat washer (J), nut (I) and ball nut (K) to connect front leg (3) and back leg (4) with top supports (1 and 2).
- Page 4 Fig.3: Using screw (E), flat washer (J), nut (I) and ball nut (K) to connect bottom support (5) with front leg (3) and back leg (4). Fig.4: Insert the back support 1 (6) into the tube of back support 2 (7) by using screw (G), flat washer (J), nut (I) and ball nut (K) to connect the back supports (6 and 7).
- Page 5 Fig.5: Using screw (C), flat washer (J), nut (I) and ball nut (K) to connect assembled back supports (6 and 7) with back leg (4). Fig.6: Using screw (D), flat washer (J), nut (I) and ball nut (K) to connect handrail (8) with seat (9).
- Page 6 Fig.7: Using screw (D), flat washer (J), nut (I and ball nut (K) to connect the bottom end of the handrail (8) with bottom end of the seat (9). Fig.8: Attach one end of the hook (L) to the handrail (8) and other end to the rings on the top supports (1 and 2).
- Page 7 Fig.9: Using screw arbor (H) to connect canopy side support (10) with top supports (1 and 2). Fig.10: Insert the canopy support (11) into the canopy (12) as the arrow direction.
- Page 8 Fig.11: Insert the canopy support (11) into the canopy side support (10) as the arrow direction, then attach the canopy (12). Fig.12: Place the cushion (13) on the seat (9).
Need help?
Do you have a question about the L-DNC373PST-C-RED and is the answer not in the manual?
Questions and answers