Advertisement
STEP-BY-STEP
ILLUSTRATED
Installation Procedure / INSTRUCTIONS D'INSTALLATION
PARTS / PIÈCES:
A Complete Lever / Levier complet
B Complete Flush Valve with Flapper /
Robinet de chasse complet avec clapet
C Complete Fill Valve with Float /
Robinet de remplissage complet avec flotteur
D Plastic Cap Covers & Washers /
Rondelles et capuchons en plastique
E Toilet Seat/ Siège de toilette
TOOLS AND MATERIALS REQUIRED / OUTILS ET FOURNITURES NÉCESSAIRES:
A Sealing Ring (3/4" Rubber or 11/16" Wax) /
Anneau d'étanchéité (3/4 po en caoutchouc ou 11/16 po en cire)
B Floor Flange (May already be installed if replacing existing toilet) /
Bride de fixation (déjà en place dans le cas du remplacement d'une toilette)
C Closet Bolts / Boulons de cuvette
D Plastic Closet Bolt Washers /
Rondelles en plastique pour boulons de cuvette
E Metal Washers / Rondelles en métal
F Tightening Nuts / Écrous de serrage
G Water Supply Kit (Not needed if replacing existing toilet)
Nécessaire d'arrivée d'eau
(déjà en place dans le cas du remplacement d'une toilette)
H Adjustable Wrench / Clé à molette
I
Flathead Screwdriver / Tournevis à lame plate
J Level / Niveau
K Nut Driver or Socket Set / Tournevis à douille ou jeu de douilles
L Putty Knife / Couteau à mastic
M Tape Measure / Ruban à mesurer
RONA INC.: 220 Chemin de Tremblay, Boucherville, Quebec Canada J4B 8H7 - Toll Free: 1-866-283-2239
Instructions
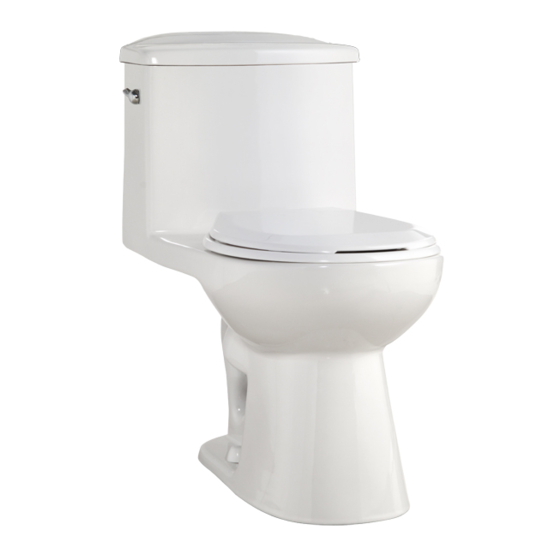
'CALISI' ONE PIECE TOILET / TOILETTE MONOPIÈCE 'CALISI'
TL-8710-WL
x1
x1
x1
x2
x1
x1
x1
x2
x2
x2
x2
x1
www.rona.ca
ILLUSTRÉES
ÉTAPE PAR ÉTAPE
A
B
D
A
B
D
E
G
H
J
K
C
E
C
F
I
L
M
page 1/5
Advertisement
Table of Contents

Related Manuals for Uberhaus CALISI


Summary of Contents for Uberhaus CALISI
- Page 1 Instructions ILLUSTRÉES STEP-BY-STEP ÉTAPE PAR ÉTAPE ILLUSTRATED ‘CALISI’ ONE PIECE TOILET / TOILETTE MONOPIÈCE ‘CALISI’ TL-8710-WL INSTALLATION PROCEDURE / INSTRUCTIONS D’INSTALLATION PARTS / PIÈCES: A Complete Lever / Levier complet B Complete Flush Valve with Flapper / Robinet de chasse complet avec clapet...
- Page 2 Instructions ILLUSTRÉES STEP-BY-STEP ÉTAPE PAR ÉTAPE ILLUSTRATED ‘CALISI’ ONE PIECE TOILET / TOILETTE MONOPIÈCE ‘CALISI’ TL-8710-WL REMOVING YOUR OLD TOILET / DÉMONTAGE DE LA TOILETTE USAGÉE Turn off the water supply. Fermez l’arrivée d’eau. Flush the toilet to empty the tank. Remove any water left in the tank or bowl.
- Page 3 Instructions ILLUSTRÉES STEP-BY-STEP ÉTAPE PAR ÉTAPE ILLUSTRATED ‘CALISI’ ONE PIECE TOILET / TOILETTE MONOPIÈCE ‘CALISI’ TL-8710-WL INSTALLATION PROCEDURE / INSTRUCTIONS D’INSTALLATION FIG 2 FIG 2 Place a new wax ring around the waste flange of toilet bowl. (Figure 2) Mettez un nouvel anneau de cire sur la bride de vidage de la cuvette. (Figure 2) Lower the toilet onto the closet bolts, so the bolts project through mounting holes in base of toilet.
- Page 4 STEP-BY-STEP ÉTAPE PAR ÉTAPE ILLUSTRATED ‘CALISI’ ONE PIECE TOILET / TOILETTE MONOPIÈCE ‘CALISI’ TL-8710-WL INSTALLING YOUR TANK LEVER HANDLE / INSTALLATION DU LEVIER DE CHASSE Hook the chain onto the lever into the furthest hole from the lever. With the lever at rest, the chain should only be long enough for flapper to close.
- Page 5 ILLUSTRÉES STEP-BY-STEP ÉTAPE PAR ÉTAPE ILLUSTRATED ‘CALISI’ ONE PIECE TOILET / TOILETTE MONOPIÈCE ‘CALISI’ TL-8710-WL CONNECT WATER SUPPLY / RACCORDER L’ALIMENTATION D’EAU Connect water supply line (new or existing) between shutoff valve and tank inlet water fitting. Tighten coupling nuts securely.
Need help?
Do you have a question about the CALISI and is the answer not in the manual?
Questions and answers