Table of Contents
Advertisement
Quick Links
On-Demand Water Heater
Installation Manual and Owner's Guide
ANSI Z21.10.3 ・ CSA 4.3
Gas Tankless Water Heater
Suitable for combination potable water heating
and space-heating
Please refer to local codes
for space-heating compliance.
FEATURING
• ENDLESS HOT WATER
• ON-DEMAND USAGE
• COMPACT, SPACE SAVING
• ENERGY CONSERVATION
• COMPUTERIZED SAFETY
• NO PILOT LIGHT
• Complies with SCAQMD Rule
1146.2 for NOx emissions require-
ment of 14 ng/J or 20 ppm
• FIELD GAS CONVERTIBLE
• EASY-LINK SYSTEM AND MULTI-
UNIT SYSTEM
(510U only)
Keep this manual near the water heater for future reference whenever maintenance, adjustment, or
service is required.
510U only
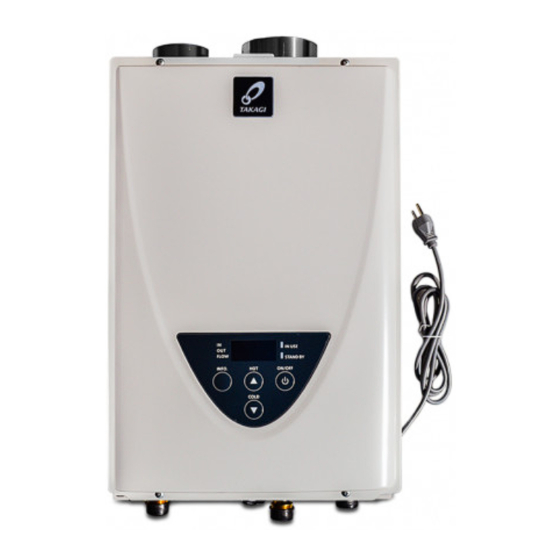
Models
•
110U Indoor
•
•
310U Indoor
•
•
510U Indoor
•
Series 200
WARNING
- Do not store or use gasoline or other
flammable vapors and liquids in the vicinity
of this or any other appliance.
- WHAT TO DO IF YOU SMELL GAS
TM
• Do not try to light any appliance.
• Do not touch any electric switch, do not
• Immediately call your gas supplier from
• If you cannot reach your gas supplier, call
- Installation and service must be performed
by a qualified installer, service agency or the
gas supplier.
110U Outdoor
310U Outdoor
510U Outdoor
If the information in these
instructions is not followed
exactly, a fire or explosion may
result causing property damage,
personal injury or death.
use any phone in your building.
a neighbor's phone. Follow the gas
supplier's instructions.
the fire department.
If you have any questions, please
call or write to:
500 Tennessee Waltz Parkway
Ashland City, TN 37015
Toll Free: 1-877-737-2840
Advertisement
Table of Contents


Need help?
Do you have a question about the 200 Series and is the answer not in the manual?
Questions and answers