Table of Contents
Advertisement
Quick Links
We appreciate the trust and conýdence you have placed in Hampton Bay through the purchase of this chair. We strive to contin-
ually create quality products designed to enhance your home. Visit us online to see our full line of products available for your
home improvement needs. Thank you for choosing Hampton Bay!
USE AND CARE GUIDE
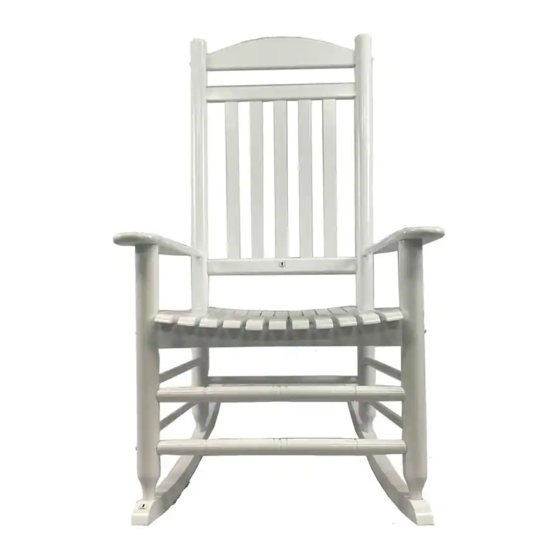
ROCKING CHAIR
Questions, problems, missing parts? Before returning to the store,
call Hampton Bay Customer Service
8 a.m. - 7 p.m., EST, Monday - Friday, 9 a.m. - 6 p.m., EST, Saturday
1-855-HD-HAMPTON
HAMPTONBAY.COM
Call center for missing parts : 1-888-287-4275
From 9:00 am to 5:00 pm CST (Monday to Friday)
THANK YOU
Item # ....
Model: Rocker-01/ Rocker-02
Advertisement
Table of Contents

Subscribe to Our Youtube Channel
Related Manuals for HAMPTON BAY Rocker-01


Summary of Contents for HAMPTON BAY Rocker-01
- Page 1 THANK YOU We appreciate the trust and conýdence you have placed in Hampton Bay through the purchase of this chair. We strive to contin- ually create quality products designed to enhance your home. Visit us online to see our full line of products available for your...
-
Page 2: Important Safety Instructions
Table of Contents Table of Contents......... 2 Assembly ............5~6 Safety Information........ 2 Maintenance ............7 Warranty ..........2 Pre-Assembly ........3 Planning..........3 Tools Required........3 Hardware Included......3 Package Contents ....... 4 Important Safety Instructions SAVE THESE INSTRUCTIONS WARNING: Do not use the chair before all the bolts are fully tightened. -
Page 3: Warranty
Warranty The furniture is warranted to be free from defects in material and workmanship of the original product when purchased from one of our authorized dealers. If a product fails and is under the terms of our limited warranty, the item will be replaced, usually for a small fee. In the case of discontinued models, an item of similar quality and style will be offered to the customer. -
Page 4: Pre-Assembly
Pre-Assembly PLANNING INSTALLATION Assemble your unit in an area free from any objects that might scratch the surface of your unit. Examine all packing material before discarding as shortages may occur from parts left in the packing material. Please read the instructions carefully, and verify all parts are included. All bolts need to be tightened from time to time to avoid damage. -
Page 5: Package Contents
Pre-Assembly (continued) PACKAGE CONTENTS Part Description Quantity Right side frame Left side frame Head rest Back rest Seat Rocker runners Front spindles Back spindle HAMPTONBAY.COM Please contact 1-855-HD-HAMPTON for further assistance. - Page 6 Assembly Connecting the side frame to the back rest, Connecting the side frame to the rocker runners head rest, seat and spindles • Pour a small amount of glue (FF) into the holes on the rocker • Install the head rest (C), back rest (D), seat (E) and spindles (G&H) into the corresponding holes of the right side frame (A).
- Page 7 Assembly (continued) Inserting the bolts and screws to the right side frame Inserting the wooden caps to the chair Upright the chair. Invert the chair and repeat step 2 to secure the frame. Make sure all parts are connected and tighten all bolts completely using a screwdriver.
-
Page 8: Maintenance
Maintenance Wood is a living material that continues to respond to climate condition even after being made into a piece of furniture. After assembly rub the furniture with a soft rag to remove any residual dust. Wood is a natural material whose appearance will change when left outdoors.
Need help?
Do you have a question about the Rocker-01 and is the answer not in the manual?
Questions and answers