Table of Contents
Advertisement
Quick Links
Advertisement
Table of Contents

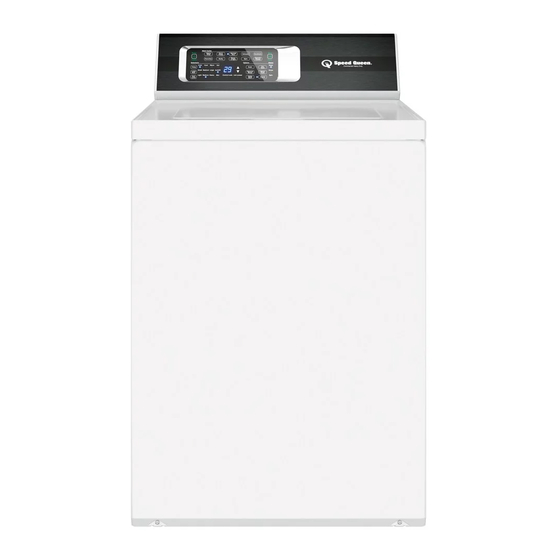
Summary of Contents for Alliance Laundry Systems TR7000WN
- Page 1 Installation Instructions for Topload Washers Original Instructions Keep These Instructions for Future Reference. CAUTION: Read the instructions before using the machine. (If this machine changes ownership, this manual must accompany machine.) Part No. 204104ENR1 www.speedqueen.com September 2017...
-
Page 3: Table Of Contents
Installer Checklist.................12 © Copyright 2017, Alliance Laundry Systems LLC All rights reserved. No part of the contents of this book may be reproduced or transmitted in any form or by any means without the expressed written consent of the publisher. -
Page 4: Dimensions And Specifications
0.4 in. [10 mm] 25.63 in. [651 mm] *29 in. [737 mm] *42.75 in. [1086 mm] *36 in. [914 mm] *With leveling legs turned into base. © Copyright, Alliance Laundry Systems LLC - Part No. 204104ENR1 DO NOT COPY or TRANSMIT... -
Page 5: Installation
NOTE: Install dryer before washer. This allows room for attaching exhaust duct. NOTE: This appliance is suitable for use in countries having a warm, damp climate. © Copyright, Alliance Laundry Systems LLC - Part No. 204104ENR1 DO NOT COPY or TRANSMIT... -
Page 6: Wipe Out Inside Of Washtub
Water pressure must be a minimum of 20 to a maximum of 120 Figure 3 pounds per square inch [minimum of 138 to a maximum of 827 kPa] static pressure measured at the faucet. © Copyright, Alliance Laundry Systems LLC - Part No. 204104ENR1 DO NOT COPY or TRANSMIT... -
Page 7: Connecting Hoses
[1220 mm] will result in slower draining and may extend cycle times. NOTE: Machine will not drain if standpipe is higher than 8 feet [2438 mm]. © Copyright, Alliance Laundry Systems LLC - Part No. 204104ENR1 DO NOT COPY or TRANSMIT... -
Page 8: Low Standpipe Installation
For this type of installation, the drain hose MUST be secured to the stationary tub to prevent hose from disloding during use. Use the beaded strap (supplied in accessories bag) to secure hose. © Copyright, Alliance Laundry Systems LLC - Part No. 204104ENR1 DO NOT COPY or TRANSMIT... -
Page 9: Position And Level The Washer
9. Verify that unit does not rock. TLW2285N_SVG 1. Wood Block Figure 9 4. Place rubber cups (from accessories bag) on all four leveling legs. © Copyright, Alliance Laundry Systems LLC - Part No. 204104ENR1 DO NOT COPY or TRANSMIT... -
Page 10: Plug In The Washer
The appliance is equipped with a cord having an equipment earth/ ground conductor and a three-prong earth/ground plug. The plug must be plugged into an appropriate outlet that is properly instal- © Copyright, Alliance Laundry Systems LLC - Part No. 204104ENR1 DO NOT COPY or TRANSMIT... -
Page 11: Check Lid Lock
Do not cut or remove the earth/ground prong from this plug. W823 © Copyright, Alliance Laundry Systems LLC - Part No. 204104ENR1 DO NOT COPY or TRANSMIT... -
Page 12: Installer Checklist
Connect Fill Hoses. Check Lid Lock. CHECK CHECK COLD TLW1988N_SVG Connect Drain Hose to Drain Receptacle. CHECK TLW2288N_SVG Refer to the manual for more detailed information © Copyright, Alliance Laundry Systems LLC - Part No. 204104ENR1 DO NOT COPY or TRANSMIT...


Need help?
Do you have a question about the TR7000WN and is the answer not in the manual?
Questions and answers