Advertisement
Quick Links
Advertisement

Related Manuals for Shark NP320QUK


Summary of Contents for Shark NP320QUK
- Page 1 OWNER’S GUIDE NP320QUK NP320QUK_40_IB_ENG_130927_3.indd 1 2013-10-03 1:31 PM...
- Page 2 TO REDUCE THE RISK OF FIRE, ELECTRIC SHOULD ALWAYS BE OBSERVED, SHOCK OR INJURY: INCLUDING THE FOLLOWING: GENERAL ELECTRICAL SAFETY: READ ALL INSTRUCTIONS BEFORE USING 1. Unplug from electrical outlet when not in use YOUR SHARK LIFT-AROUND CANISTER ® ™ and before servicing. VAC.
- Page 3 GENERAL USE: GENERAL CLEANING: 1. Use only as described in this manual. 1. DO NOT pick up large-sized objects. 2. DO NOT put any objects into openings. DO 2. DO NOT pick up hard or sharp objects such as NOT use with any opening blocked; keep free of glass, nails, screws or coins that could damage dust, lint, hair, and anything that may reduce air the vacuum cleaner.
- Page 4 To return your used device, please use the return and collection systems or contact the retailer where this product was purchased. They can take this product for environmental safe recycling. This manual covers model number: NP320QUK 40 TECHNICAL SPECIFICATIONS Voltage: 220-240V~, 50/60Hz...
-
Page 5: Table Of Contents
Contents Thank you for Getting Started ................6 purchasing the How to Use ...................8 Shark ® Maintenance ................10 Lift-Around Storing ..................12 ™ Canister Vac. Checking for Blockages ...............13 Resetting the Motor Thermostat ..........13 Ordering Replacement Parts ............13 Troubleshooting Guide ..............14 NP320QUK_40_IB_ENG_130927_3.indd 5... -
Page 6: Getting Started
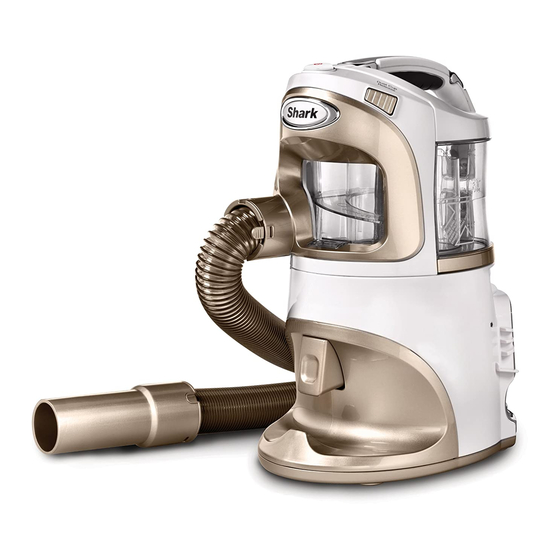
Getting Started Use the Shark Lift-Around Canister ® ™ FIRST THING’S FIRST, YOU NEED TO KNOW WHAT’S IN THE BOX YOU JUST OPENED: Vac as a stand alone vacuum for spot- Lift-Around Canister Vac ™ cleaning small areas and large piles of debris,... - Page 7 FLEXIBLE HOSE (I) house. With the right cleaning tool in place and the Flexible CANISTER CADDY (C) Hose, you can extend your reach into hard-to-clean Specially designed to hold the Shark Lift- ® areas. Around ™...
-
Page 8: How To Use
How to Use Align arrows to attach tool caddy Fig. 1 Fig. 2 Pull out to remove tool caddy Power Button Fig. 5 Fig. 4 Fig. 3 ASSEMBLING THE LIFT-AROUND CANISTER Attach the shoulder strap onto the hooks on the ™... - Page 9 Hose Dock Caddy Release Fig. 8 Fig. 6 Fig. 9 FOR ADDED COMFORT OR FOR AN EXTENDED REACH Fig. 7 Attach the floor kit handle to the flexible hose. Push it in until it is secure. (fig. 9) Insert the telescopic tube into the end of the floor USE IN CANISTER MODE kit handle.
-
Page 10: Maintenance
Maintenance To reduce the risk of electric shock, unplug the unit before performing any cleaning, maintenance, or troubleshooting checks. Reassemble all parts securely before operating vacuum. CAUTION: For best results empty the Dust Cup Unplug the vacuum; after each use; empty several times failure to do so might during prolonged usage or when it result in electric shock. - Page 11 COMPONENT MAINTENANCE SCHEDULE Dust Cup Empty each time you vacuum. Pre-Motor Foam Filter Rinse and air dry every month under normal use. Pre-Motor Felt Filter Rinse and air dry every month under normal use. Post-Motor HEPA Filter Clean once every 24 months under normal use. DO NOT operate the vacuum without ALL the filters in place.
-
Page 12: Storing
Storing Fig. 18 Fig. 19 Fig. 21 Fig. 20 STORE YOUR VACUUM SAFELY Store the telescopic tube attached to the bare floor nozzle in the upright position with the flexible Place the unit over the caddy and press down until hose attached and hook the flexible hose into the it locks into place. -
Page 13: Checking For Blockages
Checking for Blockages Resetting the Motor Thermostat Locking Your Shark Lift-Around™ Canister Vac is ® Latch equipped with a protective Motor Thermostat. If the mo- tor should overheat, the thermostat shuts off the power. To reset the Motor Thermostat: Press the Power Button to turn the vacuum off. -
Page 14: Troubleshooting Guide
Troubleshooting Guide PROBLEM POSSIBLE REASONS & SOLUTIONS Check Filters to see if they need cleaning. Follow instructions for rinsing and drying the Filters before re-inserting back into the Vacuum. (See “Maintenance” sections for instructions.) Vacuum is not Dust Cup may be full; empty Dust Cup. picking up dirt. - Page 15 Notes 15 15 NP320QUK_40_IB_ENG_130927_3.indd 15 2013-10-03 1:31 PM...
- Page 16 For customer service please contact: South Boundary Road Knowsley, Liverpool L70 2QA Tel.: 0800 51 41 31 Technical Details Model number: NP320QUK 40 Input: 550W Main unit voltage: 220-240V., 50/60 Hz. COPYRIGHT© EURO-PRO OPERATING LLC 2013 Not to be disposed of with other household waste.
Need help?
Do you have a question about the NP320QUK and is the answer not in the manual?
Questions and answers