Advertisement
Quick Links
Advertisement

Related Manuals for V7 L27ADS-2N


Summary of Contents for V7 L27ADS-2N
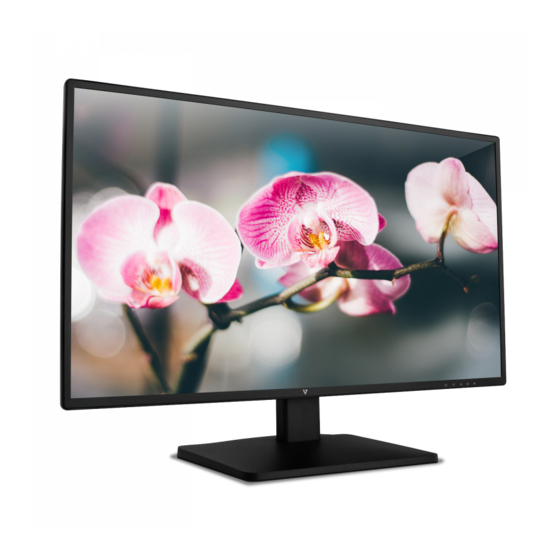
- Page 1 27” Full HD Widescreen LED Monitor L27ADS...
-
Page 2: Getting Started
1 Getting Started 2 Control Panel/ Back Panel 3 On Screen Display 4 Technical Specs 5 Care & Maintenance 6 Troubleshooting 7 Safety info & FCC warning... - Page 3 Package includes • AC power cord • VGA cable • DVI cable • Audio cable • Quick start guide AC Power Cord VGA Cable DVI Cable Audio Cable...
-
Page 4: Installation
Installation 1. Insert post into base 2. Slide post into monitor slot 3. Connect Video Cable, Connect Power Cord HDMI AUDIO AUDIO 4. Power on Computer and Monitor... - Page 5 Control Panel Power On/Off Input/Select Scroll Up/Increase Scroll Down/Decrease OSD Menu On/Off Back Panel Audio Out Audio In Power Cable VGA Port DVI Port HDMI Port...
- Page 6 Using On Screen Display (OSD) Functions Main Menu Button Function Automatic Adjustment To auto adjust Horizontal Position, Vertical Position, Phase (Fine Tune) and Clock (H. Size) of the screen. To manually adjust the Picture Format, Contrast, Brightness, DCR Mode, ECO Mode and Over Drive of screen image.
- Page 7 Button Function When Input Select is pressed, change Input signal to VGA, DVI and HDMI. Input Source To adjust the audio functions. Volume: To adjust the volume of speaker output. Audio Adjust Mute: To turn the Mute ON/OFF. Audio input: When in HDMI input, select where the audio source comes from Line-In or HDMI. Color modes: cool, normal, warm and user color User color: Individual adjustments for red (R), green (G), blue (B).
- Page 8 Button Function To manually adjust the H. /V. Position, Horizontal size, Fine tune, Sharpness and Video Mode Adjustment. H. / V. Position: To adjust the horizontal and vertical position of the video. H. Position: : move screen to the right, : move screen to the left.
- Page 9 Technical Specification LCD Panel 68.6 cm (27”) TFT Energy Star Power VESA DPMS compatible Management Off Mode, < 0.5 W Displayable Full HD 1920 x 1080 max. Resolution Vertical Frequency 60Hz max. Pixel Dimension 0.3114 x 0.3114 mm LCD Display Color 16.7M colors Tilt -5°~20°...
- Page 10 Care • Avoid exposing your monitor directly to sunlight or other heat source. Place your monitor away from the sun to reduce glare. • Put your monitor in a well ventilated, clean, dry area. • Do not place any heavy things on top of your monitor •...
- Page 11 No Power • Make sure AC power cord is securely connected to the power adapter and the power supply is firmly connected to the monitor. • Plug another electrical device into the power outlet to verify that the outlet is supplying proper voltage. •...
- Page 12 Safety Precautions This monitor is manufactured and tested on a ground principle that a user’s safety comes first. However, improper use or installation may result danger to the monitor as well as to the user. Carefully go over the following WARNINGS before installation and keep this guide handy. WARNINGS •...
Need help?
Do you have a question about the L27ADS-2N and is the answer not in the manual?
Questions and answers