Table of Contents
Advertisement
Advertisement
Table of Contents

Related Manuals for Tasco 119259CW


Summary of Contents for Tasco 119259CW
- Page 1 Trail Camera Instruction Manual Model #: 119259CW 05-15...
-
Page 3: Table Of Contents
Page Index Introduction Parts & Controls Guide Battery and SD Card Installation Date & Time Imprint Feature 9-10 Power On Set Up 10-11 Viewing the Photos Glossary Technical Specifications Troubleshooting/FAQ 15-17... - Page 4 Congratulations on your purchase of one of the best trail cameras on the market! Tasco is very proud of these cameras and we are sure you will be pleased with yours as well. We appreciate your business and want to earn your trust.
-
Page 5: Introduction
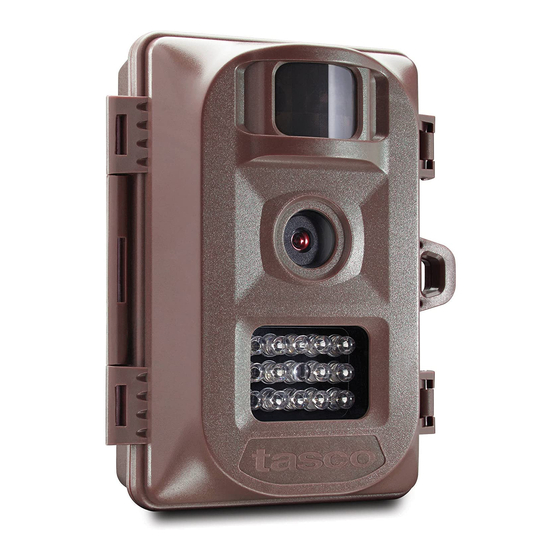
INTRODUCTION Congratulations on your purchase of a Tasco Digital Trail Camera. This camera, with its weatherproof, rugged construction, is designed to record animal activity in the outdoors. Your Trail Cam features a compact, portable size and an extra long battery life. - Page 6 Parts and Controls Guide PIR Motion Sensor Latch Camera Padlock Lens Hole Infrared LED Array Front of Camera Light Sensor/ PIR Indicator IR LED Array Detail...
-
Page 7: Parts & Controls Guide
Parts and Controls Guide Battery Compartment (note orientation for correct polarity) Power Switch SD Card Slot... -
Page 8: Battery And Sd Card Installation
BATTERY INSTALLATION To maximize battery life, you should install a full set of 8 AA lithium (for longest life) or alkaline batteries. The camera may also be powered by just four batteries installed in the first slots only (see photo). Battery life will be shorter with 4 batteries, but the camera will operate normally. -
Page 9: Date & Time Imprint Feature
SD card, as described below. If no text file with date/time is found on the card when the camera is turned on, only “Tasco” will be imprinted on the photos. Requirements: •... -
Page 10: Power On
• If the red light stays on for 20 seconds, the battery level is low-insert fresh batteries. To capture photos of activity in the area you choose to locate your Tasco Trail Camera, follow the steps listed below in “SET UP”: SET UP 1. - Page 11 camera so as not to block the camera lens or PIR sensor. To mount the camera in place, insert the strap through the strap slots on the rear housing. Wrap the strap around the mounting surface. Secure the strap and tighten the buckle in order to secure the camera. Make sure that both of the camera’s latches are securely locked in place, to ensure proper weather resistance.
-
Page 12: Viewing The Photos
4. Secure the Camera A standard padlock may be used in the camera’s lock hole to secure it and prevent theft. VIEWING THE PHOTOS After your camera has been operating for awhile, you will of course want to review the photos it has been capturing. This can be done by either of two methods, according to your preference or the availability of accessory equipment: Using an SD Card Reader... -
Page 13: Glossary
GLOSSARY PIR (Passive Infrared Sensor): Senses motion like a typical security motion detector. Requires infrared energy (heat) in addition to motion to trigger the sensor to help limit detection to live subjects (rather than leaves, etc). Moon Phase: The trail cams have a feature which imprints a moon phase stamp on each photo for reference. -
Page 14: Technical Specifications
TECHNICAL SPECIFICATIONS Model Number 119259CW Image Sensor Type 1/4 Inch CMOS Sensor Resolution 1.0 Megapixels Effective Focal Length 7.6 mm Lens Aperture f/2.0 ~ 2.5 IR Filter Automatic IR Filter PIR Sensor Trigger Speed 1.0 second Number of IR LED... -
Page 15: Troubleshooting/Faq
Trail Cam to obtain maximum battery life. Make sure that you are using a good quality name brand SD card in your camera. Tasco recommends SanDisk® brand SD Cards up to 32GB. Our experience indicates that poor quality SD cards can sometimes reduce your trail cam battery life. - Page 16 If this is seen on a consistent basis, then the sensor may need servicing. Please contact Tasco customer service. Photos Do Not Capture Subject of Interest Try to set your camera up in an area where there is not a heat source in the camera’s line of sight.
- Page 17 Troubleshooting / FAQ camera over ground. Try to avoid setting the camera up on small trees that are prone to being moved by strong winds. Remove any limbs which are right in front of the camera lens. PIR Sensor LED Flashes/Doesn’t Flash For the first three minutes after the camera is switch on, the PIR Indicator LED on the front of the camera will flash for 3 seconds whenever it senses motion. ...
- Page 18 This warranty does not cover damages caused by misuse, improper handling, installation, or maintenance provided by someone other than a Tasco Authorized Service Department. Any return made under this warranty must be accompanied by the items listed below: 1.
- Page 19 · Consult the dealer or an experienced radio/TV technician for help. The device does not contain any user-serviceable parts. Repairs should only be made by an Authorized Tasco repair center. Unauthorized repairs or modifications could result in permanent damage to the equipment, and will void your warranty and your authority to operate this device under Part 15 regulations.
- Page 20 For further questions or additional information please contact: Tasco 9200 Cody, Overland Park, Kansas 66214 (800) 423-3537 • www.tasco.com ©2015 B.O.P.
Need help?
Do you have a question about the 119259CW and is the answer not in the manual?
Questions and answers