Table of Contents
Advertisement
Quick Links
Advertisement
Table of Contents

Subscribe to Our Youtube Channel
Related Manuals for Makita DST112Z


Summary of Contents for Makita DST112Z
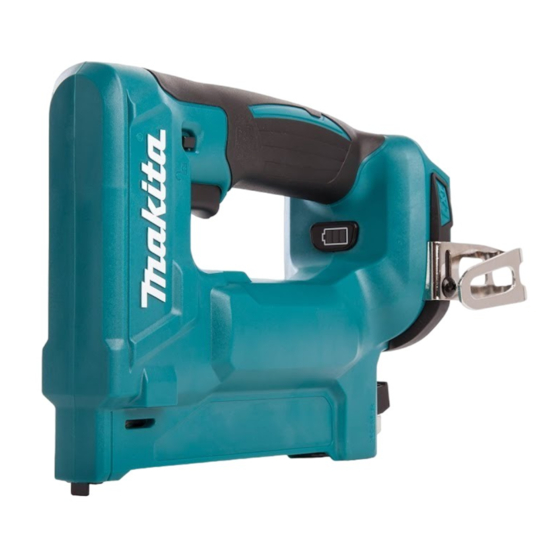
- Page 1 INSTRUCTION MANUAL Cordless Stapler DST111 DST112 Read before use.
-
Page 2: Specifications
Sound pressure level (L ) : 76 dB(A) For European countries only Uncertainty (K) : 3 dB(A) Makita declares that the following Machine(s): The noise level under working may exceed 80 dB (A). Designation of Machine: Cordless Stapler Model DST112 Model No./ Type: DST111, DST112 Sound pressure level (L ) : 76 dB(A) Conforms to the following European Directives: Uncertainty (K) : 3 dB(A) 2006/42/EC They are manufactured in accordance with the following The noise level under working may exceed 80 dB (A). standard or standardized documents: EN60745 WARNING: Wear ear protection. The technical file in accordance with 2006/42/EC is available from: Makita, Jan-Baptist Vinkstraat 2, 3070, Belgium 9.9.2015 2 ENGLISH... -
Page 3: General Power Tool Safety Warnings
Yasushi Fukaya Use personal protective equipment. Always Director wear eye protection. Protective equipment such Makita, Jan-Baptist Vinkstraat 2, 3070, Belgium as dust mask, non-skid safety shoes, hard hat, or hearing protection used for appropriate conditions will reduce personal injuries. SAFETY WARNINGS Prevent unintentional starting. Ensure the... - Page 4 Battery tool use and care 10. Make sure no one is nearby before operation. Never attempt to drive fasteners from both the Recharge only with the charger specified by inside and outside of wall at the same time. the manufacturer. A charger that is suitable for Fasteners may rip through and/or fly off, pre- one type of battery pack may create a risk of fire senting a grave danger.
-
Page 5: Functional Description
Only use genuine Makita batteries. Use of non-genuine Makita batteries, or batteries that have been altered, may result in the battery bursting causing fires, personal injury and damage. It will also void the Makita warranty for the Makita tool and charger. ► 1 . Red indicator 2. Button 3. Battery cartridge Tips for maintaining maximum... -
Page 6: Overload Protection
Overload protection Indicator lamps Remaining capacity When the tool/battery is operated in a manner that causes it to draw an abnormally high current, the tool Lighted Blinking automatically stops without any indication. In this sit- uation, turn the tool off and stop the application that Charge the battery. caused the tool to become overloaded. Then turn the tool on to restart. -
Page 7: Loading Staples
Switch action CAUTION: Before installing the battery car- tridge into the tool, always check to see that the switch trigger actuates properly and returns to the "OFF" position when released. CAUTION: When not operating the tool, depress the trigger-lock button from B side to lock the switch trigger in the OFF position. -
Page 8: Operation
Remove the battery cartridge. The hook is convenient for temporarily hanging the tool. This can be installed on either side of the tool. Press the locking lever and slide the sub maga- To install the hook, insert it into a groove in the tool zine backward. housing on either side and then secure it with a screw. To remove, loosen the screw and then take it out. ► 1 . Locking lever 2. Sub magazine ► 1 . Groove 2. Hook 3. Screw Load staples into the main magazine with their feet facing up. - Page 9 When the head of driven staple remains above the Driving staples workpiece surface, drive the staple while holding the stapler head firmly. WARNING: Until driving staples completely, always make sure that the contact element placed firmly on the material. Unintentional firing may cause personal injuries. The material may be unsuitable, if the head of driven staple remains above the workpiece surface although the stapler head is held firmly.
-
Page 10: Maintenance
NOTICE: Never use gasoline, benzine, thinner, alcohol or the like. Discoloration, deformation or cracks may result. To maintain product SAFETY and RELIABILITY, repairs, any other maintenance or adjustment should be performed by Makita Authorized or Factory Service Centers, always using Makita replacement parts. OPTIONAL ACCESSORIES CAUTION: These accessories or attachments are recommended for use with your Makita tool specified in this manual. The use of any other... - Page 12 Makita Europe N.V. Jan-Baptist Vinkstraat 2, 3070 Kortenberg, Belgium Makita Corporation 3-11-8, Sumiyoshi-cho, Anjo, Aichi 446-8502 Japan 885493-226 www.makita.com 20160216...
Need help?
Do you have a question about the DST112Z and is the answer not in the manual?
Questions and answers