Table of Contents
Advertisement
Quick Links
Please read these instructions carefully before using this product,
Message Display
Troubleshooting
Finding the information you need
Contents
Contents by Function
Menu list
Register online at http://shop.panasonic.com/support
(U.S. customers only)
Owner's Manual
for advanced features
Model No.
and save this manual for future use.
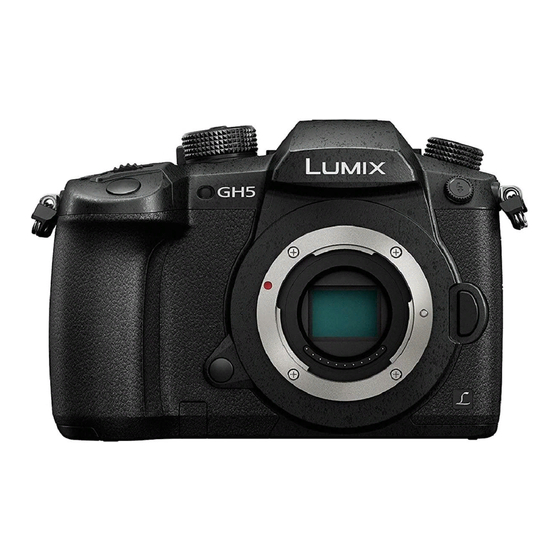
Digital Camera
DC-GH5
P328
P330
P2
P4
P10
P204
DVQP1117ZA
F0317HN0
Advertisement
Table of Contents


Need help?
Do you have a question about the Lumix DC-GH5EFK and is the answer not in the manual?
Questions and answers