
Subscribe to Our Youtube Channel
Related Manuals for LG LSW600B


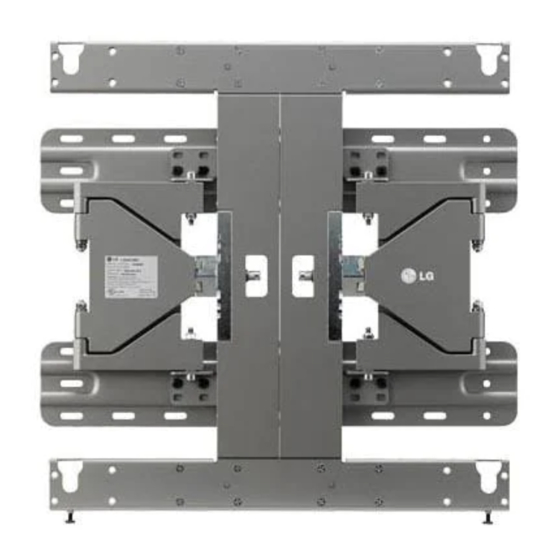
Summary of Contents for LG LSW600B
- Page 1 OWNER’S MANUAL EZ SLIM WALL MOUNT Please read this manual carefully before installation and retain it for future reference. LSW600B www.lg.com P/NO : MFL63640507 (1008-REV00)
-
Page 2: Important Safety Instructions
* 1 Year Warranty If material or workmanship proves defective under normal use, during the warranty period, please contact the retailer where you purchased it. This warranty is good only to the original purchaser of the product and effective only in the local area. Accessories Wall mount anchor 8 units... -
Page 3: Before Installation
Install the product according to the directions in the user manual. If the product is not installed based on the directions in the user manual, it can cause a serious injury or damage to the product. During the installation, check the type of wall material and use the sealed anchor and screw if the conditions comply. -
Page 4: Installation Method
Installation method - Tools you will need : Phillips head "+" driver(Manual or motorized) finder / Drill. You may also need an 8mm socket wrench or an 8mm drill bit for concrete. Fixating the mounting bracket on the TV - If the screw will not fully tighten when using a guide spacer, recheck the assembly depth of the screw and refer to the technical service manual. -
Page 5: How To Attach To Masonry Walls
How to attach to masonry walls - Use the anchors for wall material of concrete, light concrete, strong natural stone, soft natural stone masonry brick and hallow block that do not crack. Please follow the below direction. - Check the material of the wall and the thickness of the finishing. - When installing the product on the wooden wall, refer to page 7. -
Page 6: How To Install The Wall Mount
How to install the wall mount <When installing on a masonry wall> → When you separate the 8 screws on the wall mount connected to the wall bracket for use with a wooden wall, it is much easier to install the product. →... - Page 7 <When mounting to wooden studs> 76mm wood stud b. After aligning the wall bracket on the wall where the center of the wood stud is marked, mark the location of the screws and then remove the wall bracket. c. Use a level to make sure your screw marks are level. d.
-
Page 8: How To Assemble The Wall Mount Support And Display
How to assemble the wall mount support and display - Always install the display with 2 or more people. 1. Set the display with the guide spacer assembled on the wall mount bracket on the wall in arrow direction. At this time, align the bottom assembly part and lift the set up lightly to align the top part. 2. -
Page 9: Tilt Angle Adjustment
Tilt Angle Adjustment - The tilt angle can be adjusted after installation and setup. - When you adjust the angle, hold the product carefully with both hands to avoid any damage to the product or wall. ➊ <Top Tilt> 12°± 2° <... - Page 10 How to adjust height +80mm Clamping bolt - 80mm <When moving the set downward> → It is possible to move the set upward and downward by as much as 80mm. → Please use both hands when adjusting the set upward and downward. Do not forget to remove the bolts on both sides of the set before adjusting the height.
- Page 11 TV/Monitor get. Dimension 45 26 Wall mount Vesa specification Model Width (mm) Height (mm) Depth (mm) Weight (kg) Weight with packing (kg) 600 X 400 Max Load Capacity (kg) Max 220 LSW600B [ unit : mm ] Min 31...
- Page 12 The model and serial number of the product is located on the back or one side of the product. Record it below should you ever need service. MODEL SERIAL Supported Displays: (Consult the retailer for detail list of models.) 72LEX*...
Need help?
Do you have a question about the LSW600B and is the answer not in the manual?
Questions and answers