
Related Manuals for Eco Stage 5R BEAM200


Summary of Contents for Eco Stage 5R BEAM200
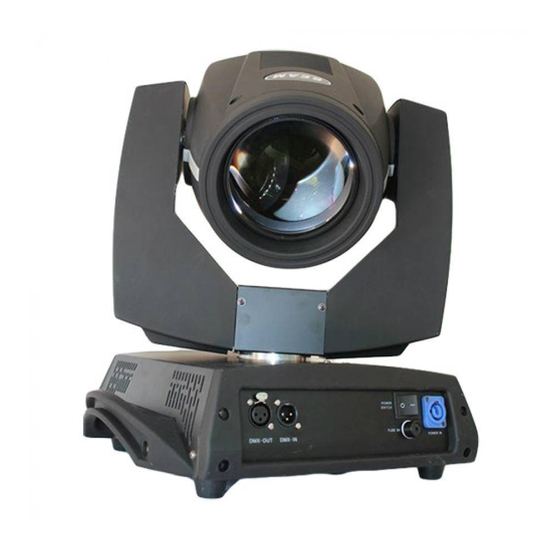
- Page 1 BEAM200 MOVING HEAD LIGHT WEIGHT:17.5KG COLOR TEMPERATURE:(8400K) (200/230W) POWER:...
-
Page 2: Table Of Contents
Item Item ..........................2 1. Product introduce .................. 1.1 Fixture Size...................... 4 2. Safety information..................... 4 2.1 Anti-high temperature ..................5 2.2 Burst Prevention ....................5 2.3 To prevent falling wounding ................5 2.4 UV protection and the bulb explosion ..............5 2.5 Prevention of electric shock ................ - Page 3 5.2 Power connection....................8 6. Lamp........................9 6.1 Bulb Description ..................... 9 6.2 changing a light bulb................... 9 7. Control Panel ......................9 7.1 Introduction......................9 8. B200W reference ....................9 8.1 address code, XY axis control mode............10 8.2 MODE control mode..................10 8.3 DISP Mode.....................11 8.4 LAMP Mode ....................11 8.5 RESET mode....................11...
-
Page 4: Product Introduce
STATEMENT The product is good packing when ship out the factory. All users should strictly abide by the warnings and instructions stated in this manual, any damage and results due to misuse and the neglect of this operating manual will be excluded from the deal responsibility this manual will not informed in additionally if have technical changes. -
Page 5: Anti-High Temperature
manufacturer as soon as possible. This product is only suitable for indoor, IP20 protection class. Lamps should be kept dry to avoid Moisture, overheating or dusty environment. Prevent lamps come into contact with water or any other liquid. The use of this product should pay attention to: fire, heat, electric shock, ultraviolet radiation, the lamp to explode or Shedding caused serious or fatal injury. -
Page 6: Prevention Of Electric Shock
2.5 PREVENTION OF ELECTIC SHOCK The electrical connection must only be carried out with corresponding qualifications; Before installing, make sure you use the power voltage lamps must comply with the identified power, voltage and have an overload or leakage protection; Each lamp must be properly grounded, installed in accordance with the relevant standards;... -
Page 7: Transport The Protection Locks
3.2 TRANSPORT PROTECT LOCK In order to protect the light, there is a protect lock; During the transport , the lock will closed keeping the item in safety state. 3.3 ABOUT PACK STAGE 1. Before packed, make sure power is off, and wait for at least 20mins for cooling down. 2. -
Page 8: Connected Devices
WARNING Fixture must use two fixing devices, and make sure the fixing device have locked! And only fully clockwise rotate 90 ° can lock the hang fixture! Do remember plus a safety rope, and do not connect the safety rope to plastic handle. It should be connect to the hole on the base! 4.3 FIXTURE CONNECT Attention! One product only can accept one input one output. -
Page 9: Lamp
below table. If lamp cable is damaged, replacement should be operate by factory or qualified staff. Any question, please contact professionals or talk to a qualified electrician. Live wire(L) Null(N) Ground wire BLUE Yellow +Green 6. LAMP 6.1 LAMP DESCRIPTION LAMP MODEL POWER OF LAMP LIFE/HOUR... -
Page 10: Address Code, Xy Axis Control Mode
8. BEAM2OOW CONTROL 8.1 DMX ADDRESS AND X,Y AXIS CONTROL A001 DMX address:001 Press E button enter the DMX address set. Click “up” and “down” button to adjust 0-255 address. Press “E” saved Rpan: X axis reverse Click “up” button to enter this model, “E” button confirm. -
Page 11: Disp Mode
8.3 DISPLAY MODE Click “up” button to enter this model, “E” DISP: DISPLAY MODE button confirm, click “up” and “down” button to adjust state. Press “E” for confirm MOD1:Display MOD2:Dim display MOD3:No display ( any button re-light) Reverse display screen 8.4 LAMP MODE ON ,Press “E”, turn on lamp by manual. -
Page 12: Channels Introduction
8.7 CHANNEL CONTROL Channel DMX No Content 1CH Color White White+Color1 9-12 Color1 13-17 Color1+Color2 18-21 Color2 22-25 Color2+Color3 26-29 Color3 30-34 Color3+Color4 35-38 Color4 39-42 Color4+Color5 43-46 Color5 47-51 Color5+Color6 52-55 Color6 56-59 Color6+Color7 60-63 Color7 64-68 Color7+Color8 69-72 Color8 73-76 Color8+Color9... - Page 13 3CH Dimming 0-255 0-100% 4CH Gobo White Gobo1 8-11 Gobo2 12-15 Gobo3 16-19 Gobo4 20-23 Gobo5 24-27 Gobo6 28-31 Gobo7 32-35 Gobo8 36-39 Gobo9 40-43 Gobo10 44-47 Gobo11 48-51 Gobo12 52-55 Gobo13 56-59 Gobo14 60-63 Gobo15 64-67 Gobo16 68-71 Gobo17 72-113 Gobo change ,fast to slow 114-117...
- Page 14 84-104 Angle360 105-126 Angle450 Angle540 128-190 Fast rotate to Slow rotate 191-192 stop 193-255 Slow rotate to fast rotate 7CH Empty 0-255 8CH Frost 0-255 0-100% Frost 9CH Focus 0-255 0-100% Focus 10CH X 0-255 540° 11CH X fine 0-255 1.8°...
Need help?
Do you have a question about the 5R BEAM200 and is the answer not in the manual?
Questions and answers