
Related Manuals for Kucht Professional Series


Summary of Contents for Kucht Professional Series
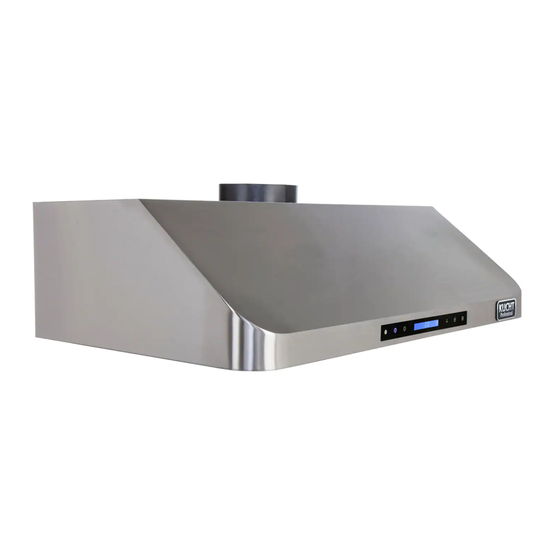
- Page 1 BE A IN YOUR KITCHEN RANGE HOOD INSTALLATION GUIDE AND USER MANUAL APPLICABLE MODEL: KRH3001U, KRH3601U, KRH4801U, KRH3002U, KRH3602U, KRH4802U, KRH3003U, KRH3603U, KRH3004U, KRH3604U, KRH3005U, KRH3605U, KRH4805U.
-
Page 2: Observe The Following
National Fire Protection Association (NFPA), the American Society for Heating, Refrigeration and Air Conditioning Engineers (ASJRAE) and the code authorities in your area. FOR MORE DETAILS AND INFORMATION, PLEASE VISIT OUR WEBSITE WWW.KUCHT.COM... -
Page 3: Fire Department
. The fire is small and confined to the area where it was formed. . Firefighters were called. . You can fight against the fire with an exit behind you. FOR MORE DETAILS AND INFORMATION, PLEASE VISIT OUR WEBSITE WWW.KUCHT.COM... - Page 4 7-5/8" and 4-7/8 "from the left side of the mid-line. IMPORTANT Keep these instructions in order to return them to the electrical inspector. The hood must be plugged directly into a 110 volt wall outlet. FOR MORE DETAILS AND INFORMATION, PLEASE VISIT OUR WEBSITE WWW.KUCHT.COM...
- Page 5 The hood is equipped with a vertical transition to remove fumes outside. Recommended diameter conduit model and wall chimney hood and hood island: vertical round pipe 7'' tolerance + or – 1. Models Chimney hood Wall: 03 series and 04 series FOR MORE DETAILS AND INFORMATION, PLEASE VISIT OUR WEBSITE WWW.KUCHT.COM...
- Page 6 INSTALLATION GUIDE AND USER MANUAL FOR MORE DETAILS AND INFORMATION, PLEASE VISIT OUR WEBSITE WWW.KUCHT.COM...
- Page 7 You can determine for yourself how high you install the hood above the stove. Over the hood near the stove, it is more effective to capture cooking odors, grease and smoke. FOR MORE DETAILS AND INFORMATION, PLEASE VISIT OUR WEBSITE WWW.KUCHT.COM...
- Page 8 So the installation height requirement is: the distance between the bottom of the hood to the surface of the cooktop is Max 30”/ Min 27”(as figure showing) FOR MORE DETAILS AND INFORMATION, PLEASE VISIT OUR WEBSITE WWW.KUCHT.COM...
-
Page 9: Installation
• Use a level to draw a straight line from the center line on the template. • Measure at least 26 - 1/4 "(the measure may vary elbow used) above the pencil line FOR MORE DETAILS AND INFORMATION, PLEASE VISIT OUR WEBSITE WWW.KUCHT.COM... - Page 10 7 - ½ "in diameter (the hole may be enlarged for the passage of the elbow). Necessary Tools FOR MORE DETAILS AND INFORMATION, PLEASE VISIT OUR WEBSITE WWW.KUCHT.COM...
- Page 11 INSTALLATION GUIDE AND USER MANUAL 03 Series range hood Walled mounted fixed plated FOR MORE DETAILS AND INFORMATION, PLEASE VISIT OUR WEBSITE WWW.KUCHT.COM...
- Page 12 INSTALLATION GUIDE AND USER MANUAL Overview size : FOR MORE DETAILS AND INFORMATION, PLEASE VISIT OUR WEBSITE WWW.KUCHT.COM...
- Page 13 INSTALLATION GUIDE AND USER MANUAL Installation dimension figure of 04 series range hood as below: FOR MORE DETAILS AND INFORMATION, PLEASE VISIT OUR WEBSITE WWW.KUCHT.COM...
- Page 14 INSTALLATION GUIDE AND USER MANUAL 04 series range hood FOR MORE DETAILS AND INFORMATION, PLEASE VISIT OUR WEBSITE WWW.KUCHT.COM...
- Page 15 INSTALLATION GUIDE AND USER MANUAL FOR MORE DETAILS AND INFORMATION, PLEASE VISIT OUR WEBSITE WWW.KUCHT.COM...
- Page 16 INSTALLATION GUIDE AND USER MANUAL 01 series, 02 series range hood FOR MORE DETAILS AND INFORMATION, PLEASE VISIT OUR WEBSITE WWW.KUCHT.COM...
- Page 17 INSTALLATION GUIDE AND USER MANUAL 05 series 30 inch and 36-inch range hood FOR MORE DETAILS AND INFORMATION, PLEASE VISIT OUR WEBSITE WWW.KUCHT.COM...
- Page 18 INSTALLATION GUIDE AND USER MANUAL 05 series 48-inch range hood FOR MORE DETAILS AND INFORMATION, PLEASE VISIT OUR WEBSITE WWW.KUCHT.COM...
- Page 19 INSTALLATION GUIDE AND USER MANUAL 06 Series 30 and 36 inch range hood FOR MORE DETAILS AND INFORMATION, PLEASE VISIT OUR WEBSITE WWW.KUCHT.COM...
- Page 20 INSTALLATION GUIDE AND USER MANUAL 06 Series 48 inch range hood FOR MORE DETAILS AND INFORMATION, PLEASE VISIT OUR WEBSITE WWW.KUCHT.COM...
- Page 21 Power line color (black to black, white to white, green to green) (see figure 7) Oil box of the hood (see figure 8) Installation of clapboard filter screen (see figure 9) Figure4 Figure5 FOR MORE DETAILS AND INFORMATION, PLEASE VISIT OUR WEBSITE WWW.KUCHT.COM...
- Page 22 INSTALLATION GUIDE AND USER MANUAL FOR MORE DETAILS AND INFORMATION, PLEASE VISIT OUR WEBSITE WWW.KUCHT.COM...
- Page 23 Close The Fan Off time-delay function just could close the fan, not affected the lamplight setting. 15 minutes time-delay When fan working, press A4 button, digital screen will blink several seconds, default FOR MORE DETAILS AND INFORMATION, PLEASE VISIT OUR WEBSITE WWW.KUCHT.COM...
- Page 24 Light Button: Power on, press F1 button once, turn on the lights, and again to turn off. Fan button: When need to open the hood, turn on the power, press F2 button ( low speed) F3 button(medium speed) F4 button(high speed) FOR MORE DETAILS AND INFORMATION, PLEASE VISIT OUR WEBSITE WWW.KUCHT.COM...
-
Page 25: Maintenance
- Always clean in the direction of squall lines (direction of the grain). - Always rinse well with clear water (2 or 3 times) after cleaning and dry completely. - A household cleaner designed for stainless steel can also be used. FOR MORE DETAILS AND INFORMATION, PLEASE VISIT OUR WEBSITE WWW.KUCHT.COM... - Page 26 2. Take off the grease filters, press both sides of the elastic clamps on the bulb, make which loose. 3.Gently push outward, take out the bulbs. P.S: If necessary, wear gloves when taking out the bulbs. FOR MORE DETAILS AND INFORMATION, PLEASE VISIT OUR WEBSITE WWW.KUCHT.COM...
- Page 27 WE TRANSFORM A SIMPLE KITCHEN INTO A PRO ONE. THIS IS WHY WE CARE ABOUT MAKING VERY HIGH PERFORMANCE RANGES AND HOODS, TO MAKE YOU FEEL LIKE A PRO AND STYLISH COOKER. DESIGN: LONDON DC - WWW.LONDON-DC.COM...
Need help?
Do you have a question about the Professional Series and is the answer not in the manual?
Questions and answers