Advertisement
Advertisement
Table of Contents

Related Manuals for ZENEC Z-E2060


Summary of Contents for ZENEC Z-E2060
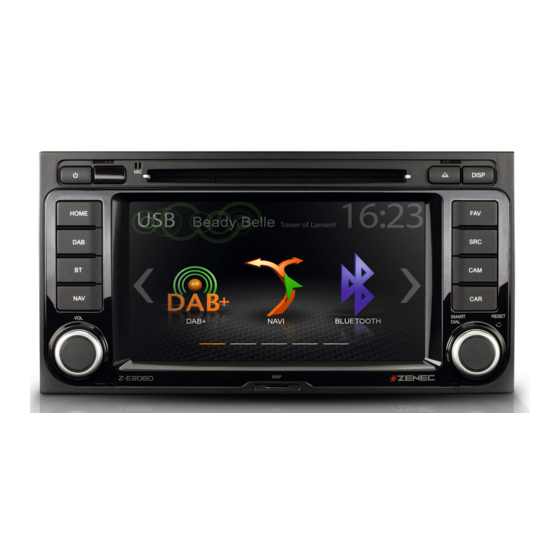
- Page 1 Z-E2060 DEVICE INSTALLATION MANUAL...
- Page 2 ● The ZENEC system is equipped with an integrated DAB+ receiver. To make use of this you will need a suitable DAB antenna (not included in kit) that must be connected to the ZENEC system.
- Page 3 3. Now you can start with the uninstallation of the original device. 4. Please switch on the ignition only, once all installation steps are completed and the ZENEC system is firmly mounted. Unlock the OE factory radio with the unlock tool (No.
- Page 4 Route the USB extension cable´s (No. 7) from the radio bay to your preferred position. Connect one of the main connection cables (No. 4) of the ZENEC system (No. 1) to the Quadlock connector of the car and close its locking mechanism. Following this, connect the CAN bus interface (No.
- Page 5 11. The installation of your Z-E2060 is now complete. NOTE ● Make sure that all connectors at the rear of the ZENEC system have sufficient room and are not bent. ● Connectors without a retaining mechanism must be additionally secured with insulating tape. COMMISSIONING Finally carry out a general functional test and perform the basic and car specific settings (AC, OPS etc.).
- Page 6 C14 N.A. C15 IR/IN C16 GND C17 N.A. C18 Camera +12V (max 300mA) C19 N.A. C20 N.A. C21 N.A. C22 N.A. C23 N.A. C24 N.A. ZENEC · Bohrturmweg 1 · CH-5330 Bad Zurzach · Schweiz/Switzerland · Mail: support@zenec.com · www.zenec.com...
Need help?
Do you have a question about the Z-E2060 and is the answer not in the manual?
Questions and answers