Table of Contents
Advertisement
Quick Links
AS80PR11
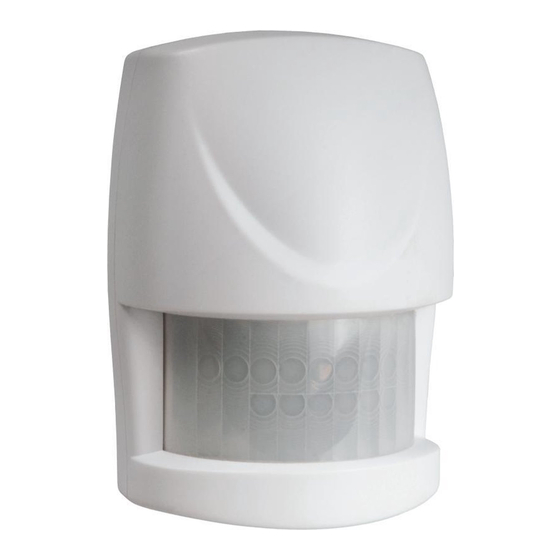
PIR Motion Detector
Installation Instructions
General Introduction
This Detector is designed with a Passive Infra-Red (PIR) sensor and light sensor in
order to fulfill the purpose of security and home automation. It detects motion by
monitoring changes in infra-red radiation levels emitted by body heat.
Product Overview
PIR Lens
LED
(hidden
behind
PIR lens)
LED Indication
Red LED
Used to indicate trigger events, low battery power, and warm up
Green LED
Used to indicate key learning controls
Orange LED
Used to indicate no codes learned
Binding
1. Undo and remove the fixing screw from the bottom of the detector. Carefully
pull the bottom of the detector away from the rear cover and then slide down to
release the top clips.
Tamper Switch
Battery
/ Link Key
Fixing Screw
2. Prepare a CR123A battery. Do not insert the battery into the unit yet.
3. Log into the ELRO Smart Home Alarm account from a web browser.
4. Select "System" then "Add a Device".
5. Select "PIR Detector".
6. The following screen will appear. This means the gateway is entering binding
mode.
1
Advertisement
Table of Contents

Subscribe to Our Youtube Channel
Summary of Contents for ELRO AS80PR11
- Page 1 General Introduction 2. Prepare a CR123A battery. Do not insert the battery into the unit yet. 3. Log into the ELRO Smart Home Alarm account from a web browser. 4. Select “System” then “Add a Device”. This Detector is designed with a Passive Infra-Red (PIR) sensor and light sensor in order to fulfill the purpose of security and home automation.
- Page 2 The LED indicator will stop flashing and turn off within 5 seconds, indicating the 7. At this for point, insert the battery with correct polarity into the unit. learning procedure is completed. The screen below will appear indicating the process is successful. 8.
- Page 3 Mounting Installation The PIR Detector is suitable for mounting in dry interior locations only. 1. Using a 3mm drill, carefully drill out the required mounting holes in the rear cover according to whether the unit is being mounted in a corner or against a The recommended position for a PIR Detector is in the corner of a room mounted at flat wall.
- Page 4 7. Perform the test using the same steps described in Operation & Testing section Specifications above to ensure the unit is working properly. By walking into the protected area with coverage of 110 degrees, the detector will now be triggered each time it senses movement.


Need help?
Do you have a question about the AS80PR11 and is the answer not in the manual?
Questions and answers