Table of Contents
Advertisement
Quick Links
Advertisement
Table of Contents

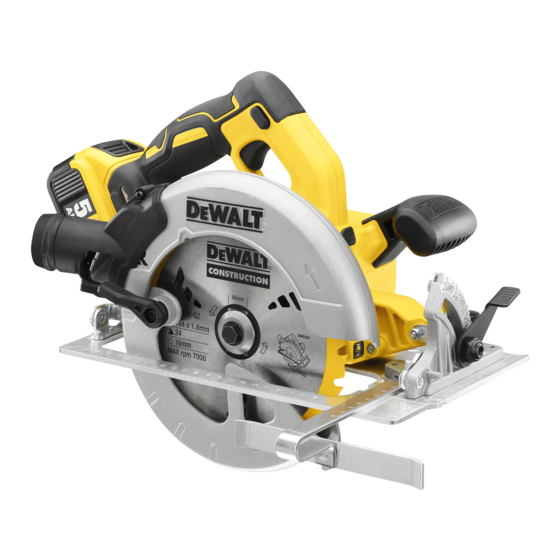
Summary of Contents for DeWalt XR LI-ION DCS570NT
- Page 1 DCS570...
- Page 2 Fig. A...
- Page 3 Fig. C Fig. B Fig. D Fig. E Fig. G Fig. F...
- Page 4 Fig. H Fig. I Fig. K Fig. J Fig. L Fig. M Fig. N Fig. O...
- Page 5 Fig. P Fig. Q...
-
Page 6: Definitions: Safety Guidelines
English 184 mm CORDLESS CIRCULAR SAW DCS570 Congratulations! EC-Declaration of Conformity You have chosen a D WALT tool. Years of experience, thorough Machinery Directive product development and innovation make D WALT one of the most reliable partners for professional power tool users. Technical Data Cordless Circular Saw DCS570... -
Page 7: Save All Warnings And Instructions For Future Reference
English Batteries Chargers/Charge Times (Minutes) Weight DCB107 DCB113 DCB115 DCB118 DCB132 DCB119 Cat # DCB546 18/54 6.0/2.0 1.05 DCB547 18/54 9.0/3.0 1.25 DCB181 0.35 DCB182 0.61 DCB183/B 0.40 DCB184/B 0.62 DCB185 0.35 DCB187 0.48 General Power Tool Safety Warnings e ) When operating a power tool outdoors, use an extension cord suitable for outdoor use. -
Page 8: Safety Instructions For All Saws
English 4) Power tool use and care SAFETY INSTRUCTIONS FOR ALL SAWS a ) Do not force the power tool. Use the correct power Cutting Procedures tool for your application. The correct power tool DANGER: Keep hands away from cutting area will do the job better and safer at the rate for which it and the blade. - Page 9 English Additional Safety Instructions for Circular b ) When blade is binding, or when interrupting a cut for any reason, release the trigger and hold the saw Saws motionless in the material until the blade comes to a complete stop. Never attempt to remove the saw •...
-
Page 10: Important Safety Instructions For All Battery Chargers
English SAVE THESE INSTRUCTIONS • Do not operate charger if it has received a sharp blow, been dropped, or otherwise damaged in any way. Take it Chargers to an authorised service centre. WALT chargers require no adjustment and are designed to be •... -
Page 11: Wall Mounting
English hot/Cold Pack Delay • Do not charge or use battery in explosive atmospheres, such as in the presence of flammable liquids, gases or When the charger detects a battery pack that is too hot or too dust. Inserting or removing the battery from the charger may cold, it automatically starts a Hot/Cold Pack Delay, suspending ignite the dust or fumes. -
Page 12: Storage Recommendations
English Storage Recommendations WALT batteries comply with all applicable shipping regulations as prescribed by industry and legal standards which 1. The best storage place is one that is cool and dry away include UN Recommendations on the Transport of Dangerous from direct sunlight and excess heat or cold. -
Page 13: Intended Use
English Battery Type Blade clamping screw Kerf indicator The DCS570 operates on a 18 volt battery pack. Bevel adjustment lever These battery packs may be used: DCB181, DCB182, DCB183, DCB183B, DCB184, DCB184B, DCB185, DCB187, DCB546, Blade lock button DCB547. Refer to Technical Data for more information. Auxiliary handle Battery release button Package Contents... -
Page 14: Lower Blade Guard
English Fuel Gauge Battery Packs (Fig. A) right-hand threads and must be turned counterclockwise to loosen). Some D WALT battery packs include a fuel gauge which 3. Remove the blade clamping screw and outer clamp 8 consists of three green LED lights that indicate the level of washer 16 ... - Page 15 English 4. MATERiAls ThAT REQUiRE EXTRA ATTEnTiOn 184 mm Diameter a. Wet timber Application Teeth b. Green timber (material freshly cut or not kiln dried) c. Pressure treated timber (material treated with preservatives or anti-rot chemicals) General Purpose 5. UsE OF DUll OR DiRTY BlADEs Finish a.
-
Page 16: Operation
English Bevel Angle Adjustment (Fig. A, G) 2. Place the base plate 5 in the lowest position. 3. Align the left half of the dust extraction port 29 over upper The bevel angle adjustment mechanism can be adjusted blade guard as shown. Be sure to insert the tab into the 7 ... -
Page 17: Maintenance
English Pocket Cutting (Fig. O) Figures J and K show proper sawing position. Figures L and M show an unsafe condition. Hands should be kept away from WARNING: Never tie the blade guard in a raised position. cutting area, and power cord is positioned clear of the cutting Never move the saw backwards when pocket cutting. - Page 18 English To Tighten the lever: 1. Hold the bevel adjustment lever 10 and loosen the bevel locknut 24 Lubrication 2. Adjust the bevel adjustment lever by rotating it in the desired direction about 1/8 of a revolution. Self lubricating ball and roller bearings are used in the tool and 3.


Need help?
Do you have a question about the XR LI-ION DCS570NT and is the answer not in the manual?
Questions and answers