Table of Contents
Advertisement
Quick Links
Advertisement
Table of Contents

Related Manuals for Boss Audio Systems 735UA


Summary of Contents for Boss Audio Systems 735UA
-
Page 2: Buttons Location And Functions
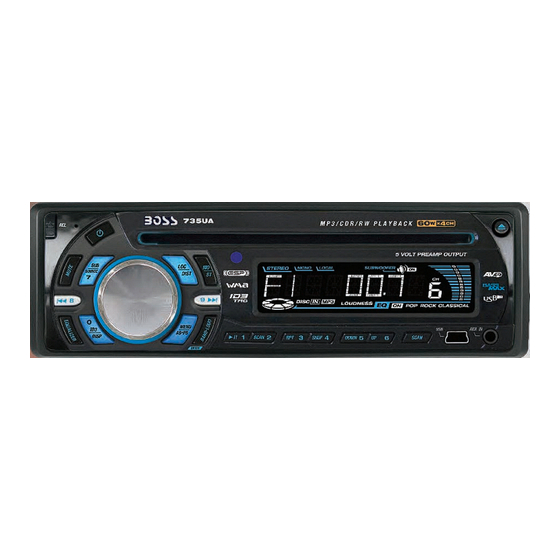
1. BUTTONS LOCATION AND FUNCTIONS PANEL RELEASE MUTE BUTTON BUTTON VOLUME AUDIO AUTOMATICALLY KNOB BUTTON STORE / PRESET SCAN BUTTON MP3 MENU SOURCE BUTTON / POWER SUB-WOOFER BUTTON PRESET DISPLAY TUNING UP / DOWN EQUALIZER BUTTON TRACK UP / DOWN BUTTON BUTTONS ID3 TAG... -
Page 3: Handling Compact Discs
2. HANDLING COMPACT DISCS MOISTURE CONDENSATION On a rainy day or in a very damp area, moisture may condense on the lenses inside the unit. Should this occur, the unit will not operate properly. In such a case, remove the disc and wait for about an hour until the moisture has evaporated. -
Page 4: Installation
3. INSTALLATION Before finally installing the unit, connect the wiring temporarily and make sure it is all connected up properly and the unit and system work properly. Use only the parts included with the unit to ensure proper installation. The use of unauthorized parts can cause malfunctions. -
Page 5: Din Rear-Mount (Method B)
Trim Plate Installation: Push the trim plate against the chassis until it is fitted. You must do this before you install the front panel, otherwise it can't be attached. DIN REAR-MOUNT (METHOD B) Installation using the screw holes on the sides of the unit. Fastening the unit to the factory radio mounting bracket. -
Page 6: Detachable Control Panel (D.c.p .)
Removing The Detachable Control Panel (D.C.P .). PANEL RELEASE BUTTON Attaching the DCP CAUTION DO NOT insert the D.C.P from the left side. Doing so may damage it. The D.C.P can easily be damaged by shocks. After removing it, place it in a protective case and be careful not to drop it or subject it to strong shocks. - Page 7 5. WIRING DIAGRAM (20 PIN HARNESS PLUG) FUSE 20-PIN AUDIO/POWER HARNESS (See Figure 1) LEFT FRONT WHITE-BLACK LF- WHITE LF+ LEFT REAR GREEN-BLACK LR GREEN LR+ WIRE COLOR FUNCTION/LABEL RIGHT FRONT SPEAKER (-) GREY/BLACK RIGHT FRONT SPEAKER (+) GREY VIOLET RIGHT REAR SPEAKER (+) RIGHT REAR SPEAKER (-) VIOLET/BLACK...
-
Page 8: Basic Operations
6. BASIC OPERATIONS 1) PANEL RELEASE BUTTON (REL) Press this button to remove the control panel. 12) POWER ON/OFF BUTTON Press this button to turn on or off the power. 5) DISPLAY BUTTON (DISP) Press this button briefly, the LCD will display the clock for about 2 seconds, then return to previous display mode. -
Page 9: Audio Operations
7. AUDIO OPERATIONS 10) VOLUME KNOB Turn this knob to adjust desired volume level. 4) AUDIO BUTTON Press this button to select desired audio function. ORDER OF FUNCTION: VOLUME(VOL) -> BASS(BAS) -> TREBLE(TRE) ->BALANCE(BAL) ->FADER(FAD) While the selected function is displayed, turn Volume Knob to adjust the level within 5 seconds, otherwise the unit will return to volume adjustment mode. -
Page 10: Radio Operations
8. RADIO OPERATIONS 11) AUTO MEMORY STORE/PRESET SCAN BUTTON (AS/PS) 1. PRESET SCAN: Press AS/PS button briefly to enter Preset Scan mode, it will scan all the preset stations in the memories, you can hear that it will stay on each station for about 5 seconds. 2. - Page 11 9.CD OPERATIONS M1) PAUSE BUTTON (PAUSE) Press this button to pause CD play, press again to release pause. M2) SCAN BUTTON (SCAN) Press this button, the first 10 seconds of each track will be played sequentially until this button is pressed again, then normal play will resume at the current track. M3) REPEAT BUTTON (REPEAT) Press this button, the current track will be played repeatedly until this button is pressed again.
-
Page 12: Usb Drive Operations
PLEASE READ THIS INSTRUCTION CAREFULLY BEFORE OPERATING THE UNIT 10. USB DRIVE OPERATIONS P .1 P .2 Mini USB to big USB extension cable P .3 P .4 COMPATIBILITY Due to the fast changing technology world, this unit may or may not be compatible to all the USB drive / device available with all the future technology, especially those USB drive / device which require to install a driver. -
Page 13: Mp3/Wma Operations
11.MP3/WMA OPERATIONS Notes : - An MP3 directory is shown in this manual as “D - Maximum length of file name : 28 characters. - Maximum length of directory : 16 characters. - Supports Multi-Session recording. - Supports CD, CDR and CDRW. - Disc written by Packet Write (UDF) is not supported. - Page 14 Press MP3 ENTER BUTTON and continue to search the directory or file name in the directory by TUNE UP / DOWN Button (TUNE DOWN First). The selected file can be played by pressing MP3 Enter Button The distribution of alphabetical characters are listed as follow : Button Character A,B,C D,E,F G,H,I J,K,L...
-
Page 15: Remote Control
12.REMOTE CONTROL OPERATIONS: Radio Mode 1. Power Power On/Off 2. Volume Up/Down Adjust Vol,Bas, Tre,Fad,Bal 3. ID3/DISP Display Clock 4.Stereo/Mono Stereo/FM Mono 5. Tuning Up/Down Tuning/Seek Up/Down 6. LOC Local/Distant 7. Scan Station Scan 8. Mute Mute Select Vol, Bas, 9. -
Page 16: Specifications
13.SPECIFICATIONS CD PLAYER System Usable disc Sampling frequency No of quantization bits Frequency Number of channels S/N Ratio RADIO SECTION Frequency Range Intermediate Frequency Usable Sensitivity Stereo Separation S/N Ratio AM/MW Frequency Range Intermediate Frequency Usable Sensitivity S/N Ratio GENERAL Power Supply Polarity Speaker impedance... -
Page 17: Troubleshooting
14.TROUBLE SHOOTING Before going through the check list, check wiring connection. If any of the problems persist after check list has been made, consult your nearest service dealer. Symptom No power The car ignition is not on. The fuse is blown. Disc cannot be loaded Presence of CD disc inside or ejected... - Page 18 10 R - 02 0896...
Need help?
Do you have a question about the 735UA and is the answer not in the manual?
Questions and answers