Table of Contents
Advertisement
Quick Links
Advertisement
Table of Contents

Related Manuals for Boss Audio Systems 722CA


Summary of Contents for Boss Audio Systems 722CA
- Page 1 10 R - 02 1397...
-
Page 2: Installation
1. INSTALLATION The following illustration shows a typical installation. If you have any questions or require information regarding installation kits, consult your customer car audio dealer or a company suppling kits. If you are not sure how to install this unit correctly, have it installed by a qualified technician. To attach the front panel back to the unit chassis, please insert the right side of the panel in the chassis until it is correctly engaged. -
Page 3: Connecting The System
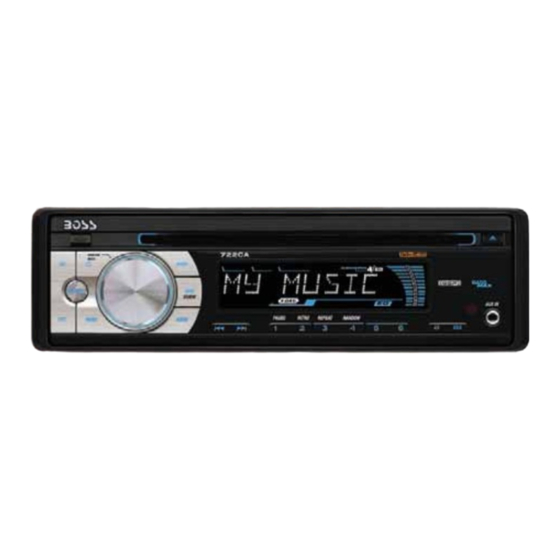
2. CONNECTING THE SYSTEM ANTENNA JACK REAR CONNECTOR WHITE YELLOW AUX IN RCA-TO-RCA CABLE (not supplied) WHITE FRONT LINE OUT BLACK FIGURE 2 ISO CONNECTOR WIRING CHART WIRE COLOR FUNCTION/LABEL BATTERY(+) YELLOW BLUE CONNECT TO SYSTEM CONTROL TERMINAL OF THE POWER AMP OR AUTO ANTENNA RELAYCONTROL TERMINAL(max 150mA 12VDC) IGNITION(ACC) - Page 4 3. THE MAJOR FUNCTION OF THIS UNIT 15 16 Decriptions Item Press this button or any other button on the front panel (except Release/Eject) to turn the unit on. (Power) Press this button again to turn the unit off. Press this button to turn the Mute On/Off. MUTE Press this button to open the control panel.
- Page 5 Under Tuner mode, press this button briefly to INFO display the Clock time. Press and hold this button to turn On / Off the SUBW (Subwoofer) Subwoofer function. EJECT Press this button to eject the Disc. Under Tuner mode, short press the Numeric PRESET NUMERIC buttons to recall the preset stations.
- Page 6 4. ADJUST SYSTEM MENU SETTING Press MENU button to access into the System Menu. User can select the below functions: AREA (Tuner Frequency Spacing) This option allows the selection of the frequency spacing appropriate for your area. “AREA U.S.A” is the default setting.
-
Page 7: Reset The Unit
5. EXTERNAL CONNECTION AND MEDIA PLAYER CONNECT THE AUX-IN Left Track Right Track Ground Connect the external signal to AUX in jack located atthe front of the panel, then press Mode button to select Aux mode. Press Mode Button again to cancel Aux Mode and return to previous mode. - Page 8 6. THE FUNCTIONS OF REMOTE CONTROL Decriptions No. Button Item MUTE Press this button to turn the mute On/Off. POWER When the unit is power on, press this button to turn Off the unit. Once the unit power off, press ON/OFF this button to turn On the unit.
- Page 9 BAND Press this button to change between BAND FM1,FM2,FM3, or AM1(MW1) or AM2 (Mw2). BROWSE Under the Disc/USB/SD media playback mode, short press this button is access into the Music Folder/File searching mode. Rotate the encoder knob to navigate thru Folder and File list.
-
Page 10: Troubleshooting
7. TROUBLE SHOOTING Before going through the check list, check wiring connection. If any of the problems persist after check list has been made, consult your nearest service dealer. No power or no sound Car engine is not on. Turn the car engine on. Cable is not correctly connected. -
Page 11: Product Information
8. PRODUCT INFORMATION Power Supply 12 V DC (11-14 V), Negative Ground Fuse 7.5 A Suitable Speaker 4 - 8 Impedance Power output 50W x 4 channels Pre-AMP output 2.0 V voltage Aux-In level 300mV Radio Frequency Range 87.5 - 107.9MHz(American) 87.5 - 108MHz(Europe) (100KHz per step in auto search and 50KHz per step in manual search)
Need help?
Do you have a question about the 722CA and is the answer not in the manual?
Questions and answers