Sign In
Upload
Download
Table of Contents
Contents
Add to my manuals
Delete from my manuals
Share
URL of this page:
HTML Link:
Bookmark this page
Add
Manual will be automatically added to "My Manuals"
Print this page
×
Bookmark added
×
Added to my manuals
Manuals
Brands
Amcrest Manuals
Security Camera
IPM-723W
User manual
Amcrest IPM-723W User Manual
1.3mp prohd outdoor wi-fi bullet camera
Hide thumbs
Also See for IPM-723W
:
Quick start manual
(15 pages)
,
User manual
(119 pages)
1
Table Of Contents
2
3
4
5
6
7
8
9
10
11
12
13
14
15
16
17
18
19
20
21
22
23
24
25
26
27
28
29
30
31
32
33
34
35
36
37
38
39
40
41
42
43
44
45
46
47
48
49
50
51
52
53
54
55
56
57
58
59
60
61
62
63
64
65
66
67
68
page
of
68
Go
/
68
Contents
Table of Contents
Troubleshooting
Bookmarks
Table of Contents
Table of Contents
Welcome
Important Security Warning
Important Safeguards and Warnings
Features and Specifications
Overview
Features
Device Overview
Connection & Installation
Connection Guide
Installation Guide
Camera Access Setup
Default Username and Password
How to Setup the Camera
App Setup
Desktop Access Setup
Amcrest Cloud Desktop Setup
Web Access Setup (Amcrestview.com)
Remote Web Access Setup
Operation and Interface
Playback
Setup
Alarm
Faqs/Troubleshooting
Glossary of Terms
FCC Statement
IC Warning Statement
Appendix A: Toxic or Hazardous Materials or Elements
Advertisement
Quick Links
Download this manual
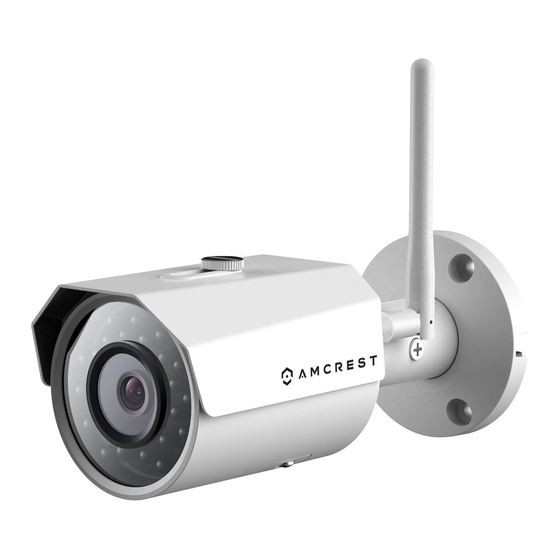
Amcrest IPM-723W / IPM-723B
1.3MP ProHD Outdoor Wi-Fi Bullet Camera
User Manual
Version 1.0.4
th
Revised December 14
, 2018
Table of
Contents
Previous
Page
Next
Page
1
2
3
4
5
Advertisement
Table of Contents
Need help?
Do you have a question about the IPM-723W and is the answer not in the manual?
Ask a question
Questions and answers
Subscribe to Our Youtube Channel
Related Manuals for Amcrest IPM-723W
Security Camera Amcrest ProHD IPM-723B User Manual
1.3mp outdoor wi-fi bullet camera (119 pages)
Security Camera Amcrest IPM-723 Quick Start Manual
(15 pages)
Security Camera Amcrest IP2M-841 User Manual
2mp/1mp prohd wifi ptz camera (78 pages)
Security Camera Amcrest IP3M-941 Quick Start Manual
(39 pages)
Security Camera Amcrest IPM-743ES Quick Start Manual
(7 pages)
Security Camera Amcrest IP2M-842E Quick Start Manual
(11 pages)
Security Camera Amcrest IPM-751W User Manual
1.3mp prohd wifi vandal dome camera (71 pages)
Security Camera Amcrest IPM-721S User Manual
1.3mp prohd indoor wi-fi camera (75 pages)
Security Camera Amcrest IPM-721B User Manual
1.3mp prohd indoor wi-fi camera (124 pages)
Security Camera Amcrest IP2M-842 Quick Start Manual
(7 pages)
Security Camera Amcrest IP3M-943 Quick Start Manual
(15 pages)
Security Camera Amcrest IPM-721ES User Manual
1.3mp prohd indoor poe camera (73 pages)
Security Camera Amcrest IPM-HX1W User Manual
1.3mp dual band wifi hex camera (67 pages)
Security Camera Amcrest IP2M-841E Quick Start Manual
(11 pages)
Security Camera Amcrest IPM-721E User Manual
720p pan/tilt wireless poe camera (143 pages)
Security Camera Amcrest IPM-722S User Manual
2mp prohd outdoor wi-fi bullet camera (66 pages)
This manual is also suitable for:
Ipm-723b
Table of Contents
Print
Rename the bookmark
Delete bookmark?
Delete from my manuals?
Login
Sign In
OR
Sign in with Facebook
Sign in with Google
Upload manual
Upload from disk
Upload from URL


Need help?
Do you have a question about the IPM-723W and is the answer not in the manual?
Questions and answers