
Related Manuals for Lukhan LK-P11W


Summary of Contents for Lukhan LK-P11W
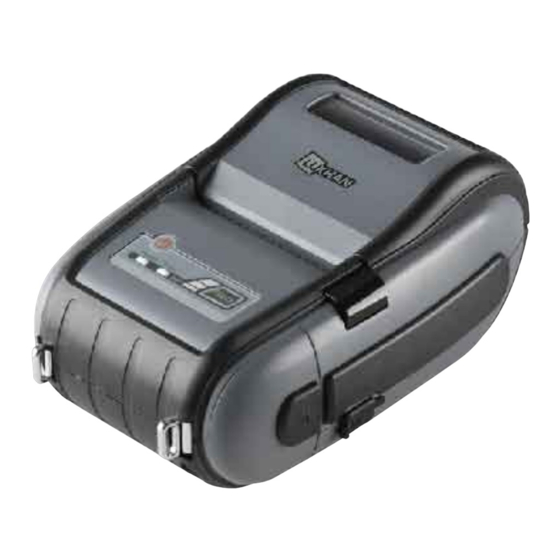
- Page 1 MODEL : LK-P11W MOBILE PRINTER All specifications are subject to change without notice...
- Page 2 RISK OF EXPLOSION IF BATTERY IS REPLACED BY AN INCORRECT TYPE. DISPOSE OF USED BATTERIES ACCORDING TO THE INSTURECITONS...
-
Page 3: Table Of Contents
1. Product overview Table of Contents 1. Product overview 2. Unpacking 3. Installation & Usage 3-1. Battery Installation Power switch 3-2. Battery Charging 3-3. Belt Strap Usage Paper feed Cover open button button 3-4. Separation of Battery from the printer 3-5. -
Page 4: Unpacking
2. Unpacking 3. Setting Up the Product 3-1. Installing battery Standard Printer Battery Belt Buckle Push the Open to the direction as pointed Open the battery cover and push up the hook to by arrow in the image. the direction as above. Recharger Serial Cable USB Shelded Cable... -
Page 5: Battery Charging
3-3. Belt Hook Usage 3-2. Battery Charging Insert the belt hook screw into the hole of the belt hook. 1. The battery can be charged only when the temperature is 0~40 ℃ 2. Be sure that the printer is turn off and the battery to be charged is installed. 3. -
Page 6: Shoulder Strap Usage
3-4. Removing battery 3-5. Shoulder Strap Usage Push the Open into the direction Push up the hook after opening the Place the end of strap into the hook of Insert the strap into the hook on battery cover. indicated with the arrow in the image. the printer. -
Page 7: Leather Case Usage
3-6. Leather Case Usage 3-7. Loading the media. Place the paper roll as shown. Make sure the paper is placed in right Put the printer into the leather case Press the cover open button and open Open the Velcro following the direction shown in the direction. -
Page 8: Control Panel Usage
3-8. Control Panel 3-9. Self Test You can check the printer setting state by doing self test when you set the printer first time or encounter some problems. - Control Circuit, Mechanisms, Print Quality, Rom version. When you can not find the exact cause of problem through self test, investigate on other hardware parts or software. -
Page 9: Peripherals Connection
4. Peripherals Connection This product can communicate with other devices via Wi• (802.11b/g) communication < Sample Printout of Self Test > and cable. 4-1. Wifi(802.11b/g) Connection 1. The Printer can be connected to devices equipped with wi• (802.11b/g) communication capacity (PDAs, PCs, etc.) 2. -
Page 10: Interface Cable Connection
5. Printer cleaning 4-2. Interface Cable Connection If the interior of the printer is dusty, printing quality can lowered. In such a case, follow the instructions below to clean up the printer. NOTE 1. Make sure to turn the printer power off prior to cleaning 2.
Need help?
Do you have a question about the LK-P11W and is the answer not in the manual?
Questions and answers