Table of Contents
Advertisement
Quick Links
Note:
Figures in this guide are only for your reference. For details about the
particular model you have chosen, contact your service provider.
Check the information about the product and its accessories when you
purchase it. Some accessories are not provided in the product package. If
necessary, contact your local dealer to purchase them.
This guide briefly describes the device functions. For details about how to
set the management parameters, see the help information on the web
management page.
1 Getting to Know Your Device
Application Scenarios
Scenario 1:
You can connect your computer to the device to access the Internet. The specific
connection steps depend on your computer's operating system. Follow the
displayed instructions to connect the device to your computer.
Scenario 2:
You can connect a telephone to the device's telephone port to make voice calls.
B681 Quick Start
1
Advertisement
Table of Contents

Related Manuals for Huawei B681-54


Summary of Contents for Huawei B681-54
- Page 1 B681 Quick Start Note: Figures in this guide are only for your reference. For details about the particular model you have chosen, contact your service provider. Check the information about the product and its accessories when you purchase it. Some accessories are not provided in the product package. If necessary, contact your local dealer to purchase them.
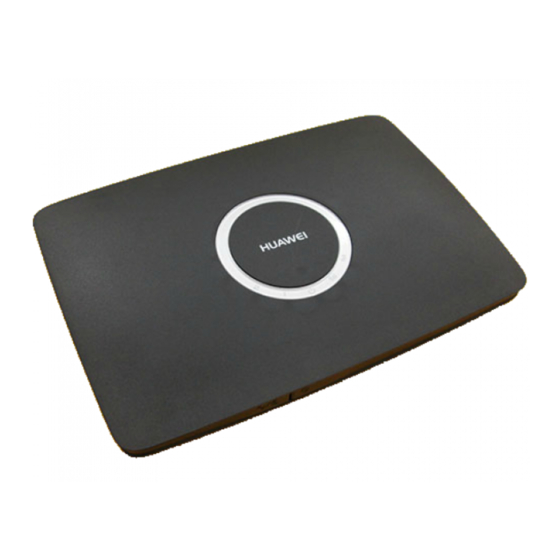
- Page 2 Appearance 1. Power button 6. LAN indicators 2. Wi-Fi/WPS button 7. External antenna port 8. Telephone port 3. Wi-Fi/WPS indicator 4. Network status indicator 9. Power port 5. Power indicator 10. LAN ports Indicators Indicator Status Steady on: Wi-Fi turned on or data transfer ...
-
Page 3: Installation
2 Installation Installing the SIM Card Step 1 Slide the card cover off. Step 2 Insert the SIM card into the card slot. Ensure that the gold contact area faces down and that the beveled edge of the SIM card aligns with that of the card slot. - Page 4 (Optional) Installing an External Antenna In areas with poor network coverage, connect an external antenna to the device's external antenna port. Screw the external antenna in fully, as shown in the following figure. Note: Skip this section if you do not need to connect an external antenna to the ...
- Page 5 Connecting to a Computer Use an Ethernet cable to connect a computer to one of the device's LAN ports, as shown in the following figure. When the connection between the device and the computer is set up, the device's corresponding LAN indicator turns on. Ensure that the Ethernet cable is no longer than 100 meters (328 feet).
-
Page 6: Setting Up A Wireless Connection
4 Setting Up a Wireless Connection Turning the Device's Wi-Fi On By default, the device's Wi-Fi automatically turns on when the device is powered To manually turn Wi-Fi off, press and hold for 2 seconds, and then release your finger. turns off. -
Page 7: Using The Web Management Page
5 Using the Web Management Page You can configure and manage the device settings using the web management page. Step 1 Launch a web browser, and enter http://192.168.1.1 in the address bar. Step 2 Enter the password, and log in to the web management page. The default password is admin. -
Page 8: Restoring Factory Defaults
7 Restoring Factory Defaults If you are uncertain of which settings you have configured or changed, you can restore the factory defaults that the device came with, and then reconfigure the device. To restore the factory defaults, Use a sharp-pointed object to press and hold the RESET button until all indicators ( ) blink. -
Page 9: Safety Information
9 Safety Information This section contains important information about the operation of your device. It also contains information about how to use the device safely. Read this information carefully before using your device. Electronic Device Do not use your device if using the device is prohibited. Do not use the device if doing so causes danger or interference with other electronic devices. - Page 10 Do not place the device in a container with poor heat dissipation, such as a box or bag. To protect your device or accessories from fire or electrical shock hazards, avoid rain and moisture. Keep the device away from sources of heat and fire, such as a heater, ...
-
Page 11: Cleaning And Maintenance
Power adapter safety The power plug is intended to serve as a disconnect device. For pluggable devices, the socket-outlet shall be installed near the devices and shall be easily accessible. Unplug the power adapter from electrical outlets and the device when not in ... -
Page 12: Emergency Calls
(2) this device must accept any interference received, including interference that may cause undesired operation. Caution: Any changes or modifications to this device not expressly approved by Huawei Technologies Co., Ltd. for compliance could void the user's authority to operate the equipment. RF exposure warning... - Page 13 2013. All rights reserved. No part of this manual may be reproduced or transmitted in any form or by any means without prior written consent of Huawei Technologies Co., Ltd. and its affiliates ("Huawei"). The product described in this manual may include copyrighted software of Huawei and possible licensors.
- Page 14 Privacy Policy To better understand how we protect your personal information, please see the privacy policy at http://consumer.huawei.com/en/privacy-policy/index.htm. Please visit www.huaweidevice.com/worldwide/support/hotline for recently updated hotline and email address in your country or region. 96722321_01...
Need help?
Do you have a question about the B681-54 and is the answer not in the manual?
Questions and answers