Table of Contents
Advertisement
Quick Links
User's Guide
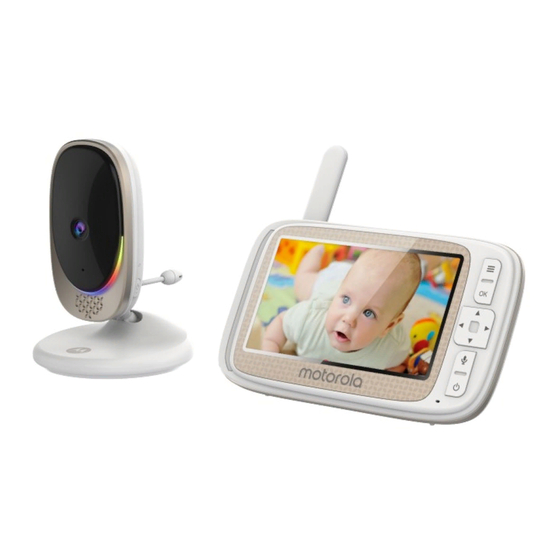
5" HD Wi-Fi
Models: COMFORT60 CONNECT, COMFORT60-2 CONNECT
COMFORT60-3 CONNECT, COMFORT60-4 CONNECT
CN50, CN50-2, CN50-3, CN50-4
COMFORT60, COMFORT60-2, COMFORT60-3,
COMFORT60-4
The features described in this User's Guide are subject to modifications without prior notice.
Video Baby and Home Monitor
®
Advertisement
Table of Contents


Need help?
Do you have a question about the COMFORT60 CONNECT and is the answer not in the manual?
Questions and answers