Table of Contents
Advertisement
Quick Links
USER'S GUIDE
16W5 SERIES
Thank You
2
Safety Instructions
3
Product View
4
Assembly
5
Operations
6-10
Maintenance and Care
11
Troubleshooting
12
Replacement Parts
13
Accessories
14
Warranty
15
Product Registration
16
Consumer Services
16
Earn BISSELL Rewards!
R
egister your
product today!
See details on
back page
Advertisement
Table of Contents

Related Manuals for Bissell ReadyClean Powerbrush Plus


Summary of Contents for Bissell ReadyClean Powerbrush Plus
- Page 1 Earn BISSELL Rewards! egister your product today! See details on back page USER'S GUIDE 16W5 SERIES Thank You Safety Instructions Product View Assembly Operations 6-10 Maintenance and Care Troubleshooting Replacement Parts Accessories Warranty Product Registration Consumer Services...
- Page 2 Your BISSELL Deep Cleaner is well made, and we back it with a limited one year warranty. We also stand behind it with a knowledgeable, dedicated Consumer Services department, so, should you ever have a problem, you’ll receive fast, considerate...
-
Page 3: Important Safety Instructions
■ above. make certain that the appliance use only cleaning products formulated by bissell for ■ is connected to an outlet having the same use in this appliance to prevent internal component configuration as the plug. -
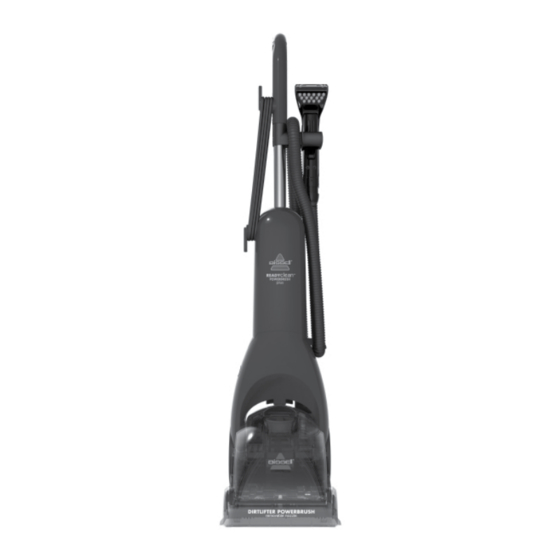
Page 4: Product View
Cleaning fluid Keep plenty of genuine bissell 2X formula on hand so you can clean and protect whenever it fits your schedule. always use genuine bissell deep cleaning formulas. non-bissell cleaning solutions may harm the machine and will void the warranty. - Page 5 ssembly Your Ready Clean Powerbrush Plus assembles quickly and easily. The only tool you will need for assembly is a Phillips head screwdriver. 1. slide upper body onto lower body. 2. secure with screws. 3. attach hose wrap to upper handle by sliding it up the bottom of the handle until it snaps firmly in place.
-
Page 6: Before You Clean
These products may react with 4a. generously spray bissell tough stain the plastic materials used in your Precleaner evenly over soiled area. deep cleaner causing cracking or Caution: DO NOT OVER WET pitting. - Page 7 perations Carpet cleaning continued 6. Release the trigger and make one slow forward and backward pass over the same area. 7. Repeat steps 5 and 6 until solution being pulled up appears clean. 8. empty the collection tank when dirty water reaches the full line, or when the solution tank is empty.
-
Page 8: Cleaning With Attachments
perations Cleaning with Attachments Your Deep Cleaner is equipped with a hose and at least one attachment for cleaning stairs, upholstery, and more. 1. important! if using to clean upholstery, check upholstery tags. 1a. check manufacturer’s tag before clean- ing. “W” or “Ws” on the tag means you can use your deep cleaner. - Page 9 perations Cleaning with Attachments continued 10. Wrap flex hose around hose wrap. 11. empty collection tank and rinse out, fol- lowing instructions on page 10 under "cleaning after use." 12. Return Readytools dial to “flooR cleaning” setting. Deep reach tool attachment (select models only) 1.
-
Page 10: Hard Floor Cleaning
4. fill the solution tank with hot (not boiling) tap water to the WateR fill line. fill the rest to reduce the risk of fire and with bissell 2X hard floor solutions™ to electric shock- when cleaning foRmula fill line. -
Page 11: Maintenance And Care
aintenance and care Machine storage WARNING: For best results, a few simple steps To reduce the risk of injury can assure your machine is well main- from moving parts and/or tained after your cleaning is complete. electrical shock, turn power 1. -
Page 12: Troubleshooting
Thank you for selecting a BISSELL product. Please do not return this product to the store. For any questions or concerns, BISSELL is happy to be of service. Contact us directly at 1-800-237-7691. w w w . b i s s e l l . c o m w w w . - Page 13 - BISSELL ReadyClean Below please find a list of common replacement parts. While not all of these parts may have come with your specific machine, all are available to you for purchase, if desired. Item Part No. Part Name...
- Page 14 - BISSELL ReadyClean Item Part No. Part Name 203-6651 3” tough stain tool 203-6652 Powered turbobrush® hand tool 203-6653 4” upholstery tool 203-6654 6” stair tool 203-6655 spraying crevice tool 203-7412 deep Reach Pet tool 203-5683 hard floor tool, provided with trial size hard floor solutions™...
-
Page 15: Limited One Year Warranty
*eXcePtions and eXclusions identified below, upon receipt of the product bissell homecare, inc. will repair or replace (with new or remanufactured components or products), at bissell’s option, free of charge from the date of purchase by the original purchaser, for one year any defective or malfunctioning part. - Page 16 Grand Rapids MI 49501 ATTN: Consumer Services Or visit the BISSELL website - www.bissell.com When contacting BISSELL, have model number of cleaner available. Please record your Model Number: ___________________ Please record your Purchase Date: ___________________ NOTE: Please keep your original sales receipt. It provides proof of purchase date in the event of a ©2011 bissell homecare, inc...
Need help?
Do you have a question about the ReadyClean Powerbrush Plus and is the answer not in the manual?
Questions and answers