
Related Manuals for Philips SLV3110/12


Summary of Contents for Philips SLV3110/12
- Page 1 Register your product and get support at www.philips.com/welcome SLV3110 master EN Wireless TV Link...
-
Page 3: Table Of Contents
Table of contents Important Power requirements Conformity Recycling and disposal Electric, Magnetic and Electromagnetic Fields ("EMF") Installation requirements Your Wireless TV link What’s in the box Overview of the Wireless TV link Getting started Connect transmitter Connect receiver Enjoy Install the remote control blaster cord Remove interference on TV2 11 Technical Data... -
Page 4: Important
Following this directive, this product can be brought into service in the following states: Class identifier. This is a class 1 product. We, Philips, declare that the product is in compliance with the essential requirements and other relevant provisions of Directive 1999/5/EC. You can find the Declaration of Conformity on www.p4c.philips.com. -
Page 5: Recycling And Disposal
3. Philips is committed to develop, produce and market products that cause no adverse health effects. 4. Philips confirms that if its products are handled properly for their intended use, they are safe to use according to scientific evidence available today. -
Page 6: Installation Requirements
Installation requirements The product transmits and receives radio waves when it is switched on. The product complies with the standards that are defined for it. As the product is based on RF technology, the quality of the image can be influenced by microwave ovens, Bluetooth, Wifi etc. -
Page 7: Your Wireless Tv Link
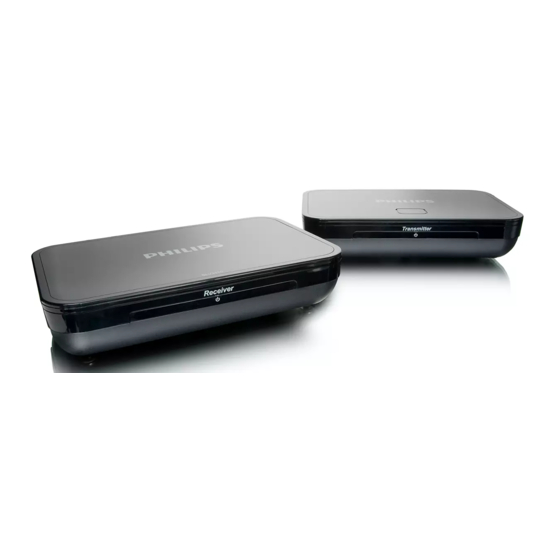
Your Wireless TV link Congratulations on your purchase and welcome to Philips! To fully benefit from the support that Philips offers, register your product at www.philips.com/welcome. What’s in the box A. Transmitter C. Power adapter (2x) Overview of the Wireless TV link... - Page 8 Receiver Remote control blaster cord Control and display elements 7 Power light: > green: on 8 On/off switch 9 Power input connector (DC 9V) 10 SCART cable 11 Wireless channel selection switch > Find the CHANNEL switch on 4 available channels 12Connector 13Blaster light Your Wireless TV link...
-
Page 9: Getting Started
Getting started Connect transmitter 1. Connect the video source to the transmitter a. Take the supplied transmitter (A). Find the SCART cable that is connecting the video source to the TV1. Disconnect this SCART cable. Note: The video source can be a satellite receiver, a VCR, a DVD player or recorder... -
Page 10: Connect Receiver
Connect receiver Preparation - Switch on the transmitter (A). - Switch on the Video source. - Take these items: • Receiver (B) • Power adapter (C) • Remote control of the video source - Go to TV2. 1. Connect the receiver to the second TV (TV2) Plug the SCART cable of the receiver (B) into the SCART port of TV2. -
Page 11: Install The Remote Control Blaster Cord
Note: If the VCR or DVD recorder records a television program, you watch the recorded channel. Note: How to watch a video source on TV1? Use your TV1 and your video source as usual to watch a video source on TV1. Install the remote control blaster cord The remote control blaster cord... -
Page 12: Technical Data
Technical Data Transmitter System: RF (TV-LINK) Modulation: FM Weight: 0.292kg Dimensions:120X182X40.2mm Carrier Frequency: 2400~2470MHz Channels: 4 Radiated Output Power: 10mW Effective Transmission Range: 40m Audio Input level: 2V Video Input level: 1.1V Power requirements: 9V/500mA IR Extender Receiver RF Frequency: 433.92MHz Receiving Sensitivity: -90 ~ -98 dBm IR carrier Frequency: 30~57kHz IR LED Operation Range:... -
Page 13: Frequently Asked Questions
Frequently asked questions www.philips.com/support In this chapter, you will find the most frequently asked questions and answers about your product. No image or wrong image on TV1 • Make sure the video source is switched on. • Make sure the video source is connected to the transmitter (A). - Page 14 Black and white image with S-VHS VCR (Super Video Home System Video/ Cassette/Recorder) • Check if the SCART connector of the S-VHS VCR gives signal in CVBS. (Composite Video Broadcast Signal). See its user manual. Frequently asked questions...
- Page 15 Glossary CVBS: Video standard for showing colors on a Easylink: Gives a VCR or DVD recorder the possibility to automatically take over the preset programming of the TV. RF technology: Technology based on radio frequency, used for wireless connections. SCART: Single connector to easily connect audio and video equipment.
-
Page 16: Index
INDEX Channel 11 Connect receiver 10 Connect transmitter 9 Enjoy 10 Frequently asked questions 13 Getting started 9 Interference 11 Overview of the Wireless TV link 7 Remote control blaster cord 11 Technical Data 12 What’s in the box 7 Your Wireless TV link 7 INDEX... - Page 17 © 2009 Koninklijke Philips Electronics N.V. All rights reserved. Reproduction in whole or in part is prohibited without the written consent of the copyright owner. Document number: 145- 131100102 (master EN) Printed in China...
Need help?
Do you have a question about the SLV3110/12 and is the answer not in the manual?
Questions and answers