
Subscribe to Our Youtube Channel
Related Manuals for LG CM4321


Summary of Contents for LG CM4321
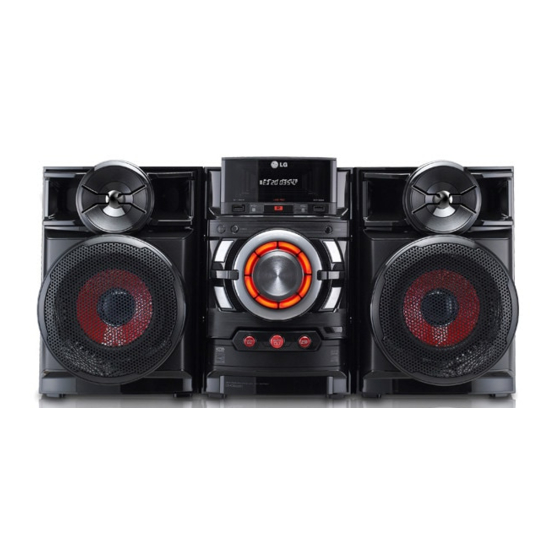
- Page 1 OWNER’S MANUAL Mini Hi-Fi System Please read this manual carefully before operating your set and retain it for future reference. CM4321 (CM4321, CMS4320F) CM4320_DP_DESPLLK_ENG_5345.indd 1 2012-09-25 10:18:40...
- Page 2 Getting Started Getting Started Safety Information CAUTION CAUTION: This product employs a Laser System. RISK OF ELECTRIC SHOCK To ensure proper use of this product, please read DO NOT OPEN this owner’s manual carefully and retain it for future CAUTION: TO REDUCE THE RISK OF ELECTRIC reference.
- Page 3 You purchased the product. authorities. LG Electronics hereby declares 3. The correct disposal of your that this/these product(s) is/are old appliance will help prevent in compliance with the essential...
- Page 4 Table of Contents You have to set the disc format option to [Mastered] in order to make the discs compatible with the LG players when formatting rewritable discs. When setting the option to Live File System, you cannot use it on LG players.
-
Page 5: Table Of Contents
Table of Contents Table of Contents Sound adjustment – Setting the surround mode Setting the Clock – Setting the alarm – Sleep Timer Setting Getting Started – Dimmer – AUTO POWER DOWN Safety Information Advanced Operations Unique Features – Playing the iPod/iPhone Accesories –... -
Page 6: Getting Started
Getting Started Unique Features Compatible USB Devices y MP3 Player : Flash type MP3 player. y USB Flash Drive : USB Direct Recording Devices that support USB2.0 or USB1.1. y The USB function of this unit does not support Records music to your USB device. all USB devices. -
Page 7: Remote Control
Getting Started Remote control TUNING-/+ : Selects the radio • • • • • • a • • • • • • station. 1 (POWER) : Switches the unit ON or OFF. C/V (Skip/Search) : B (OPEN/CLOSE) : Opens and - Skips Fast backward or Forward. -
Page 8: Front Panel
Getting Started Front panel CM4320_DP_DESPLLK_ENG_5345.indd 8 2012-09-25 10:18:43... - Page 9 U (Skip/Search) g Y (Skip/Search) q Backlightings h AUTO DJ Selects the AUTO DJ mode. r R (OPEN/CLOSE) (For more informaion refer to the page 15) s Disc tray i LG EQ Chooses sound impressions. j VOLUME CM4320_DP_DESPLLK_ENG_5345.indd 9 2012-09-25 10:18:43...
-
Page 10: Rear Panel
Getting Started Rear panel a Power cord b ANTENNA (FM) c AUX IN (L/R) connectors d Speaker terminals CM4320_DP_DESPLLK_ENG_5345.indd 10 2012-09-25 10:18:43... -
Page 11: Connecting
Connecting Connecting to Optional Equipment speakers Connection Attaching the speakers to the AUX IN Connection unit Connect an output of auxiliary device(Camcoder, TV, Player, etc) to the AUX IN (L/R) connector. To connect the cable to the unit, press each plastic If your device has only one output for audio(mono), finger pad to open the connection terminals on the connect it to the left (white) audio jack on the unit. -
Page 12: Usb Connection
Connecting USB Connection Antenna Connection Connect the USB port of USB Memory (or MP3 Connect the supplied FM antenna for listening to player, etc.) to the USB port on the front of the unit. the radio. Connect the FM wire antenna to the FM antenna connector. -
Page 13: Operating
Operating Operating Basic Operations Other Operations CD/USB Operations Programmed Playback 1. Insert the disc by pressing B(OPEN/CLOSE) or The program function enables you to store your connect the USB device to the USB port. favorite files from any disc or USB device. 2. -
Page 14: Turn Off The Sound Temporarily
Operating Turn off the sound temporarily DEMO Press MUTE@ to mute your unit. In the power off state, it demonstrates the function on display window by pressing SET/RDS/DEMO. You can mute your unit, for example, to answer the To cancel the DEMO, press it again. telephone, the “MUTE”... -
Page 15: Auto Dj Playback
Operating Radio Operations AUTO DJ playback Auto DJ blends the end of one song into the beginning of another for seamless playback. It Be sure that FM aerial is connected. equalizes volume across tracks for uninterrupted (Refer to the page 12) playback. -
Page 16: Presetting The Radio Stations
Operating Presetting the Radio Stations Improving poor FM reception Press T ST./MO. on the unit or d/M on the You can preset 50 stations for FM. remote control. This will change the tuner from Before tuning, make sure to turn down the volume. stereo to mono and usually improve the reception. -
Page 17: Sound Adjustment
You can select a desired sound mode by using SOUND EFFECT on the remote control or y By pressing BASS BLAST on the unit you LG EQ on the unit. can directly select the BYPASS or BASS BLAST sound. -
Page 18: Setting The Alarm
Operating Setting the alarm Sleep Timer Setting Press SLEEP repeatedly to select delay time You can use the unit as an alarm clock. You have to set the clock before setting the alarm. between 10 and 180 minutes. After the delay time, the unit will be turned off. -
Page 19: Advanced Operations
Operating Advanced Operations Do this ON UNIT ON REMOTE Pause or Playing the iPod/iPhone restart ST./MO. You can enjoy the sound with your iPod/iPhone. Skip For details about iPod/iPhone, refer to the iPod/ iPhone User Guide. Press and hold Press and hold 1. -
Page 20: Recording To Usb
Operating Note Recording to USB y If this unit displays an error message, follow You can record a various sound source to USB. the message. An error message “ERROR”. 1. Connect the USB device to the unit. - Your iPod/iPhone is not connected firmly. 2. -
Page 21: To Select Recording Bit Rate And Speed
Operating Note To select recording bit rate y You can check the recording percentage and speed rate for the USB record on the display window during the recording. (MP3/WMA USB REC on the unit or USB REC on 1. Press CD Only) the remote control for longer than 3 seconds. -
Page 22: Troubleshooting
Troubleshooting Troubleshooting Troubleshooting Problem Cause & Correction y The power cord is not plugged in. Plug in the power cord. y Check whether electricity failed. No Power. Check the condition by operating other electronic devices. y Check whether you select right function. Press FUNCTION and check the selected function. -
Page 23: Appendix
Appendix Appendix Trademarks and Licenses “Made for iPod” and “Made for iPhone” mean that an electronic accessory has been designed to connect specifically to iPod or iPhone respectively, and has been certified by the developer to meet Apple performance standards. Apple is not responsible for the operation of this device or its compliance with safety and regulatory standards. -
Page 24: Specifications
Appendix Specifications General Power requirements 200 - 240 V, 50 / 60 Hz Power consumption 45 W Dimensions (W x H x D) 202 X 300 X 297 mm Net Weight (Approx.) 2.85 kg Operating temperature 5 °C to 35 °C (41 °F to 95 °F) Operating humidity 5 % to 90 % Bus Power Supply (USB) -
Page 25: Maintenance
Appendix Maintenance Handling the Unit When shipping the unit Notes on Discs Please save the original shipping carton and packing materials. If you need to ship the unit, for maximum protection, re-pack the unit as it was Handling Discs originally packed at the factory. Never stick paper or tape on the disc. - Page 26 CM4320_DP_DESPLLK_ENG_5345.indd 26 2012-09-25 10:18:46...
Need help?
Do you have a question about the CM4321 and is the answer not in the manual?
Questions and answers