Advertisement
1
4
4
5
8
6
6
7
2
9
20
x4
A
B
C
D
E
F
G
H
I
CL
L D
R D CR
17
18
3
14
15
12
10
13
9
11
28 PCS
28 PCS
24 PCS
36 PCS
20 PCS
9 PCS
20 PCS
4 PCS
3 PCS
1
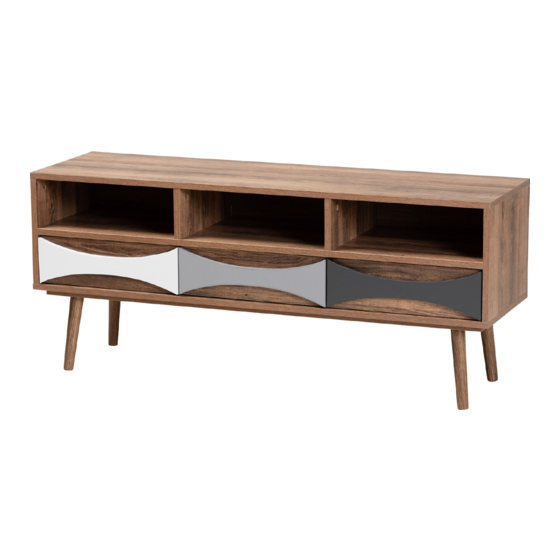
Attach the runners I to pieces 2, 3 and 6 as shown. Use screws (D).
19
D
16
x3
2
Fix the piece 17 to piece 14, piece 18 to piece 15, piece 19 to piece 16
separately using screw (F).
17
14
F
D
D
2
I
CL
D
D
D
6
I
180°
CL
18
15
F
F
F
F
3
I
CR
6
I
CR
x2
6
19
16
F
F
F
F
Advertisement
Table of Contents

Related Manuals for Baxton Studio Leane ASP-1-Natural/White/Grey


Summary of Contents for Baxton Studio Leane ASP-1-Natural/White/Grey
- Page 1 Attach the runners I to pieces 2, 3 and 6 as shown. Use screws (D). 180° Fix the piece 17 to piece 14, piece 18 to piece 15, piece 19 to piece 16 separately using screw (F). 28 PCS 28 PCS 24 PCS 36 PCS 20 PCS...
- Page 2 Slot piece 13 into the ridges. First insert the cam locks (B) into the Attach pieces 10, 11 & 12 using screws (C). Make sure that the built-in pre-drilled holes on parts 11 & 12. Then insert cam dowels(A) into each ridge is facing inwards and at the bottom.
- Page 3 Then attach the section (4 & 5) to piece 6 using cam dowels (A) and cam Attach the section (4, 5 & 6) to piece 2 & 3 using wooden dowels (G), cam locks (B). Then tighten the cross dowels. dowels (A) and cam locks (B).
- Page 4 Turn the unit upside down, fix the piece 9 to piece 7 using screw (E). Tighten the leg (20) clockwise direction. Turn the unit the right way up and insert the drawers. The unit should now be assembled and ready to use.
Need help?
Do you have a question about the Leane ASP-1-Natural/White/Grey and is the answer not in the manual?
Questions and answers