Table of Contents
Advertisement
Quick Links
Advertisement
Table of Contents

Related Manuals for Franke FMY 808


Summary of Contents for Franke FMY 808
- Page 1 FMY 808 I FP BK Installation and user manual Induction hob...
-
Page 2: Table Of Contents
TABLE OF CONTENTS SAFETY INFORMATION ..................................4 INSTALLATION ......................................6 ELECTRICAL CONNECTION ................................... 7 OVERVIEW ........................................8 CONTROL PANEL ....................................... 8 ACCESSORIES ......................................9 FIRST TIME USE ......................................9 DAILY USE ........................................9 FUNCTIONS .......................................11 INDICATORS ......................................13 COOKING TABLE ......................................13 CLEANING AND MAINTENANCE ...............................13 TROUBLESHOOTING .....................................14 SOUNDS PRODUCED DURING OPERATION ..........................14... -
Page 3: Safety Information
SAFETY INFORMATION IMPORTANT TO BE READ AND OBSERVED Before using the appliance, read these safety in shops, o ces and other working environments; instructions. Keep them nearby for future reference. farm houses; by clients in hotels, motels, bed & These instructions and the appliance itself provide breakfast and other residential environments. - Page 4 CLEANING AND MAINTENANCE WARNING: Ensure that the appliance is switched o and disconnected from the power supply before performing any maintenance operation; never use steam cleaning equipment - risk of electric shock. Do not use abrasive or corrosive products, chlorine-based cleaners or pan scourers. DISPOSAL OF PACKAGING MATERIALS The packaging material is 100% recyclable and is marked with the recycle symbol...
-
Page 5: Installation
INSTALLATION 770 mm R = Max. 5 mm 510 mm 479 mm 743 mm R = 6,5 mm Min. 480 mm Max. 492 mm R = 6.5 mm Min. 50 mm Min. 480 mm Max. 492 mm R = Max. 10 mm Min. -
Page 6: Electrical Connection
ELECTRICAL CONNECTION Electrical connection must be made before connecting the appliance to the electricity supply. Installation must be carried out by quali ed personnel who know the current safety and installation regulations. Speci cally, installation must be carried out in compliance with the regulations of the local electricity supply company. Make sure the voltage speci ed on the data plate located on the bottom of the appliance is the same as that of the home. -
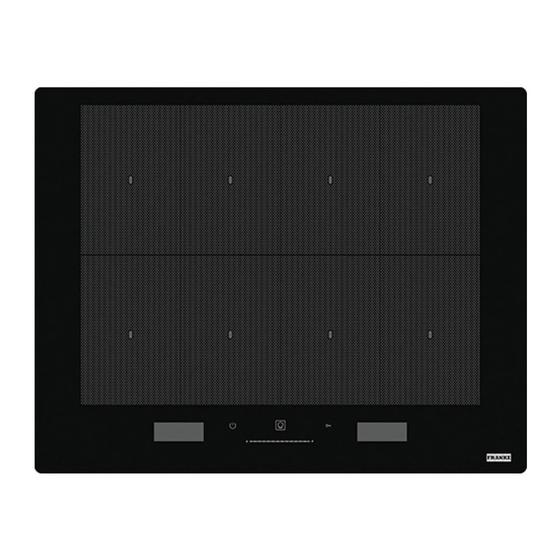
Page 7: Overview
OVERVIEW Cooktop Control panel CONTROL PANEL On/ o button Key lock Quick heat button Indicator light - hob switched on Cooking zone selection display “Manage functions“ display “Cookassist“ button (special functions) Cooking zone o button Indicator light - key lock active Slide touchscreen –... -
Page 8: Accessories
ACCESSORIES POTS AND PANS Minimum diameter of pot/pan base for the di erent cooking areas To ensure that the hob functions properly, the pot must cover one or more Only use pots and pans made from ferromagnetic of the reference points indicated on the surface of the hob, and must be of material which are suitable for use with induction a suitable minimum diameter. - Page 9 ACTIVATING/DEACTIVATING COOKING ZONES AND ADJUSTING POWER ADD POT When using a cooking area composed of several zones, the pot can be To activate the cooking zones: placed anywhere on the active area. The hob will automatically recognise Switch on the hob. If a recipient is already in place, the hob automatically the actual positioning of the pot.
-
Page 10: Functions
FUNCTIONS In the right-hand display, the instructions to follow will appear (e.g.“Add Oil“ or “Add food“). At the end of each stage, the user must con rm in COOKASSIST order to proceed with cooking. The Cookassist button allows users to access a number of special features: If necessary, the pre-set power level can be changed at any time, using •... - Page 11 The quality and type of pot can a ect performance or cooking times. PROCOOK The rate of cooking can be adjusted at any time using the “+“ and “–“ This function divides the hob into four cooking zones, activating these buttons on the right-hand display.
-
Page 12: Indicators
INDICATORS RESIDUAL HEAT If “H“ appears on the display, this means that the cooking zone is hot. The indicator lights up even if the zone has not been activated but has been heated due to the use of the adjacent zones, or because a hot pot has been placed on it. -
Page 13: Troubleshooting
ECO-DESIGN: The test was carried out in accordance with regulations, by selecting all of the cooking zones on the hob to form a single area, or by using the FlexPro function. SUPPORT In the event of any operation problems, contact a Franke Technical Service You must also have proof of purchase if you‘re still within the warranty Centre.
Need help?
Do you have a question about the FMY 808 and is the answer not in the manual?
Questions and answers