Advertisement
Quick Links
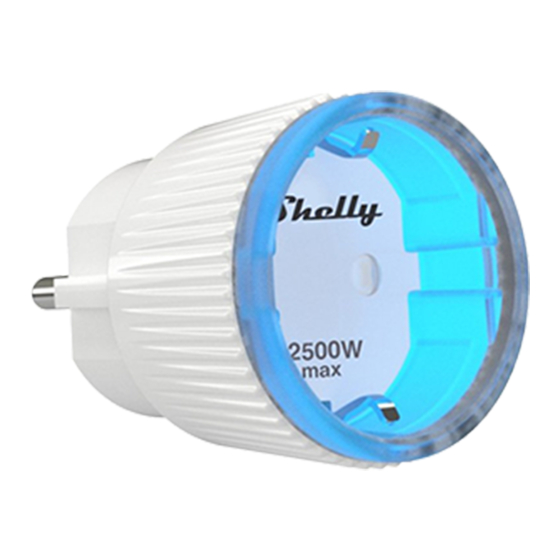
Shelly® Plug S by Allterco Robotics is intended to be placed into a standard Plug
Type F (IEC) in order to control the electric power through it. Shelly may work as a
standalone device or as an accessory to a home automation controller.
Specification
• Power supply: 110-230V ±10% 50/60Hz AC • Max load: 12A / 230V, 50/60Hz
• Complies with EU standards: RE Directive 2014/53/EU, LVD 2014/35/EU, EMC
2014/30/EU, RoHS2 2011/65/EU
• Working temperature: -20°÷40 °C
• Radio signal power: 1mW
• Radio protocol: WiFi 802.11 b/g/n
• Frequency: 2412-2472 MHz(max. 2483.5 MHz); • Operational range: up to 50 m
outdoors or up to 30 m indoors
• Dimensions (HxWxL): 70x44x 44 mm. • Electrical consumption: < 1W
• SAR: 1.15 W/Kg
Technical Information
• Control through WiFi from a mobile phone, PC, automation system or any other
Device supporting HTTP and/or UDP protocol.
• Microprocessor management.
⚠CAUTION!
Danger of electrocution. Connecting the device to the power grid has to
be performed with caution.
⚠CAUTION!
Do not allow children to play with the device, especially with the Power
Button. Keep the devices for remote control of Shelly (mobile phones, tablets, PCs)
away from children.
Introduction to Shelly
Shelly® is a family of innovative Devices, which allow remote control of electric
SHELLY PLUG S
USER AND SAFETY GUIDE
Advertisement

Related Manuals for Shelly PLUG S


Summary of Contents for Shelly PLUG S
- Page 1 Shelly® Plug S by Allterco Robotics is intended to be placed into a standard Plug Type F (IEC) in order to control the electric power through it. Shelly may work as a standalone device or as an accessory to a home automation controller.
- Page 2 Factory Reset You can return your Shelly Plug to its Factory Settings by pressing and holding the Button for 10 seconds. Upon successful factory reset Shelly’s WiFi LED will flash Red/Blue.
- Page 3 Place Shelly into the power socket without any device/load connected to the Shelly. Press the Power Button. The LED should flash red/blue. This means that Shelly is in AP mode. Press the Button again and the LED will turn off. This means that Shelly is turned off.
- Page 4 You only need an internet connection and our mobile application, installed on your smartphone or tablet. Registration The first time you load the Shelly Cloud mobile app, you have to create an account which can manage all your Shelly® devices. Forgotten Password In case you forget or lose your password, just enter the e-mail address you have used in your registration.
- Page 5 Device Inclusion To add a new Shelly device, install it to the power grid following the Installation Instructions included with the Device. Step 1 After the installation of Shelly following the Installation Instructions and the power is turned on, Shelly will create its own WiFi Access Point (AP).
- Page 6 Press the home button of your iPhone/iPad/ iPod. Open Settings > WiFi and connect to the WiFi network created by Shelly, e.g. shelly1- 35FA58. If using Android your phone/tablet will automatically scan and include all new Shelly Devices in the WiFi...
- Page 7 Upon successful Device Inclusion to the WiFi network you will see the following pop-up: Step 4 Approximately 30 seconds after discovery of any new Devices оn the local WiFi network, а list will be displayed by default in the “Discovered Devices” room.
- Page 8 Step 5 Enter Discovered Devices and choose the Device you want to include in your account. Step 6 Enter a name for the Device (in the Device Name field). Choose a Room, in which the Device has to be positioned. You can choose an icon or add a picture to make it easier to recognize.
- Page 9 Step 7 To enable connection to the Shelly Cloud service for remote control and monitoring of the Device, press “YES” on the following pop-up.
- Page 10 Shelly devices settings After your Shelly device is included in the app, you can control it, change its settings and auto mate the way it works. To switch the device on and off, use the Power button. To enter the details menu of the device, click on it’s name.
- Page 11 Sunrise/Sunset - This function requires an Internet connection. Shelly receives actual information about the time of sunrise and sunset in your area. Shelly may turn on or off automatically at sunrise/sunset, or at a specified time before or after sunrise/sunset.
- Page 12 • OFF - configure Shelly to turn OFF, when it has power. • Restore last mode - configure Shelly to return to the last state it was in, when it has power. Firmware update - update the firmware of Shelly, when a new version is released.
- Page 13 (in seconds). A value of 0 will cancel the automatic power-on. Weekly schedule - this function requires an Internet connection. To use the Internet, a Shelly device has to be connected to a local WiFi network with working Internet connection. Shelly may turn on/off automatically at a predefined time.
- Page 14 • Restore Last Mode: Configure Shelly to return to the last state it was in, when it has power. • Firmware Upgrade: Shows present firmware version. If a newer version is available, you can update your Shelly by clicking Upload to install it.
Need help?
Do you have a question about the PLUG S and is the answer not in the manual?
Questions and answers