
Related Manuals for Avigilon NVR5-RAM-16GB-B


Summary of Contents for Avigilon NVR5-RAM-16GB-B
- Page 1 Avigilon NVR5 16 GB RAM Kit Installation Guide Installation Guide NVR5-RAM-16GB-B NVR5 PRM 252TB-432TB...
- Page 2 © 2022, Avigilon Corporation. All rights reserved. AVIGILON, the AVIGILON logo, AVIGILON are trademarks of Avigilon Corporation. Intel is a trademark of Intel Corporation or its subsidiaries in the U.S. and/or other countries. Other names or logos mentioned herein may be the trademarks of their respective owners. The absence of the symbols ™...
-
Page 3: Table Of Contents
Table of Contents Introduction Confirm Package Contents Recommended Tools Installing the NVR5 Premium 16 GB RAM Kit Opening the Cover Installing Additional RAM Reattaching the Cover Confirming the Installation For More Information... -
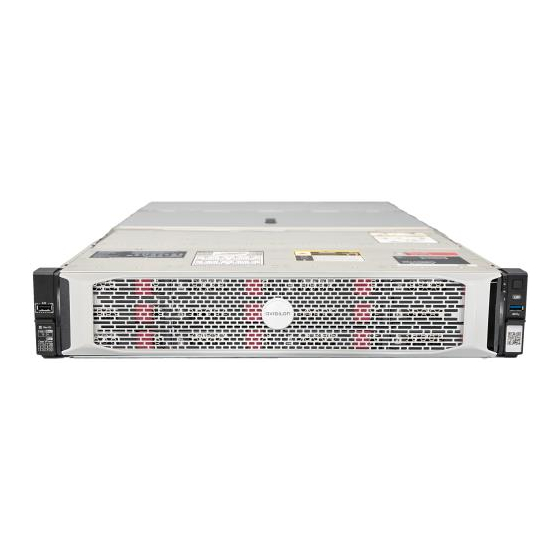
Page 4: Introduction
Introduction Avigilon provides an optional RAM Upgrade Kit for the NVR5 Premium 252-432 TB models. Up to four 16 GB RAM Upgrade Kits (for a total of 64 GB of additional RAM) can be installed in the NVR5. Part Number... -
Page 5: Installing The Nvr5 Premium 16 Gb Ram Kit
Installing the NVR5 Premium 16 GB RAM Kit Note: If the NVR5 is an operating part of your security system, be aware that it must be shut down to complete this procedure. Before starting to install the kit: 1. Log in to the ACC Client on a workstation on the same network as the NVR5 you are going to upgrade. a. -
Page 6: Opening The Cover
Opening the Cover 1. Remove the complete access panel. a. If necessary, unlock the access panel latch. b. Press the release button. c. Pull up the latch to disengage the access panel from the chassis. d. Slide the access panel toward the rear of the server and lift it from the chassis. 2. -
Page 7: Installing Additional Ram
Installing Additional RAM Important: To prevent damage to the DIMM or memory module socket during installation: Do not bend or flex the DIMM. Handle each DIMM only by the edges to ensure that you don't touch the middle of the memory module or the metallic contacts. -
Page 8: Reattaching The Cover
2. Open the ejector clips on each side of the empty memory module sockets outward to allow the DIMMs to be inserted into the sockets. 3. Align the edge connector of the DIMMs with the alignment key of the sockets and press the DIMMs into sockets until the socket levers click into place. -
Page 9: Confirming The Installation
Confirming the Installation Verify the upgrade is successful: 1. Log in to the ACC Client on a workstation on the same network as the NVR5. 2. In the System Explorer, click Site Setup, and click Site to expand the site containing the upgraded NVR5. - Page 10 Limited Warranty Avigilon warranty terms for this product are provided at avigilon.com/warranty. Confirming the Installation...
-
Page 11: For More Information
For More Information For additional product documentation and software and firmware upgrades, visit support.avigilon.com. Technical Support Contact Avigilon Technical Support at support.avigilon.com/s/contactsupport. HPE Apollo 4200 Gen10 Plus Server Maintenance and Service Guide (link) For More Information...
Need help?
Do you have a question about the NVR5-RAM-16GB-B and is the answer not in the manual?
Questions and answers