Advertisement
Quick Links
Please give us a chance to make it right and do better !
Contact our friendly customer service department for help first.
Replacements for missing or damaged parts will be shipped ASAP !
US office: Fontana
UK office: Ipswich
DE office: Hamburg
FR office: Saint Vigor d'Ymonville
Contact Us!
Do NOT return this item.
AU office: Truganina
PL office: Gdańsk
US:cs.us@costway.com
UK:cs.uk@costway.com
AU:cs.au@costway.com
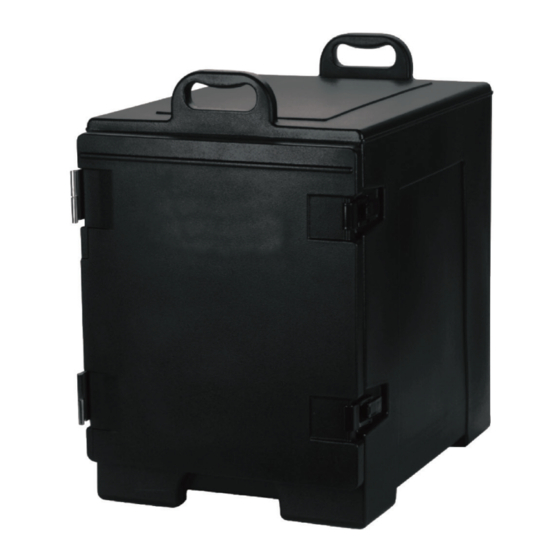
Insulated Food Pan Carrier
OP70086 & OP70087
THIS INSTRUCTION BOOKLET CONTAINS IMPORTANT SAFETY INFORMATION. PLEASE READ AND KEEP FOR FUTURE REFERENCE.
USER'S MANUAL
Advertisement

Related Manuals for Costway OP70086


Summary of Contents for Costway OP70086
- Page 1 FR office: Saint Vigor d'Ymonville PL office: Gdańsk USER’S MANUAL Contact Us! Insulated Food Pan Carrier OP70086 & OP70087 US:cs.us@costway.com Do NOT return this item. UK:cs.uk@costway.com AU:cs.au@costway.com THIS INSTRUCTION BOOKLET CONTAINS IMPORTANT SAFETY INFORMATION. PLEASE READ AND KEEP FOR FUTURE REFERENCE.
- Page 2 Features & Benefits • Molded with tough polypro p ylene, double-wall and won't dent, rust, scratch or break. Before You Start • Insulating thick polyurethane foam and air tight gaskets help to retain food quality and temperatures without the use of external heat sources.
-
Page 3: Replacement Parts
How To Replace Door Hinges Instructions For Use And Care Of Insulated Carrier OP70086 The hinges on a insulated carrier get a lot of use. Every time you open that door they get more use, and eventually they will wear 1.Wash thoroughly and rinse the unit prior to its use. - Page 4 Instructions For Use And Care Of Beverage 6. Clean after every use. Make sure the gasket is removed before Dispenser OP70087 running though a dishwasher. CAUTION: Liquid can overflow or squirt out of the vent cap when To remove faucet assembly from unit: securing lid if the unit is overfilled.
-
Page 5: Exploded Parts Diagram
To return faucet assembly to unit: Number Part Name Faucet Lever 1. Place small rubber washer on spout first. Then place spout inside Bonnet unit. Stem End 2. Place large fiber washer on spout from outside the unit. Spring Rubber Seat Cup 3. - Page 6 • Air dry whenever possible or wipe thoroughly with a dry, clean, soft cloth to remove all moisture inside and out. (B) Removing Lingering Scents and Stains • Use an odor removing soak or sanitizer to remove scents and stains that can occur from holding coffee and/or foods with strong odors.
Need help?
Do you have a question about the OP70086 and is the answer not in the manual?
Questions and answers