Table of Contents
Advertisement
Quick Links
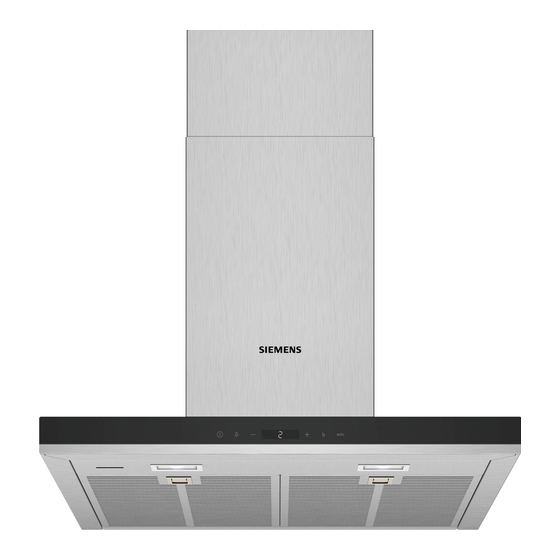
Extractor hood
LC68BIT50, LC98BIT50, LC98BIT50I, LC67BIR55, LC97BIR55, LC68BUR50,
LC91BUR50, LC91BUR50B
en
User manual and installation instructions
Register your product on My Siemens and discover exclusive ser-
vices and offers.
siemens-home.bsh-group.com/welcome
The future moving in.
Siemens Home Appliances
Advertisement
Table of Contents


Need help?
Do you have a question about the LC68BIT50 and is the answer not in the manual?
Questions and answers