
Subscribe to Our Youtube Channel
Related Manuals for Slick MP550-4


Summary of Contents for Slick MP550-4
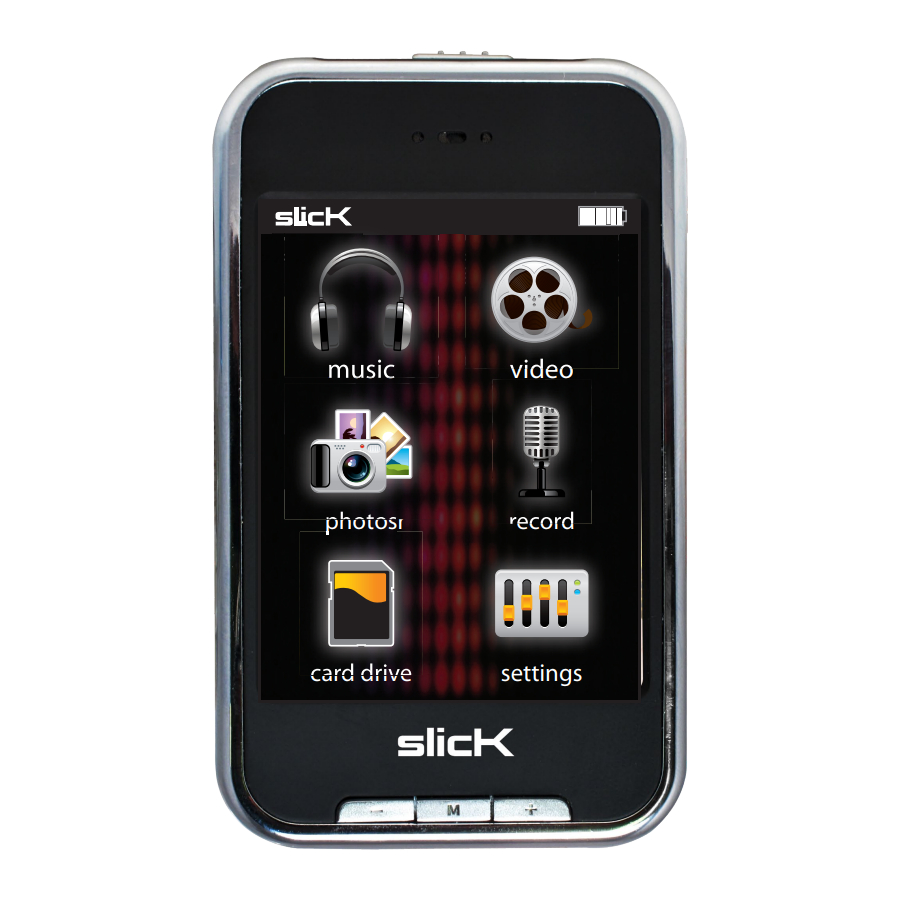
- Page 1 MP550-4 Multimedia Player music video photosr ecord card drive settings...
-
Page 2: Table Of Contents
USB 2.0 Cable Getting music from your CDs onto Quick Start Guide your computer: Applications CD Moving music from your computer to your MP3 Player: To install the Video Converter: Converting videos: Viewing Photos: Recording voice memos: Playing voice memos:... -
Page 3: Location Of Controls
To decrease the volume, press the [-] key. Resetting the Player: • If the MP3 Player malfunctions, you can use the Reset function to restart it. • To reset the Player, take a metal pin (such as the end of a paperclip), and push it into the RESET hole to restart the Player. -
Page 4: Hard Buttons
Connecting to a Computer PC connection: In order to enjoy the multimedia capabilities of your MP3 Player, you have to first copy your favorite files from your PC to its internal memory. Connect your MP3 Player to the computer using the included USB 2.0 cable. -
Page 5: Charging The Battery
To transfer media from your computer: Connect your MP3 Player to your computer using the included USB cable. Open “Windows Explorer” or “My Computer, ” and locate “MP3. ” Drag and drop, or copy and paste your media files into “MP3. ”... -
Page 6: Main Menu
Main Menu After you turn on the Player, the Main Menu appears. • Touch an icon on the Main Menu to select it. • To return to the Main Menu, press and HOLD the [M] key. Main Menu icons: • Music: play songs •... -
Page 7: Music Player Settings
Music player settings: You can choose the equalization mode that fits your preferences. To do so, browse to “settings” > “Music” > “EQ Select” and choose one of the 6 available modes: • Normal • MS PlayFX • Rock • •... -
Page 8: Using Windows Media Player
Open Windows Media Player. Connect your MP3 Player to the computer Click on the “Sync” tab in Windows Media Player. Drag media files to your MP3 Player within Windows Media Player. Click the “Start Sync” button. Sync pictures to your MP3 Player:... -
Page 9: Using The Video Converter
Click “Start Sync” Sync in progress Using the Video Converter Before transferring video files to the MP3 Player, you must convert them to the correct format. Use the Video Converter provided on the included CD to convert most video files to the correct format suitable for the Player. -
Page 10: Converting Videos
Click on “Input File” and select a video to convert. Click on “Output File” to select the destination for the conveted video. You can send it directly to the MP3 Player by selecting MP3 > Video and clicking computer (optional). -
Page 11: Photos
File location on your computer where you can easily transfer it to the player (see Transferring media to the player on page ). Your MP3 Player is capable of storing and displaying your favorite pictures. Viewing Photos: Select “photos” from Settings button the main menu. -
Page 12: Record
Record Your MP3 Player is able to record voice memos with its integrated microphone. The sound files that you record are stored inside the “Record” folder. You can listen to these files while being in the “music” mode or “browser” mode, and selecting the “Record”... -
Page 13: Settings
Press the reset hole with a metal pin to re-initialize the system of the player Troubleshooting My computer is not detecting the MP3 Player with Windows Vista • There is a USB mass storage devices recognition issue with Windows Vista acknowledged by Microsoft. -
Page 14: Safety Precautions
Safety Precautions Always follow these basic safety precautions when using your player. This will reduce the risk of product damage and personal injury. General precautions: Precautions in using the head- • Do not disassemble, repair or phones: modify the player by yourself. Refer •... -
Page 15: Limited Warranty
Limited Warranty In the unlikely event that this product is defective, or does not perform properly, you may within ninety (90) days from your original date of purchase return it to the authorized service center for repair or exchange. TO OBTAIN WARRANTY SERVICE: - Provide proof of the date of purchase within the package (Dated bill of sale) - Prepay all shipping costs to the authorized service center, and remember to insure your return.
Need help?
Do you have a question about the MP550-4 and is the answer not in the manual?
Questions and answers