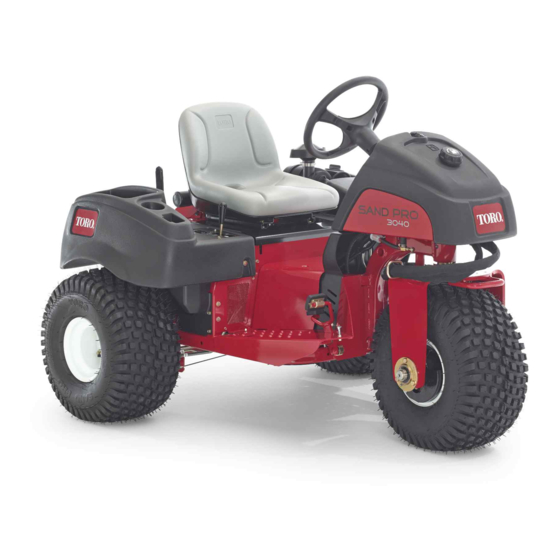
Toro Sand Pro 3040 Operator's Manual
Hide thumbs
Also See for Sand Pro 3040:
- Service manual (262 pages) ,
- Operator's manual (44 pages) ,
- Manual (12 pages)
Table of Contents
Advertisement
Quick Links
QAS Flex Tooth Rake
Sand Pro
Model No. 08767—Serial No. 316000001 and Up
This product contains a chemical or chemicals known to the State of California to
Setup
Loose Parts
Use the chart below to verify that all parts have been shipped.
Procedure
1
2
3
4
5
6
© 2015—The Toro® Company
8111 Lyndale Avenue South
Bloomington, MN 55420
®
/Infield Pro
Proposition 65 Warning
cause cancer, birth defects, or reproductive harm.
Description
No parts required
Spacer
Bolt (3/4 x 3-1/2 inches)
Locknut (3/4 inch)
Pivot bar
Cotter pin
Bolt (3/8 x 3 inches)
Washer
Flange nut (3/8 inch)
Bolt (1/2 x 1-3/4 inches)
Flange-head bolt (3/8 x 1 inch)
Flange nut (3/8 inch)
Flange nut (1/2 inch)
Locknut (1/2 inch)
No parts required
Register at www.Toro.com.
®
3040 and 5040 Traction Unit
WARNING
CALIFORNIA
Qty.
–
2
2
2
1
3
2
4
2
1
1
1
1
1
–
Form No. 3401-364 Rev A
Operator's Manual
Use
Adjust the tire pressure.
Install the side assemblies to the center
assembly.
Install the lift arm to the QAS assembly.
Install the lift tube to the lift arm.
Install the rake assembly to the hitch
tube.
Install the lift chains to the lift tube.
Original Instructions (EN)
All Rights Reserved *3401-364* A
Printed in the USA
Advertisement
Table of Contents

Summary of Contents for Toro Sand Pro 3040
- Page 1 Flange nut (1/2 inch) Locknut (1/2 inch) – No parts required Install the lift chains to the lift tube. © 2015—The Toro® Company Register at www.Toro.com. Original Instructions (EN) All Rights Reserved *3401-364* A 8111 Lyndale Avenue South Printed in the USA...
- Page 2 Adjusting the Tire Pressure No Parts Required Procedure For the rake to work properly, it is important for the machine to have the correct tire pressure. (Figure To get the most accurate reading, check the tire pressure Figure 2 when the tires are cold. •...
- Page 3 6. Secure the right side assembly with a bolt (3/4 x 3-1/2 inches) and a locknut (3/4 inch), torqued to 163 to 217 N-m (120 to 160 ft-lb); refer to Figure Note: Ensure that the side assemblies pivot freely. Slightly loosen the nuts and bolts if necessary. Ensure that the carriage bolts do not contact each other throughout the range of motion.
- Page 4 Installing the Lift Tube to the Installing the Rake Assembly Lift Arm to the Hitch Tube Parts needed for this procedure: Parts needed for this procedure: Bolt (3/8 x 3 inches) Bolt (1/2 x 1-3/4 inches) Washer Flange-head bolt (3/8 x 1 inch) Flange nut (3/8 inch) Flange nut (3/8 inch) Flange nut (1/2 inch)
- Page 5 entering and leaving the trap, etc. Practice at a moderate engine speed and a slow ground speed. This training will help the operator to gain confidence in the performance of the machine. Installing the Lift Chains to the The recommended pattern for raking a trap is shown in Figure 10.
- Page 6 The method of transmission shall be electronic transmittal. This machinery shall not be put into service until incorporated into approved Toro models as indicated on the associated Declaration of Conformity and in accordance with all instructions, whereby it can be declared in conformity with all relevant Directives.
- Page 7 The Way Toro Uses Information Toro may use your personal information to process warranty claims, to contact you in the event of a product recall and for any other purpose which we tell you about. Toro may share your information with Toro's affiliates, dealers or other business partners in connection with any of these activities. We will not sell your personal information to any other company.
- Page 8 Countries Other than the United States or Canada Customers who have purchased Toro products exported from the United States or Canada should contact their Toro Distributor (Dealer) to obtain guarantee policies for your country, province, or state. If for any reason you are dissatisfied with your Distributor's service or have difficulty obtaining guarantee information, contact the Toro importer.


Need help?
Do you have a question about the Sand Pro 3040 and is the answer not in the manual?
Questions and answers