
Related Manuals for Muddy PRO-CAM 24


Summary of Contents for Muddy PRO-CAM 24
- Page 1 MODEL MUD-MTC800 PO Box 535189 • Grand Prairie, TX 75053-5189 • (877) 269-8490 www.gsmoutdoors.com January 2019. Published by GSM, LLC, Grand Prairie, Texas © 2019 GSM, LLC. All rights reserved. R2019.2...
-
Page 2: Table Of Contents
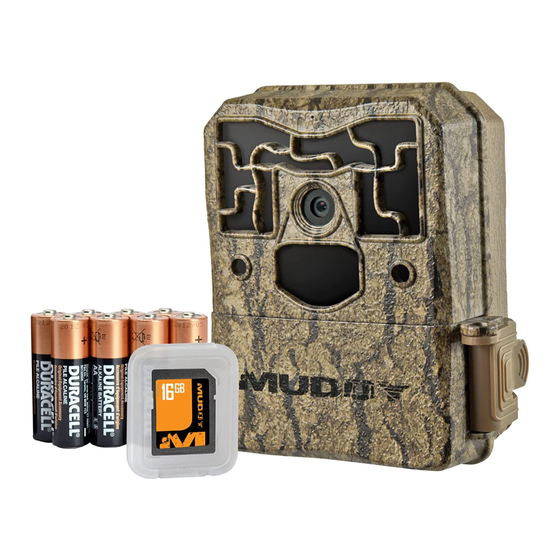
ITEMS REQUIRED FOR STARTUP......ADVANCED SETTINGS ........10 FEATURES & SPECS........... MOUNTING & FIELD SETUP......16 CAMERA DIAGRAMS........CAMERA CARE ..........18 BATTERY INSTALLATION........TROUBLESHOOTING........19 MEMORY CARD INSTALLATION......WARRANTY INFORMATION......20 QUICK-START........... OWNER’S RECORD...........21 INCLUDES: Camera Manual 5’ Mounting Strap SD Card and 6 AA Batteries REQUIRED FOR STARTUP: •... -
Page 3: Features & Specs
FEATURES & SPECS: Camera Specifications 1280 x 720 HD with Sound Image Res. Video Mode 24MP or VGA (32 FPS) with Sound Image Detail Color (Day), B/W (Night) Video Length 6 Options: 5 Sec - 2 Min Illumination 36 LEDs with Invisible Flash Detection Range 70 Feet Trigger Speed... -
Page 4: Camera Diagrams
LEDs Camera Lens Light Motion Test LED Sensor Power PIR Sensor Button S E T U P D A T E T I M E 0 1 0 2 1 6 01 : 0 1 A M O O K Door Mode Set-up... - Page 5 SDHC Card Slot 12V DC Mounting Receiver Battery Chamber Latch Port (1/4” - 20) Release...
-
Page 6: Battery Installation
INSTALLING BATTERIES: Fig. 1 1. To remove the internal AA battery pack, press chamber lightly and slide the battery tray release button located inside camera cover down (Fig. 1). Next, pull Fig. 2 Fig. 3 firmly to remove tray from camera (Fig. - Page 7 BATTERIES CONT . . . Fig. 2 IF USING 12V DC POWER SOURCE 1. Remove the rubber port cap at the bottom of the camera (Fig. 1). Connect an external power supply using a 12V DC connection (Fig. 2). 2. Run the cord up the side of the camera where a hook is provided behind the hinge of the camera door.
-
Page 8: Memory Card Installation
MEMORY CARD INSTALL: (sold separately) Fig. 1 In order to operate camera an SD memory card will need to be installed. 1. Open camera faceplate by releasing clasp on right side of camera. 2. With memory card facing the front of the camera, insert SD card into memory slot. -
Page 9: Quick-Start
QUICK-START: Your Pro-Cam will come with the following standard options already preset. All settings can be adjusted to your specification. Setting correct date and time is important to make sure your camera functions properly. Setup date/time (Defaults to original date/time – will need to be re-programmed if settings are reset CAMERA ID –... - Page 10 TIME AND DATE: This setting is used by the camera to display the correct date on information bar of the image. Format is MM/DD/YY. Use the LEFT and RIGHT arrows to change. navigate between each option and the UP and DOWN arrows to cycle through each day, S E T U P D A T E T I M E month, and year.
- Page 11 IMAGE QUALITY: I M A G E Q U A L I T Y Sets the quality at which you would like the camera H I G H to take the pictures. Setting your Pro Cam to a higher setting will result in better photos at the cost of taking more memory space.
- Page 12 BURST MODE: B U R S T M O D E Sets how many photos the camera will take in a row when triggered. Burst Fast or 3 - B U R S T S T A N D A R D Burst Standard will determine the amount of time between each photo taken in a burst.
- Page 13 PICTURE INFO BAR: P I C T U R E I N F O B A R Allows you to choose if you want the photo/ video files have current information imprinted on your files or not. Info included on bar: MOON CAMERA ID PHASE BURST TEMP...
- Page 14 TIMELAPSE FREQ: T I M E L A P S E F R E Q Sets the period of time you want between timelapse photos. 1 M I N U T E Options are: 5 sec, 10 sec, 20 sec, 30 sec, 1 min, 2 min, 5 min, 10 min, 30 min, 60 min Example: If you choose 1 minute, a photo will be taken once every minute for the Timelapse Period you set it for (see below).
- Page 15 PIR SENSITIVITY: P I R S E N S I T I V I T Y Adjusts the sensitivity at which the camera detects an object in the field of view and H I G H triggers to take a picture. Use the "Motion Test"...
-
Page 16: Mounting & Field Setup
MOUNTING & FIELD SET-UP: Your Pro-Cam trail camera comes with a 5’ nylon Fig. 2 mounting strap which allows for quick and easy mounting (Fig. 1). The camera has an open slot on each side of the rack on back of housing to thread strap through for mounting. - Page 17 ARMING THE CAMERA: When powered on, the Pro-Cam trail camera will automatically arm to take pictures if there is no button activity for 30 seconds. When in the camera menu, the camera will arm after 90 seconds of inactivity REVIEWING IMAGES: The easiest way to review the images on your SD card, is to review files on the card on home computer.
-
Page 18: Camera Care
CAMERA CARE: Moisture, vibration, and extreme temperature can cause severe damage to your trail camera and should be avoided. We recommend keeping your camera free from heavy moisture, vibration, and within the specified temperature range. While camera is designed to operate in outdoor conditions, following the specified care will extend camera life as long as possible. -
Page 19: Troubleshooting
SD card, we recommend that you replace the card with a new SD card or one from a different MUDDY trail camera that you know works. This will help determine whether the problem is the SD card or the camera. We do NOT recommend using cards that have been used in cameras from different manufactures and/or different styles of cameras unless a Full Format on a PC has been done to those cards. -
Page 20: Warranty Information
WARRANTY: WARRANTY Muddy Pro-Cam Trail Camera’s 1 Year Limited Warranty: For a period of 365 days after purchase, GSM, LLC will, at its discretion, repair or replace this product for any reason of any defect or malfunction. This warranty is only valid if the product is used for the purpose intended and has not been tampered with and/or physically damaged in any way. -
Page 21: Owner's Record
OWNER’S RECORD: Product Name Model Number Serial Number Purchased From Purchased Date... - Page 24 www.gsmoutdoors.com GSM, LLC PO Box 535189 , Grand Prairie, TX 75053-5189 Toll Free: 877-269-8490...
Need help?
Do you have a question about the PRO-CAM 24 and is the answer not in the manual?
Questions and answers