Table of Contents
Advertisement
Quick Links
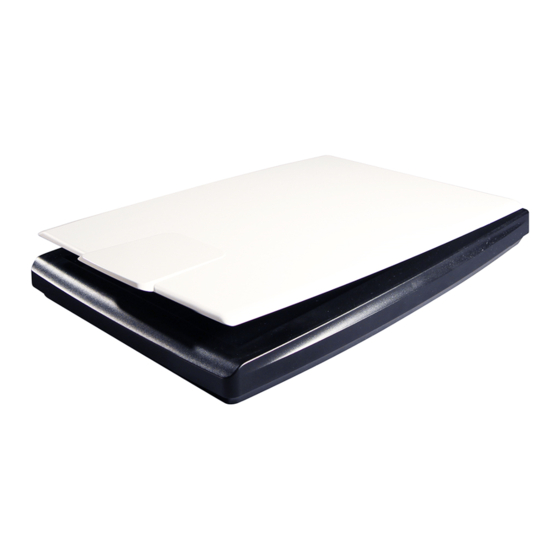
Color Image Scanner
Getting Started Guide
Trademarks
Microsoft is a U.S. registered trademark of Microsoft Corporation.
Windows, Windows XP, Windows Vista, Windows 7 and Windows
8 are either registered trademarks or trademarks of Microsoft
Corporation in the United States and/or other countries.
Other brands and product names herein are trademarks or
registered trademarks of their respective holders.
©
Copyright
2015 Avision Inc. All rights reserved.
Advertisement
Table of Contents

Related Manuals for Avision FB1000N


Summary of Contents for Avision FB1000N
- Page 1 8 are either registered trademarks or trademarks of Microsoft Corporation in the United States and/or other countries. Other brands and product names herein are trademarks or registered trademarks of their respective holders. © Copyright 2015 Avision Inc. All rights reserved.
-
Page 2: Table Of Contents
Table of Contents Installing the Scanner ........1 Checking the Package Contents ......1 Installing the scanner driver........2 Connecting to computer ........2 Completing Your First Scan......4 Placing Your Original ..........4 Verifying Your Scanner Installation......5 A Glance of the Scanner Properties Dialog Box..6 Maintaining Your Scanner ......7 Cleaning the Glass ..........7... -
Page 3: Installing The Scanner
Installing the Scanner Checking the Package Contents Gently open your box and check the package contents. If there is anything missing or damaged, please call your dealer. Scanner main unit USB cable Software CD/Quick guide... -
Page 4: Installing The Scanner Driver
Installing the scanner driver NOTE: To ensure your computer can identify the USB scanner, please install scanner driver first before connecting the scanner to your computer. Place the supplied CD-ROM onto your CD-ROM drive. The software installation graphic appears. If not, run “setup.exe”. - Page 5 2. The computer should detect a new USB device and prompt a “New Hardware Found” message. By following the on-screen instructions, click the Next button to continue. When the certification screen appears, click Continue Anyway to complete the installation. When the Finish dialog is prompted, click the Finish button.
-
Page 6: Completing Your First Scan
Completing Your First Scan Placing Your Original Open document cover. Place your document with your text FACE DOWN on the glass. Make sure the upper left corner of your original near the home position as marked in the scanner. 1. Document Cover 2. -
Page 7: Verifying Your Scanner Installation
Verifying Your Scanner Installation To verify if your scanner installation is correct, Avision provides you a useful test program called Avision Capture Tool. With this tool, you can perform simple scans and view the captured images. In addition, it helps you complete your scan at a rated speed. -
Page 8: A Glance Of The Scanner Properties Dialog Box
A Glance of the Scanner Properties Dialog Box 1. Tab Options Choice: Image, Compression, Color Dropout, Paper, Multi-Feed Detection, Preview, Options, Settings, Information. 2. Image Choose your image type and the side of Selection document you wish to scan. Options vary based on type of scanner. -
Page 9: Maintaining Your Scanner
Maintaining Your Scanner Cleaning the Glass The Cleaning Procedures Moisture a piece of soft cloth with some isopropyl alcohol. (95%) Open the document cover as shown below. Gently wipe the document glass. Close the document cover. Your scanner is now ready for use.
Need help?
Do you have a question about the FB1000N and is the answer not in the manual?
Questions and answers