Advertisement
Quick Links
Advertisement

Subscribe to Our Youtube Channel
Related Manuals for S7 MIG-200


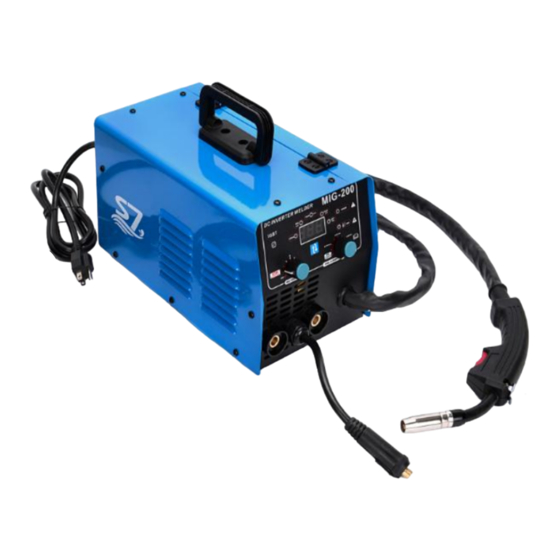
Summary of Contents for S7 MIG-200
- Page 1 S7 MIG-200 OPERATION GUIDE...
- Page 2 1, ARC Mode Step.1- Press the blue button below the LCD display to select “STICR”. Step.2- Adjust the current knob to increase the current.
- Page 3 Step.3- Connect the ground clip and solder handle to the machine. Step.4- Clamp the ground clamp to the workpiece.
- Page 4 Step.5- The welding handle clamps the electrode, and the welding work start.
- Page 5 2,MIG function (1) MIG 0.8 Mode(This mode is needed use with carbon dioxide gas and 0.8 solid wire) Step.1- Press the blue button below the LCD display to select “MIG 0.8” Step.2- Adjust the current knob to increase the current...
- Page 6 Step.3- Connect carbon dioxide gas Step.4- Install the welding wire,click the link below to watch the wire installation. https://www.amazon.com/ask/questions/Tx14BVHOSFNO21R/ref=ask_dp_dpmw_al_hza *Connect the welding wire to the wire feeding device, pay attention to insert the...
- Page 7 welding wire directly into the wire guide tube, and then press the welding wire well. Step.5-Connect the ground clip and output wire to the machine. Step.6-Clamp the ground clip to the workpiece, then start your MIG work.
- Page 8 (2) MIG- FLUX 0.8 Mode(Request 0.8 flux cored wire, no need to connect any gas) Step.1- Press the blue button below the LCD display to select “FLUX 0.8” Step.2- Adjust the current knob to increase the current...
- Page 9 Step.3-Install the welding wire, click the link below to watch the wire installation. https://www.amazon.com/ask/questions/Tx14BVHOSFNO21R/ref=ask_dp_dpmw_al_hza...
- Page 10 *Connect the welding wire to the wire feeding device, pay attention to insert the welding wire directly into the wire guide tube, and then press the welding wire well. Step.4- Connect the ground clip and output wire to the machine (Note that the method of installation is different from that of solid wire, refer to the following figure to install)
- Page 11 Step.5-Clamp the ground clip to the workpiece, then start your MIG work. (3) MIG- FLUX 1.0 Mode(Request 1.0 flux cored wire, no need to connect any gas) * all the step is same as FLUX 0.8 Mode, just request use 1.0 flux cord wire. 3, TIG Mode(Use with Air Cooled Lift TIG Torch) Step.1- Press the blue button below the LCD display to select “LIFT TIG”...
- Page 12 Step.2- Adjust the current knob to increase the current Step.3-Connect the ground clip and TIG torch to the machine.
- Page 13 Step.4- Put argon gas into the gun trachea Step.5- Rotate the knob on the TIG torch to adjust the air outlet value...
- Page 14 Step.6- The ground clip is fastened to the workpiece and then you can star your TIG work.
Need help?
Do you have a question about the MIG-200 and is the answer not in the manual?
Questions and answers