Table of Contents
Advertisement
USER'S GUIDE
GUÍA DEL USUARIO
Please keep all information for future reference.
Guarde toda información para tener como referencia futura.
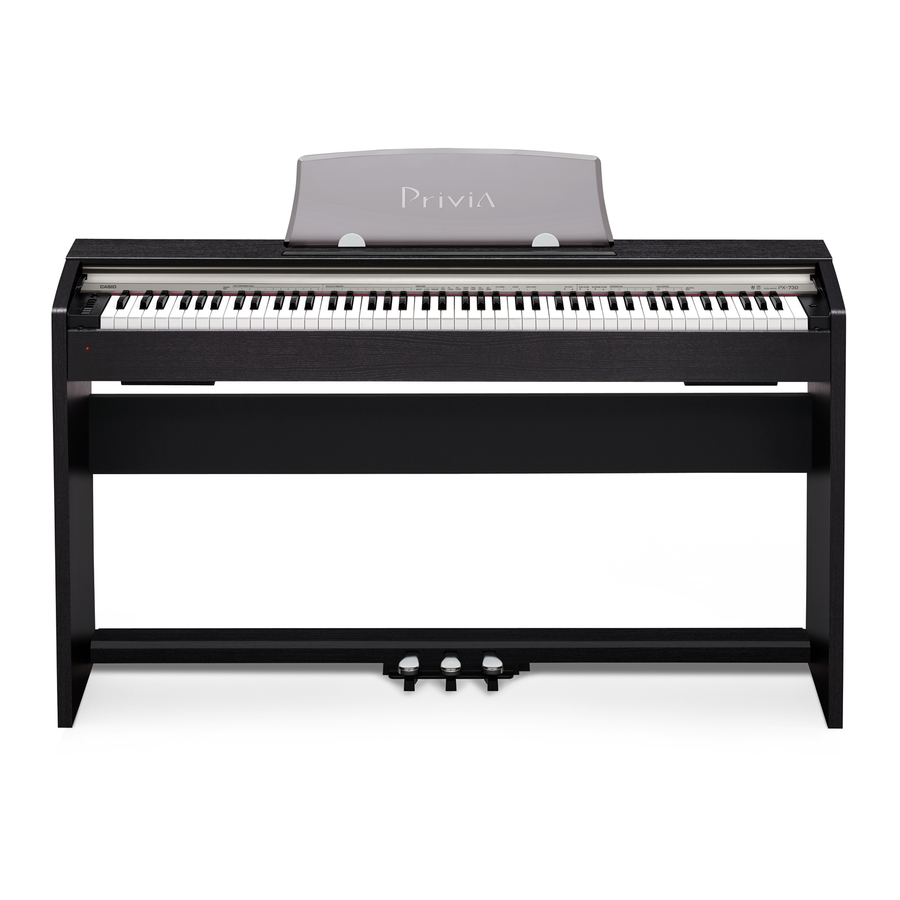
PX730/7ES1A
Safety Precautions
Before trying to use the piano, be sure to read
the separate "Safety Precautions".
Precauciones de seguridad
Antes de intentar usar el piano, asegúrese de
leer las "Precauciones de seguridad" separadas.
ES
Advertisement
Table of Contents


Need help?
Do you have a question about the Privia 7ES1A and is the answer not in the manual?
Questions and answers