Table of Contents
Advertisement
Quick Links
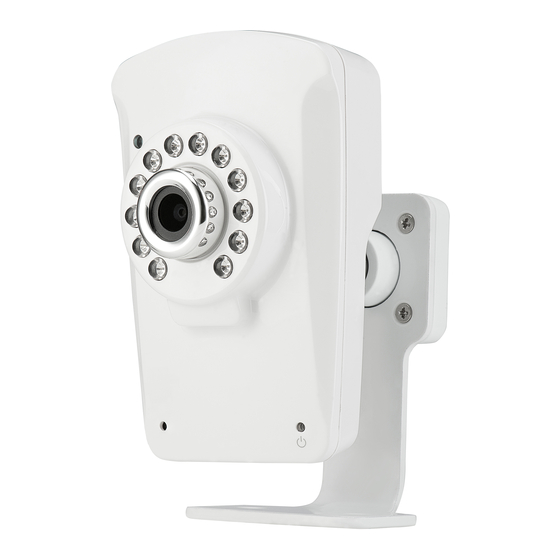
Aeon ID Quick Start Guide
Last Modified on 12/04/2015 12:17 pm EST
Important
Please read this manual carefully before installation.
Start Here
This Quick Guide tells you how to set up your network camera and use its key features.
Ready, set up, go!
Connect The Camera To Your Network
First time to start network camera, connect your camera to your router with a network
cable.
Install Camera Softwares
Insert the CD and install the softwares.
Then you'll see the icons on the desktop.
Advertisement
Table of Contents

Related Manuals for Spytec Aeon ID


Summary of Contents for Spytec Aeon ID
- Page 1 Aeon ID Quick Start Guide Last Modified on 12/04/2015 12:17 pm EST Important Please read this manual carefully before installation. Start Here This Quick Guide tells you how to set up your network camera and use its key features. Ready, set up, go!
- Page 2 View on PC Double Click then appear: The router automatically gives your camera an IP address. If not, click "refresh" till it shows up. Double Click the IP address to run the camera. Then it appears: Click "Enter", in the verification box: User Name: admin Password: admin Click "OK"...
- Page 3 Multi-Live Double Click then appear: Click "Option" then "Camera Manager",then appear: "Search", Choose camera "Transfer Info" User Name: admin Password: admin Change Camera name, Then "Add", "OK" Then "Control", "Connect", "Connect All"you'll see:...
- Page 4 Wireless Setup Click on "Settings" Then appear: Click "Network", then "Wireless Setup"...
- Page 5 Click "Enable", then appear: Click "Search", then appear: Choose your router SSID, Click "Apply", then appear "Wireless Network selected!".
- Page 6 Mode: choose "Infrastructure" Security Mode: choose "AES" Type your router WPA (WiFi Code) and click "Apply" Then appear: "Wireless Setup Accepted Successfully!" Finished! Now you can unplug the network cable! View on Android Install software "P2PCam 264" . Open it, you'll see:...
- Page 7 Type the UID or Scan the UID. Input password, and name. Then click "Save". For snapshots .. For hearing the voice For back to manu. View on iPhone, iPad Install software "P2PCam 264" For back to menu. Open it, you'll see:...
- Page 8 Click "QRCode" to scan UID.. Click "Add" to manually input UID. Input "UID" and "Password". Then you'll see: "Snapshot" for getting pictures. "Speaker" for hearing the voice...
Need help?
Do you have a question about the Aeon ID and is the answer not in the manual?
Questions and answers