Advertisement
Quick Links
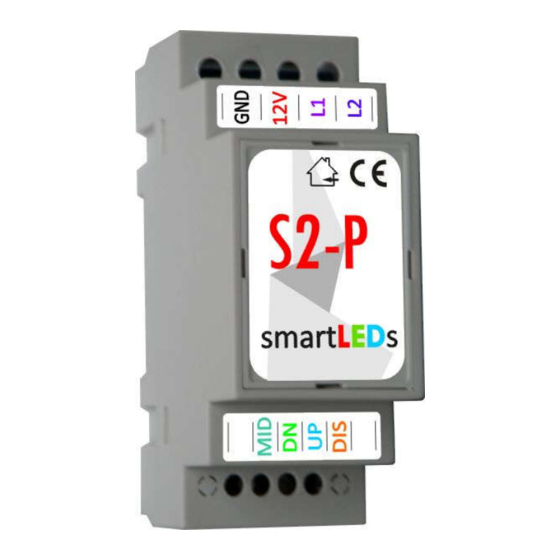
smartLEDs
SMART STAIR LED LIGHTING CONTROLLER
Download the full-color version of this manual from magicstairlighting.com, tab DOWNLOADS, where
you will also find a comprehensive guide to installing smart stair LED lighting system.
In accordance with the provisions of the Directive 2012/19/EU on waste electrical and electronic equipment (WEEE) it is
forbidden to place with other waste any waste equipment marked with a crossed-out bin symbol.
The user, wanting to get rid of electronic equipment or services, is obliged to return it to a waste equipment collection point.
Applicable restrictions have been introduced on order to restrict the amount of waste generated from waste electronic
equipment.
This equipment does not contain any hazardous ingredients that may have a particularly negative impact on the environment
and human health.
© APACHETA SMART SYSTEMS
smartLEDs
S2-P
model PREMIUM
USER MANUAL
v5.0.6
magicstairlighting.com
Advertisement

Related Manuals for APACHETA smartLEDs S2-P


Summary of Contents for APACHETA smartLEDs S2-P
- Page 1 Applicable restrictions have been introduced on order to restrict the amount of waste generated from waste electronic equipment. This equipment does not contain any hazardous ingredients that may have a particularly negative impact on the environment and human health. © APACHETA SMART SYSTEMS magicstairlighting.com...
-
Page 2: Technical Specifications
1.2.2 Inputs The controller has the following inputs: UP, DN and MID ports which control turning on of the lamps: upward, downward and both directions from the mid-floor respectively, and str. 2/13 © APACHETA Smart Systems... - Page 3 S2 is in the active state (GREEN diode on) or blocked (RED diode on). The S2 lighting sequence consists of successive phases: turning on, lights on, warning (if set) and turning off. 1.5.1 Turning lamps on The ‘turning-on’ phase consists of turning on consecutive lamps: © APACHETA Smart Systems str. 3/13...
-
Page 4: Configuration Manual
The Configurator consists of three configurational buttons (SET, ‘+’, and ‘–’), and two signalling LEDs, RED and GREEN. The SET button increments the number of the parameter being set or exits the configuration procedure. The ‘+’ and ‘–’ buttons change the value of the parameter being set. str. 4/13 © APACHETA Smart Systems... -
Page 5: Setting Configuration Parameters
Selecting the value RESTORE will bring back the factory defaults. CAUTION! Pressing the SET button briefly (under 2 seconds) will always advance the configuration process to the next step. © APACHETA Smart Systems str. 5/13... - Page 6 There are seven values to choose from. In the case of non-dimmable lamps the parameter must be set to 0; then there is no backlight lighting and the turning on and off proceeds in a one-by-one switching fashion. 2.1.7 Brigthness The brightness of the LED lamps. str. 6/13 © APACHETA Smart Systems...
- Page 7 The values from S1 (darkest) to S10 (brightest) determine the external light threshold of the dusk sensor above which the switch blocks the controller. CAUTION! Setting the parameter to one of S1, …, S10 with the sensor disconnected will result in the controller not being blocked during daylight. © APACHETA Smart Systems str. 7/13...
- Page 8 1 warning 2 warnings 3 warnings 4 warnings 5 warnings 6 warnings 7 warnings Warning type BLINK not flashing blink PICO very fast flicker NANO fast flicker MICRO medium flicker str. 8/13 © APACHETA Smart Systems...
- Page 9 20% max brightness 30% max brightness 40% max brightness 40% max brightness 60% max brightness 70% max brightness 80% max brightness 90% max brightness 100% 100% max brightness Master backlight not flashing no backlight lighting © APACHETA Smart Systems str. 9/13...
- Page 10 3s warning time: 4s warning time: 6s warning time: 9s warning time: 12s warning time: 18s warning time: 24s Waiting time not flashing no waiting 0,4s waiting time: 0,4s waiting time: 1s str. 10/13 © APACHETA Smart Systems...
- Page 11 – quit configuration without saving new settings RESTORE SET pressed >4s (until GREEN diode stops blinking) – restore factory settings and finish configuration normal function free free „+” „-” and SET buttons released © APACHETA Smart Systems str. 11/13...
- Page 12 In the last step, if necessary, configure other controller parameters. Remember to make any manipulations and changes in the installation with the power off. Even a short- term occurrence of voltage on the wrong outlet of the controller can permanently damage the str. 12/13 © APACHETA Smart Systems...
- Page 13 DELTA sensors and LED lamps (typically 12 VDC) o automatic turning on the lights by DELTA sensors o option: permanent steady lighting with additional switches o blocking the controller during daylight with a built-in dusk switch. © APACHETA Smart Systems str. 13/13...
Need help?
Do you have a question about the smartLEDs S2-P and is the answer not in the manual?
Questions and answers